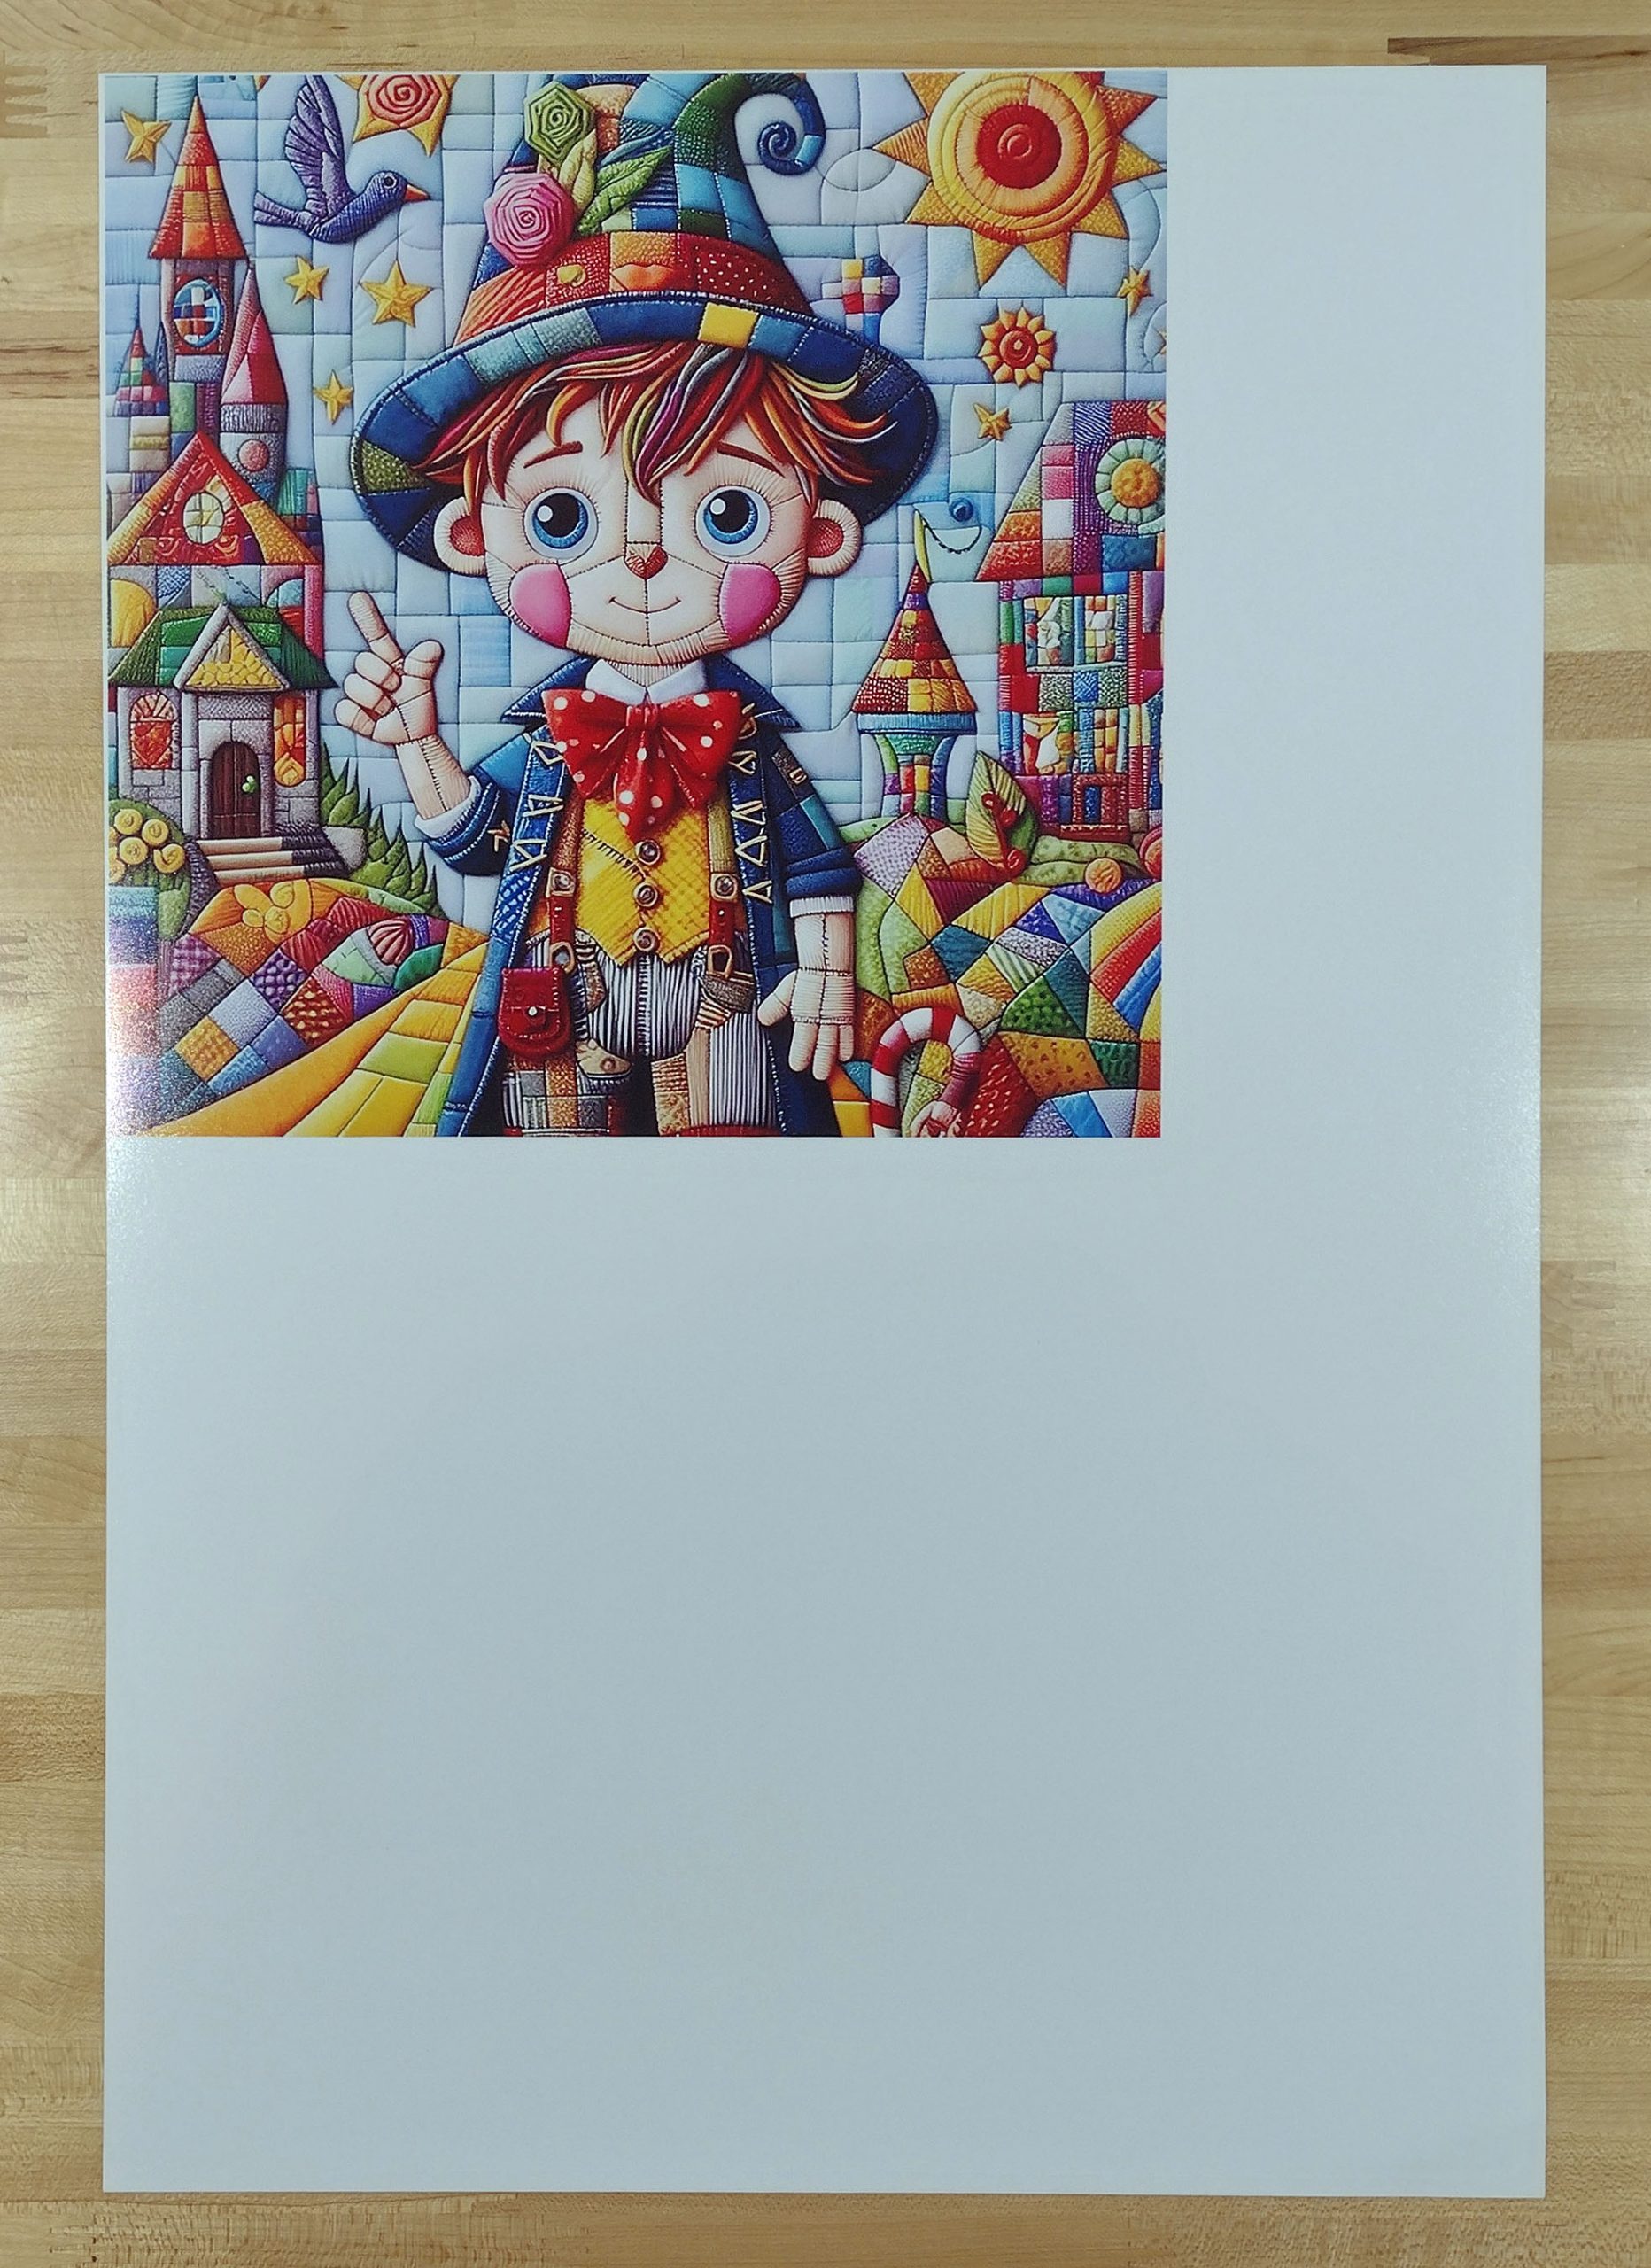
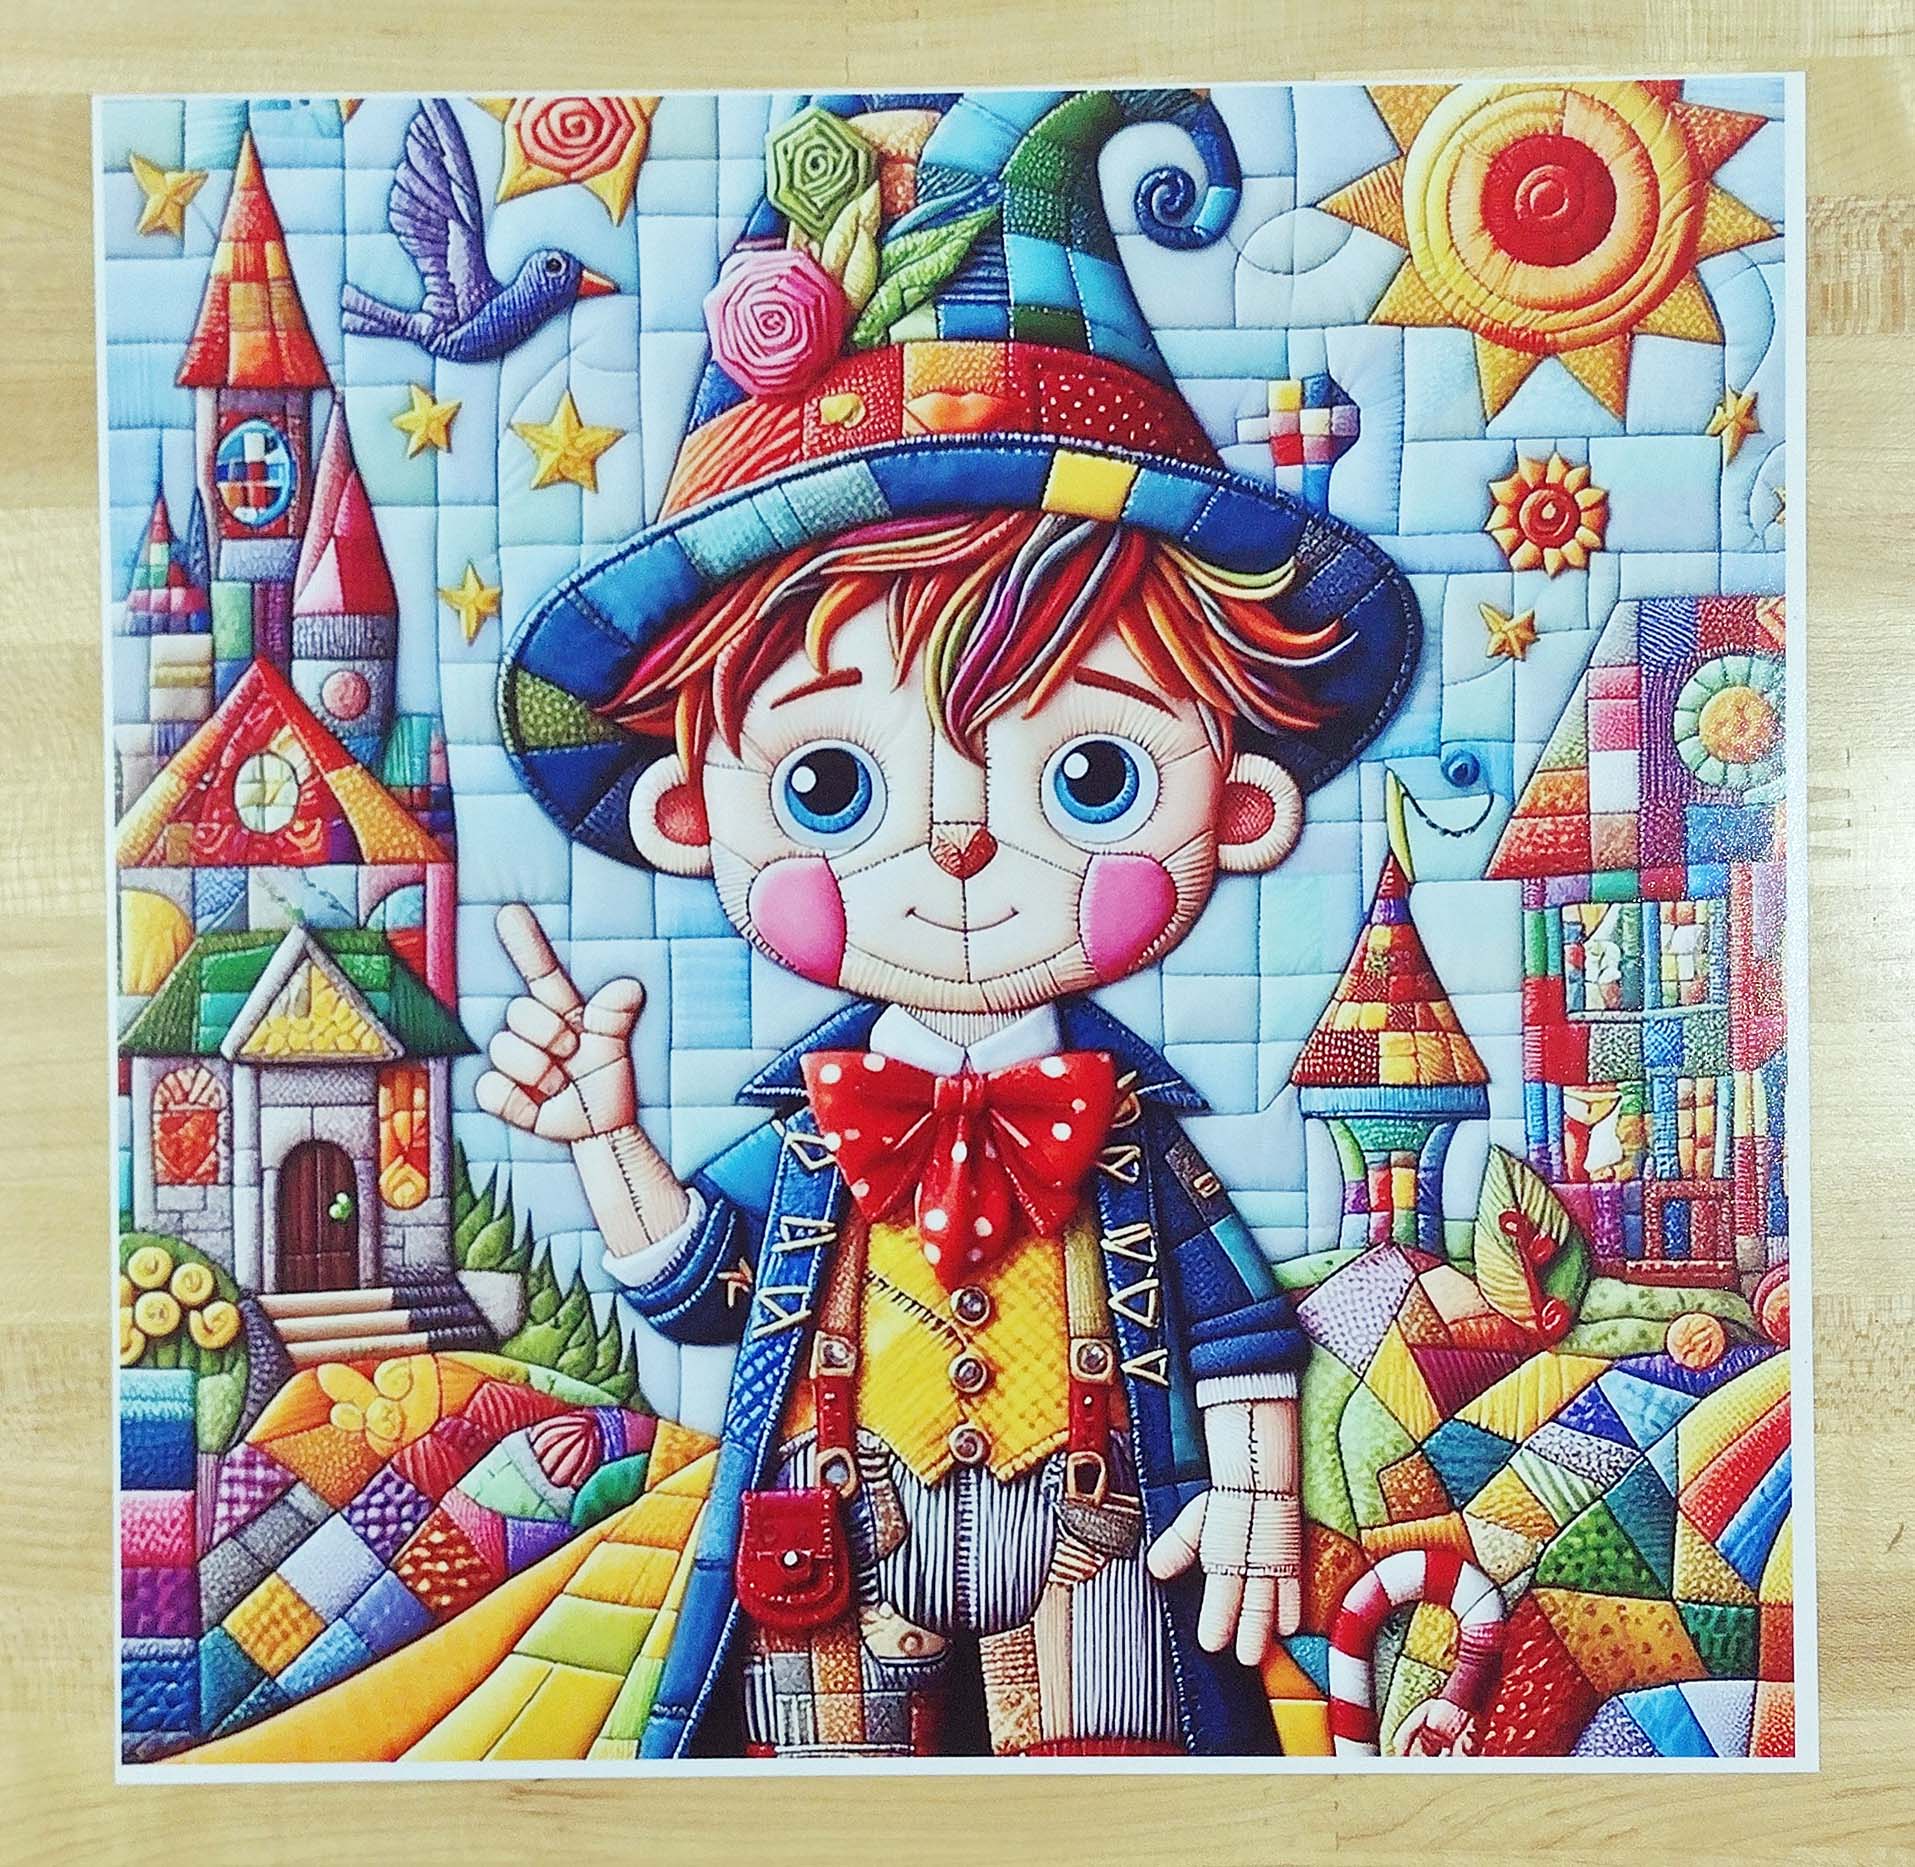
I am going to walk through the steps I use to mount an image to the wood. This is my next project to cut. The customer emailed me with a digital file she wants cut into a puzzle. It is an AI generated image that came from some sort of free image sharing website. In our discussion, it was determined the puzzle is to be at least 200 pieces. It is square, and with my average piece size, this turns out to be about a 9.5″ x 9.5″ puzzle. That is a little unique and required me to print it on a 13″ x 19″ sheet of paper. Since my in-stock plywood is already cut to size, it will also require using a piece of plywood that size.
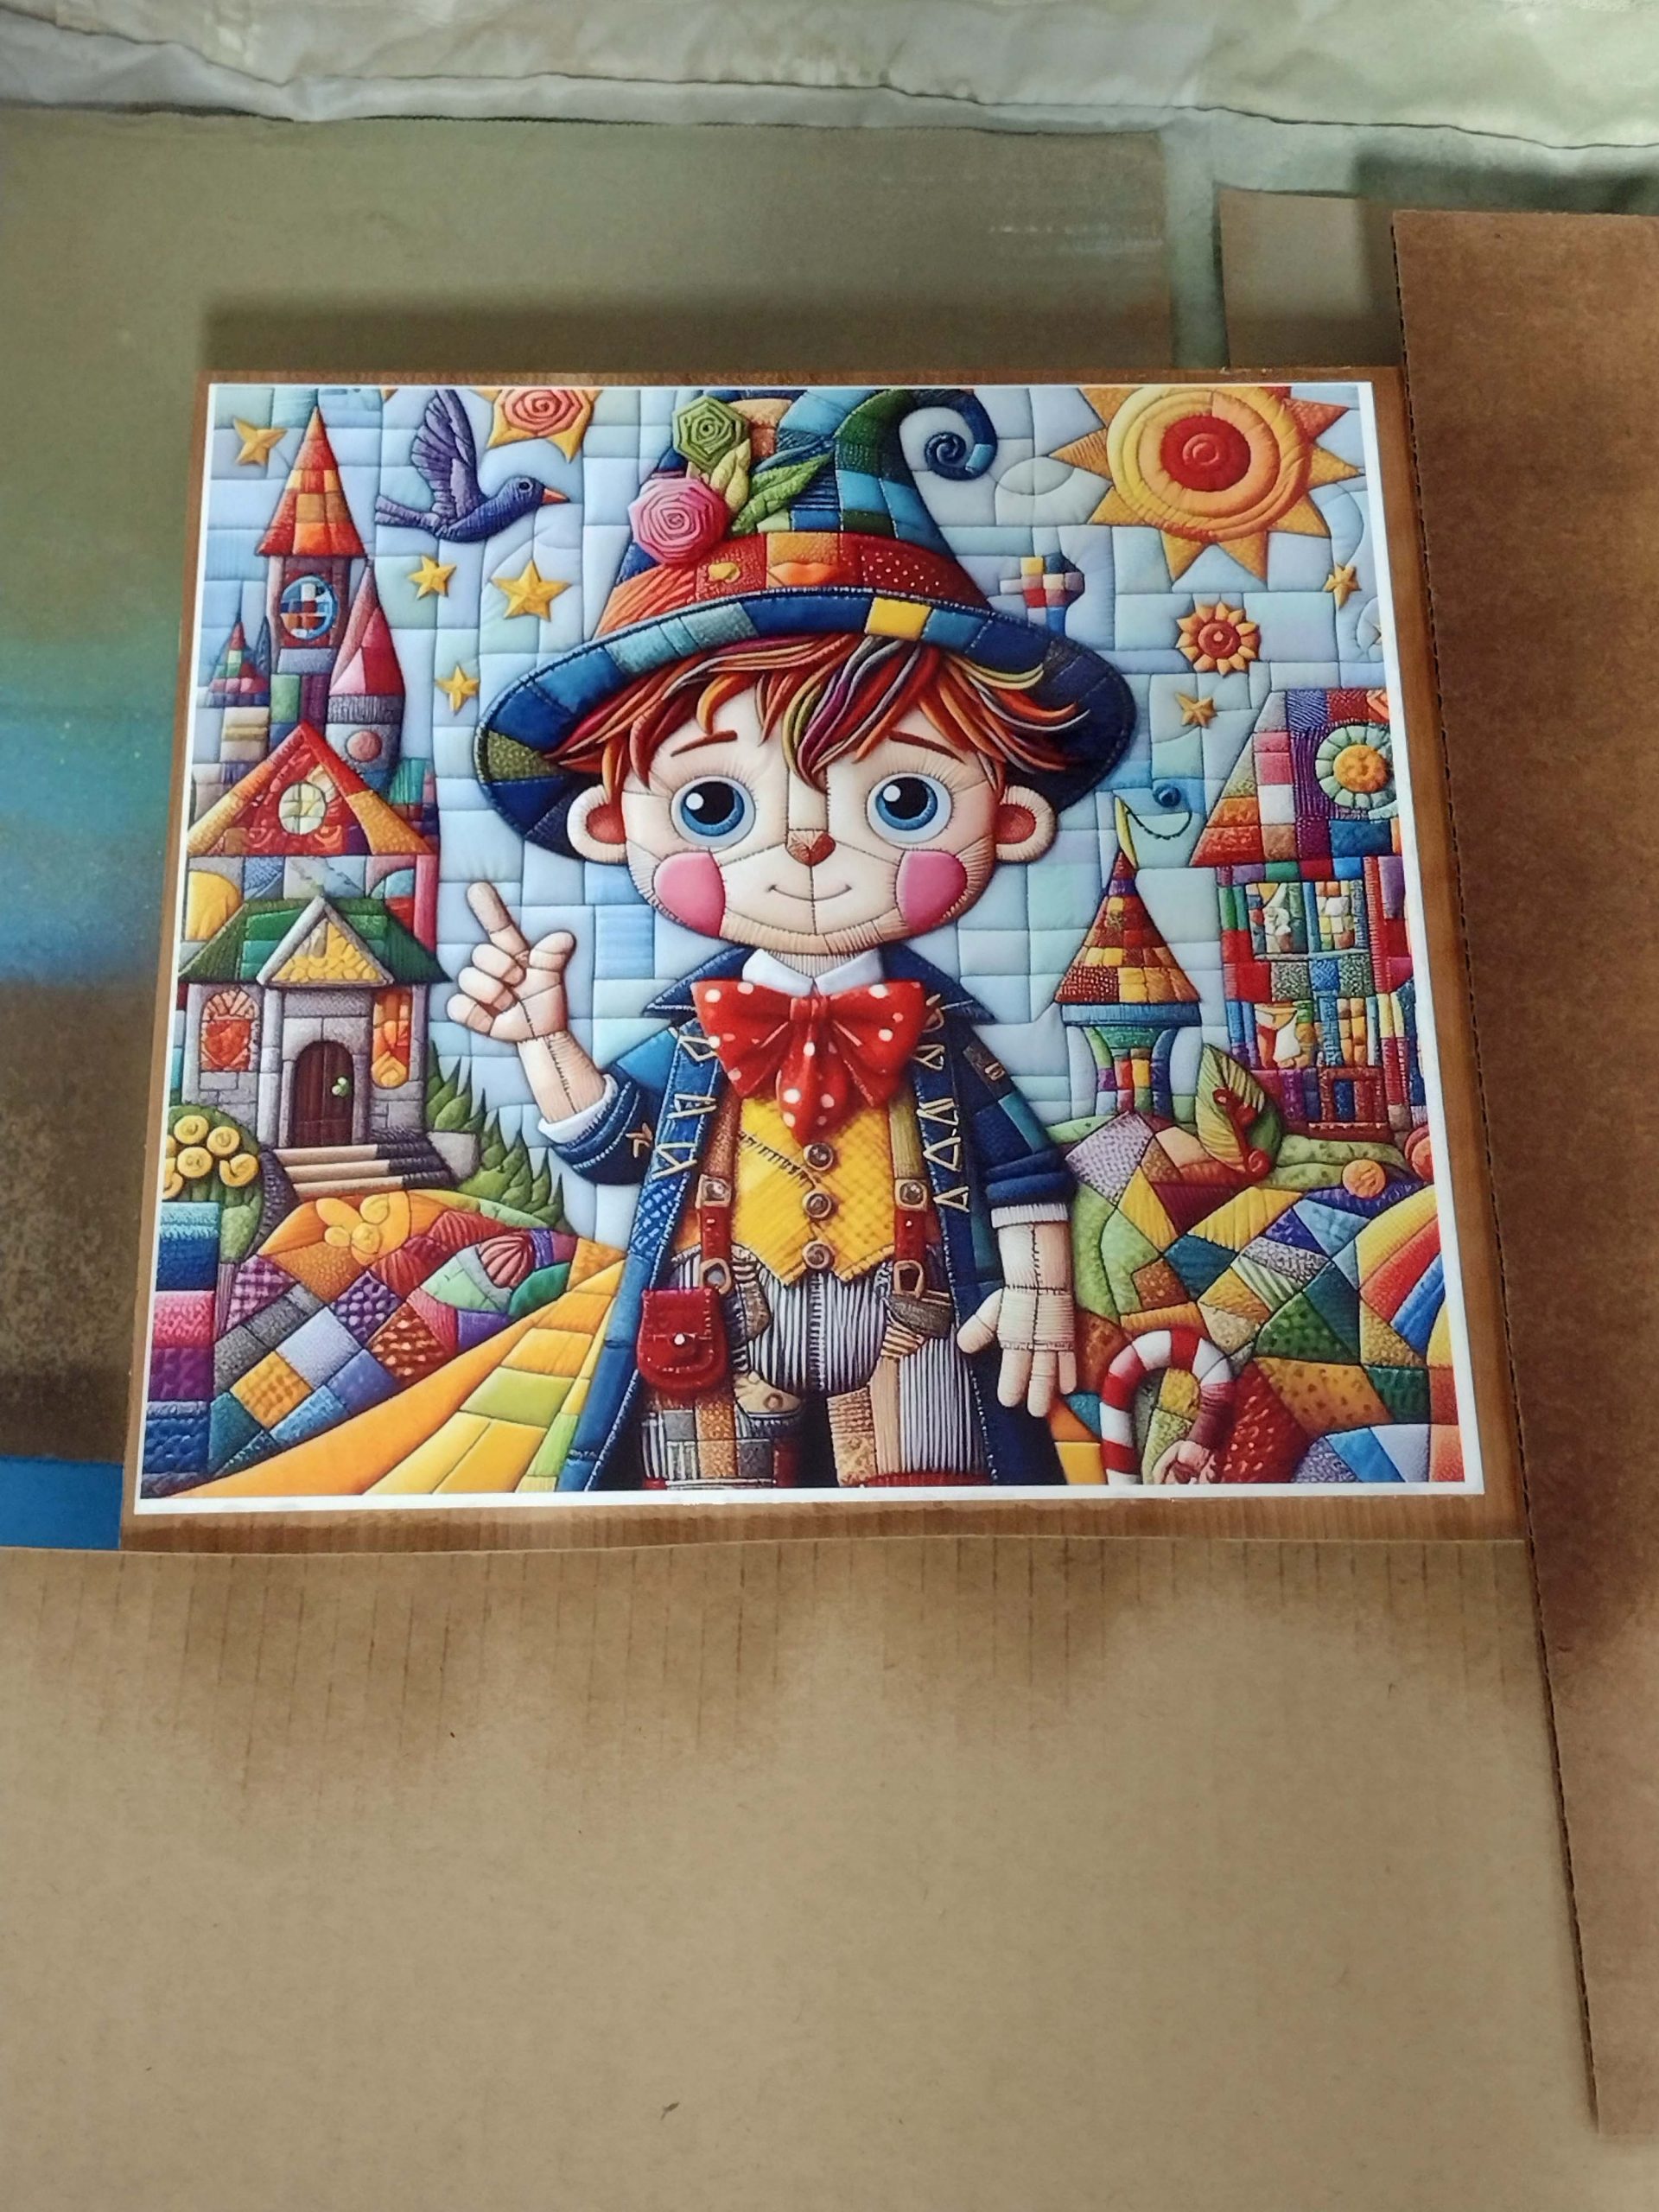
Here is the printed image.
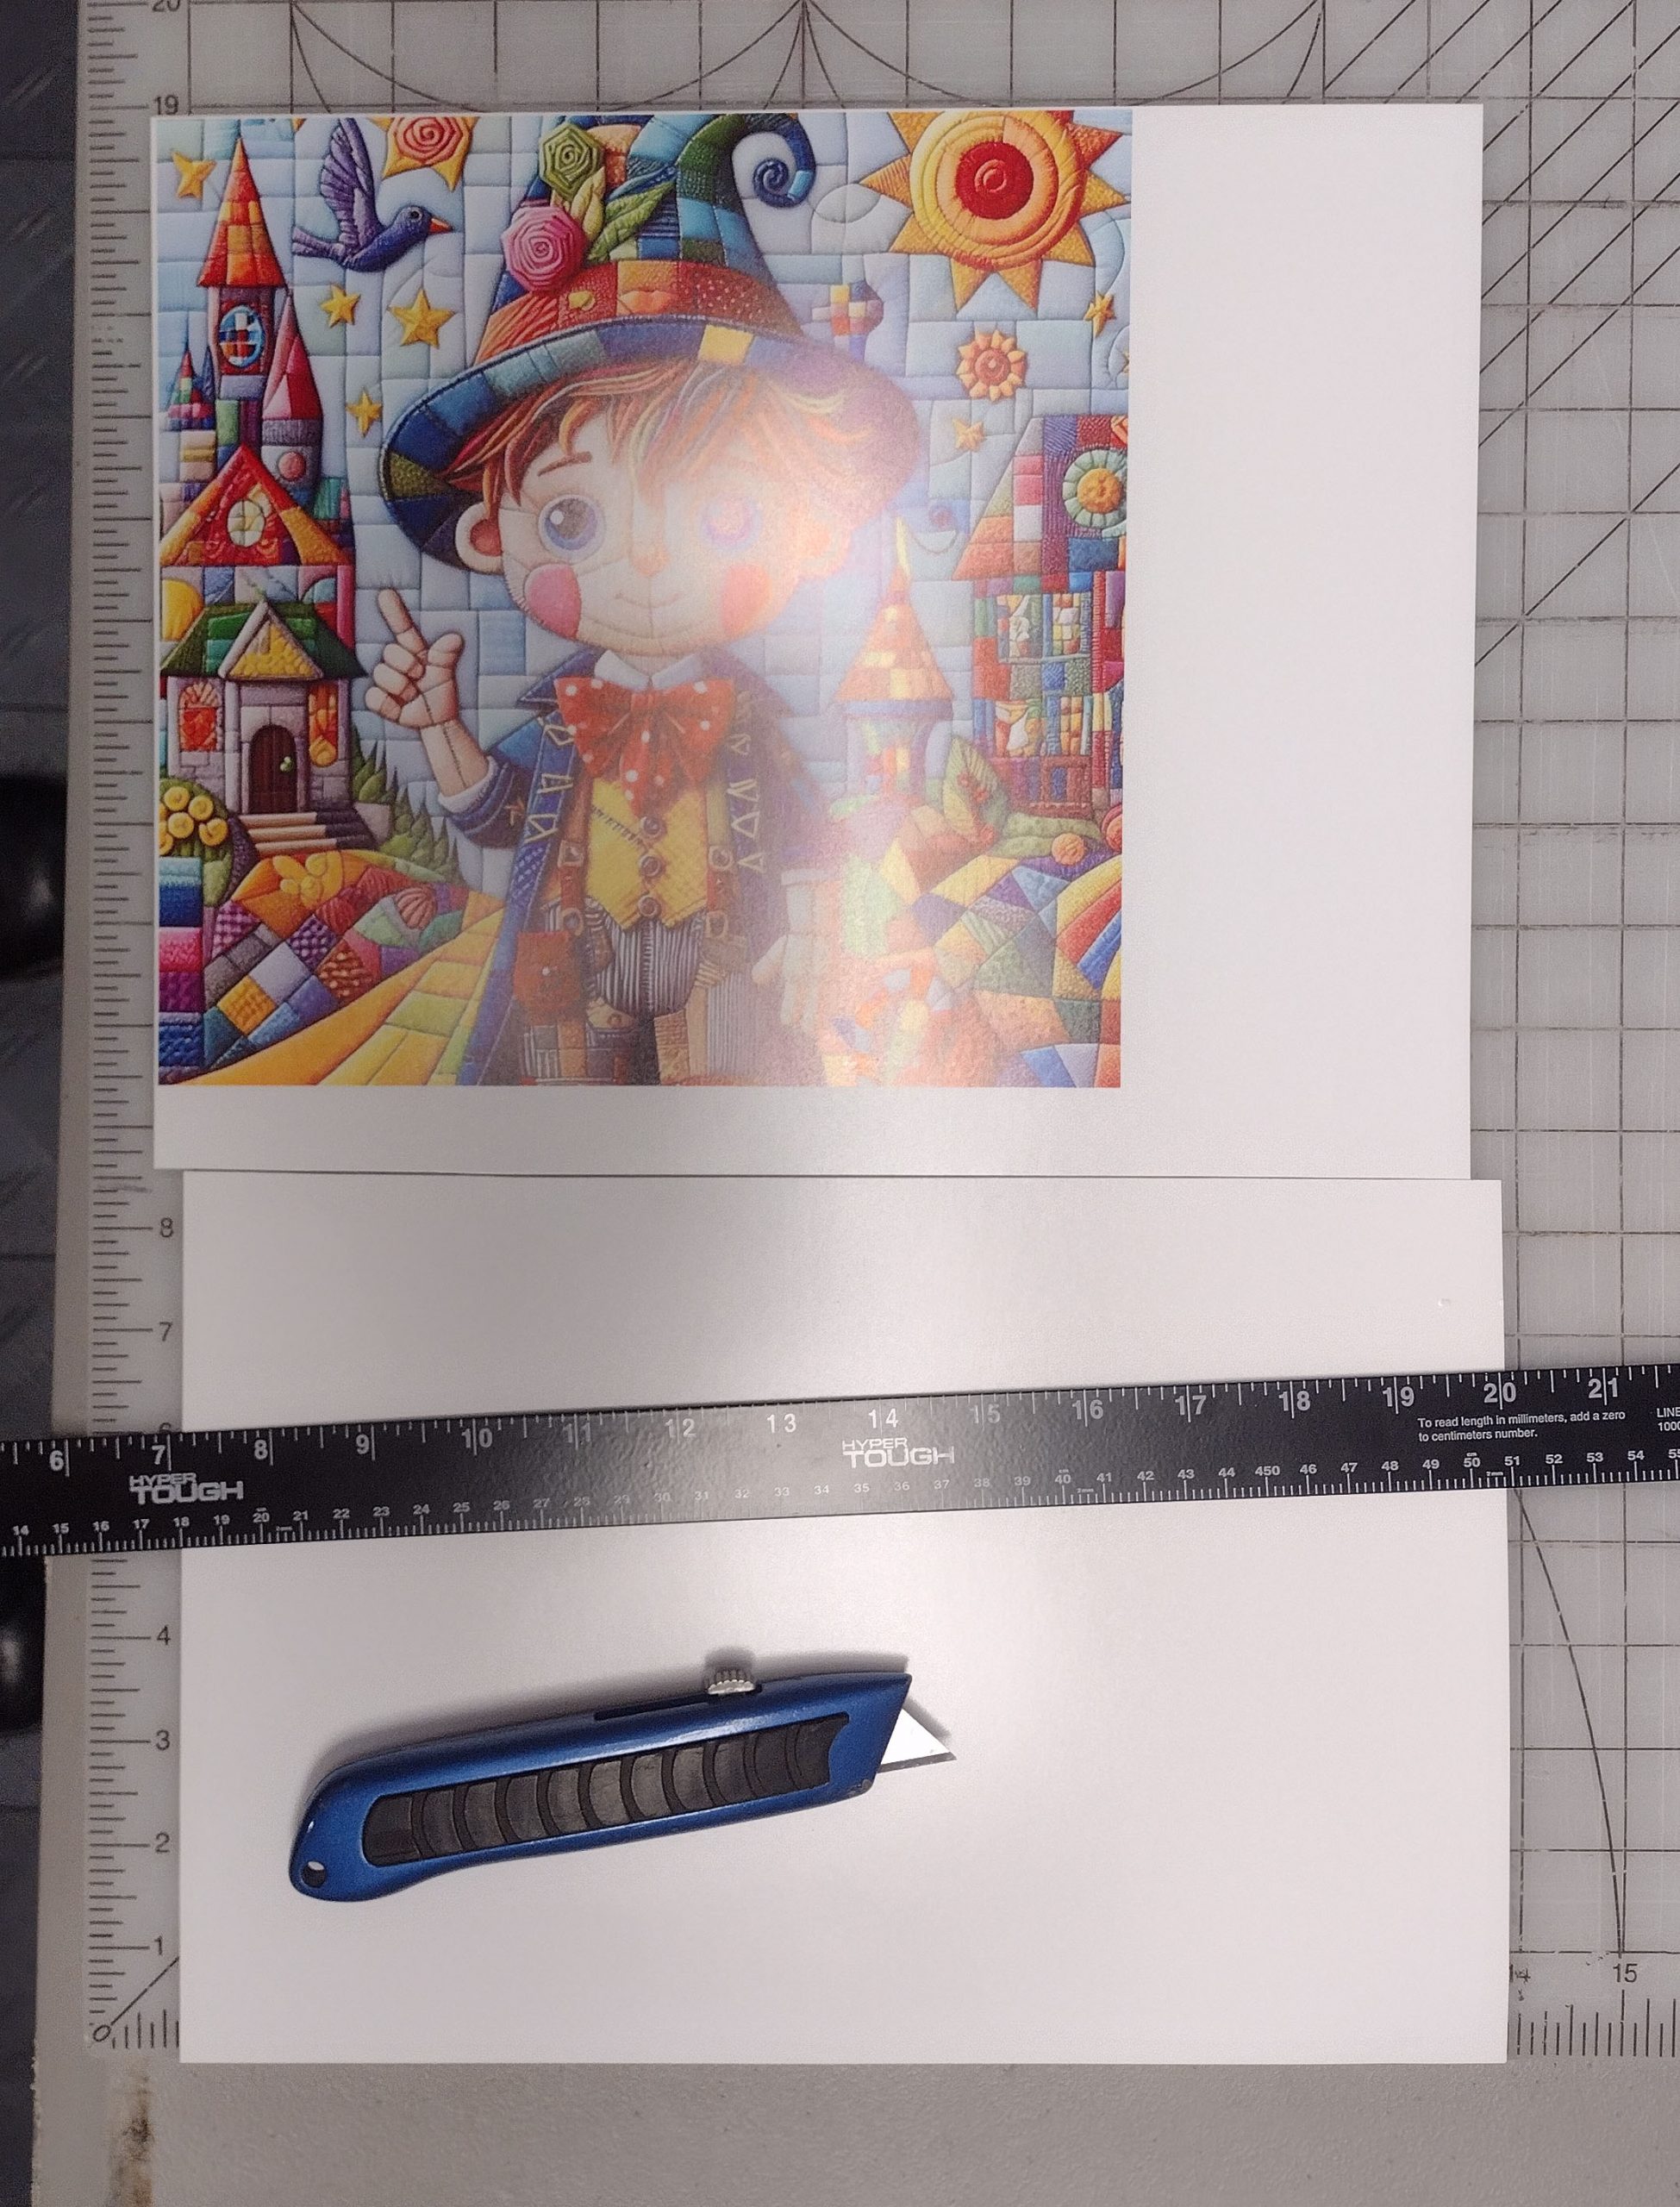
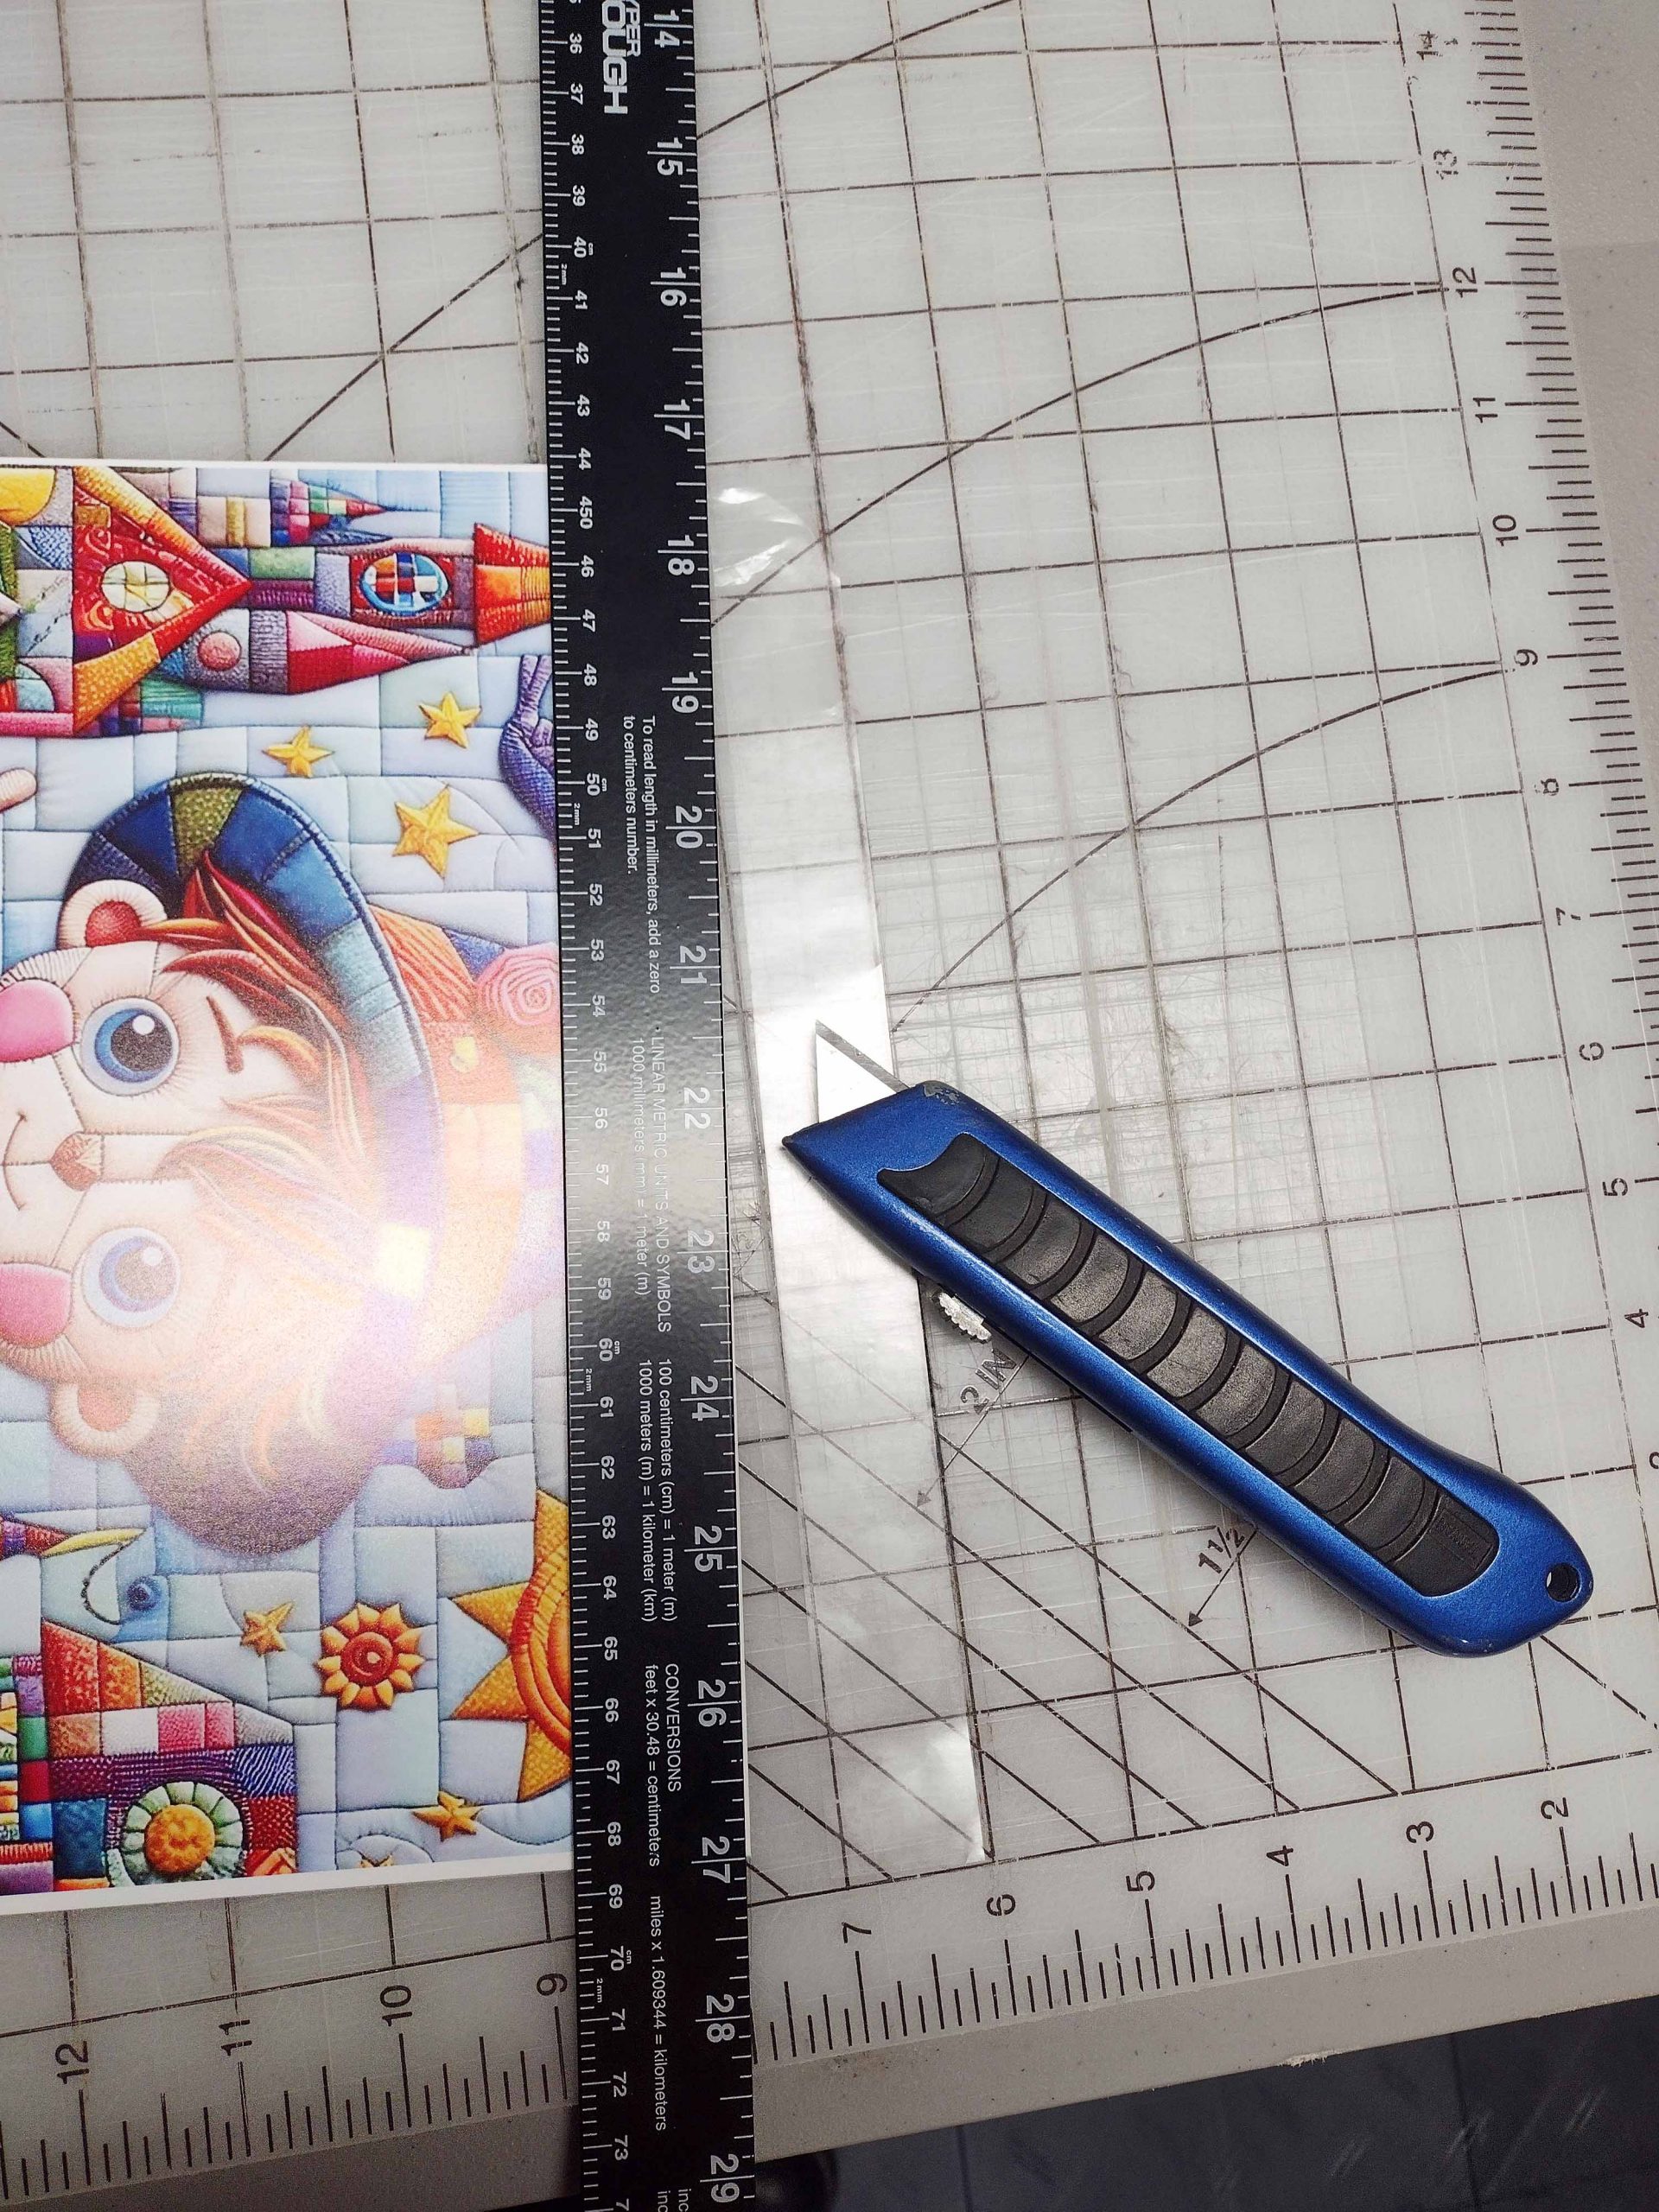
Next was to trim it to a more manageable size. First, I used a straight edge and box cutter. I was able to salvage the bottom blank section as an 8.5″ x 11″ piece. Maybe I can use it for a Puzzle Parley exchange puzzle.
Next, I cut the image closer to size with my rotary cutter.
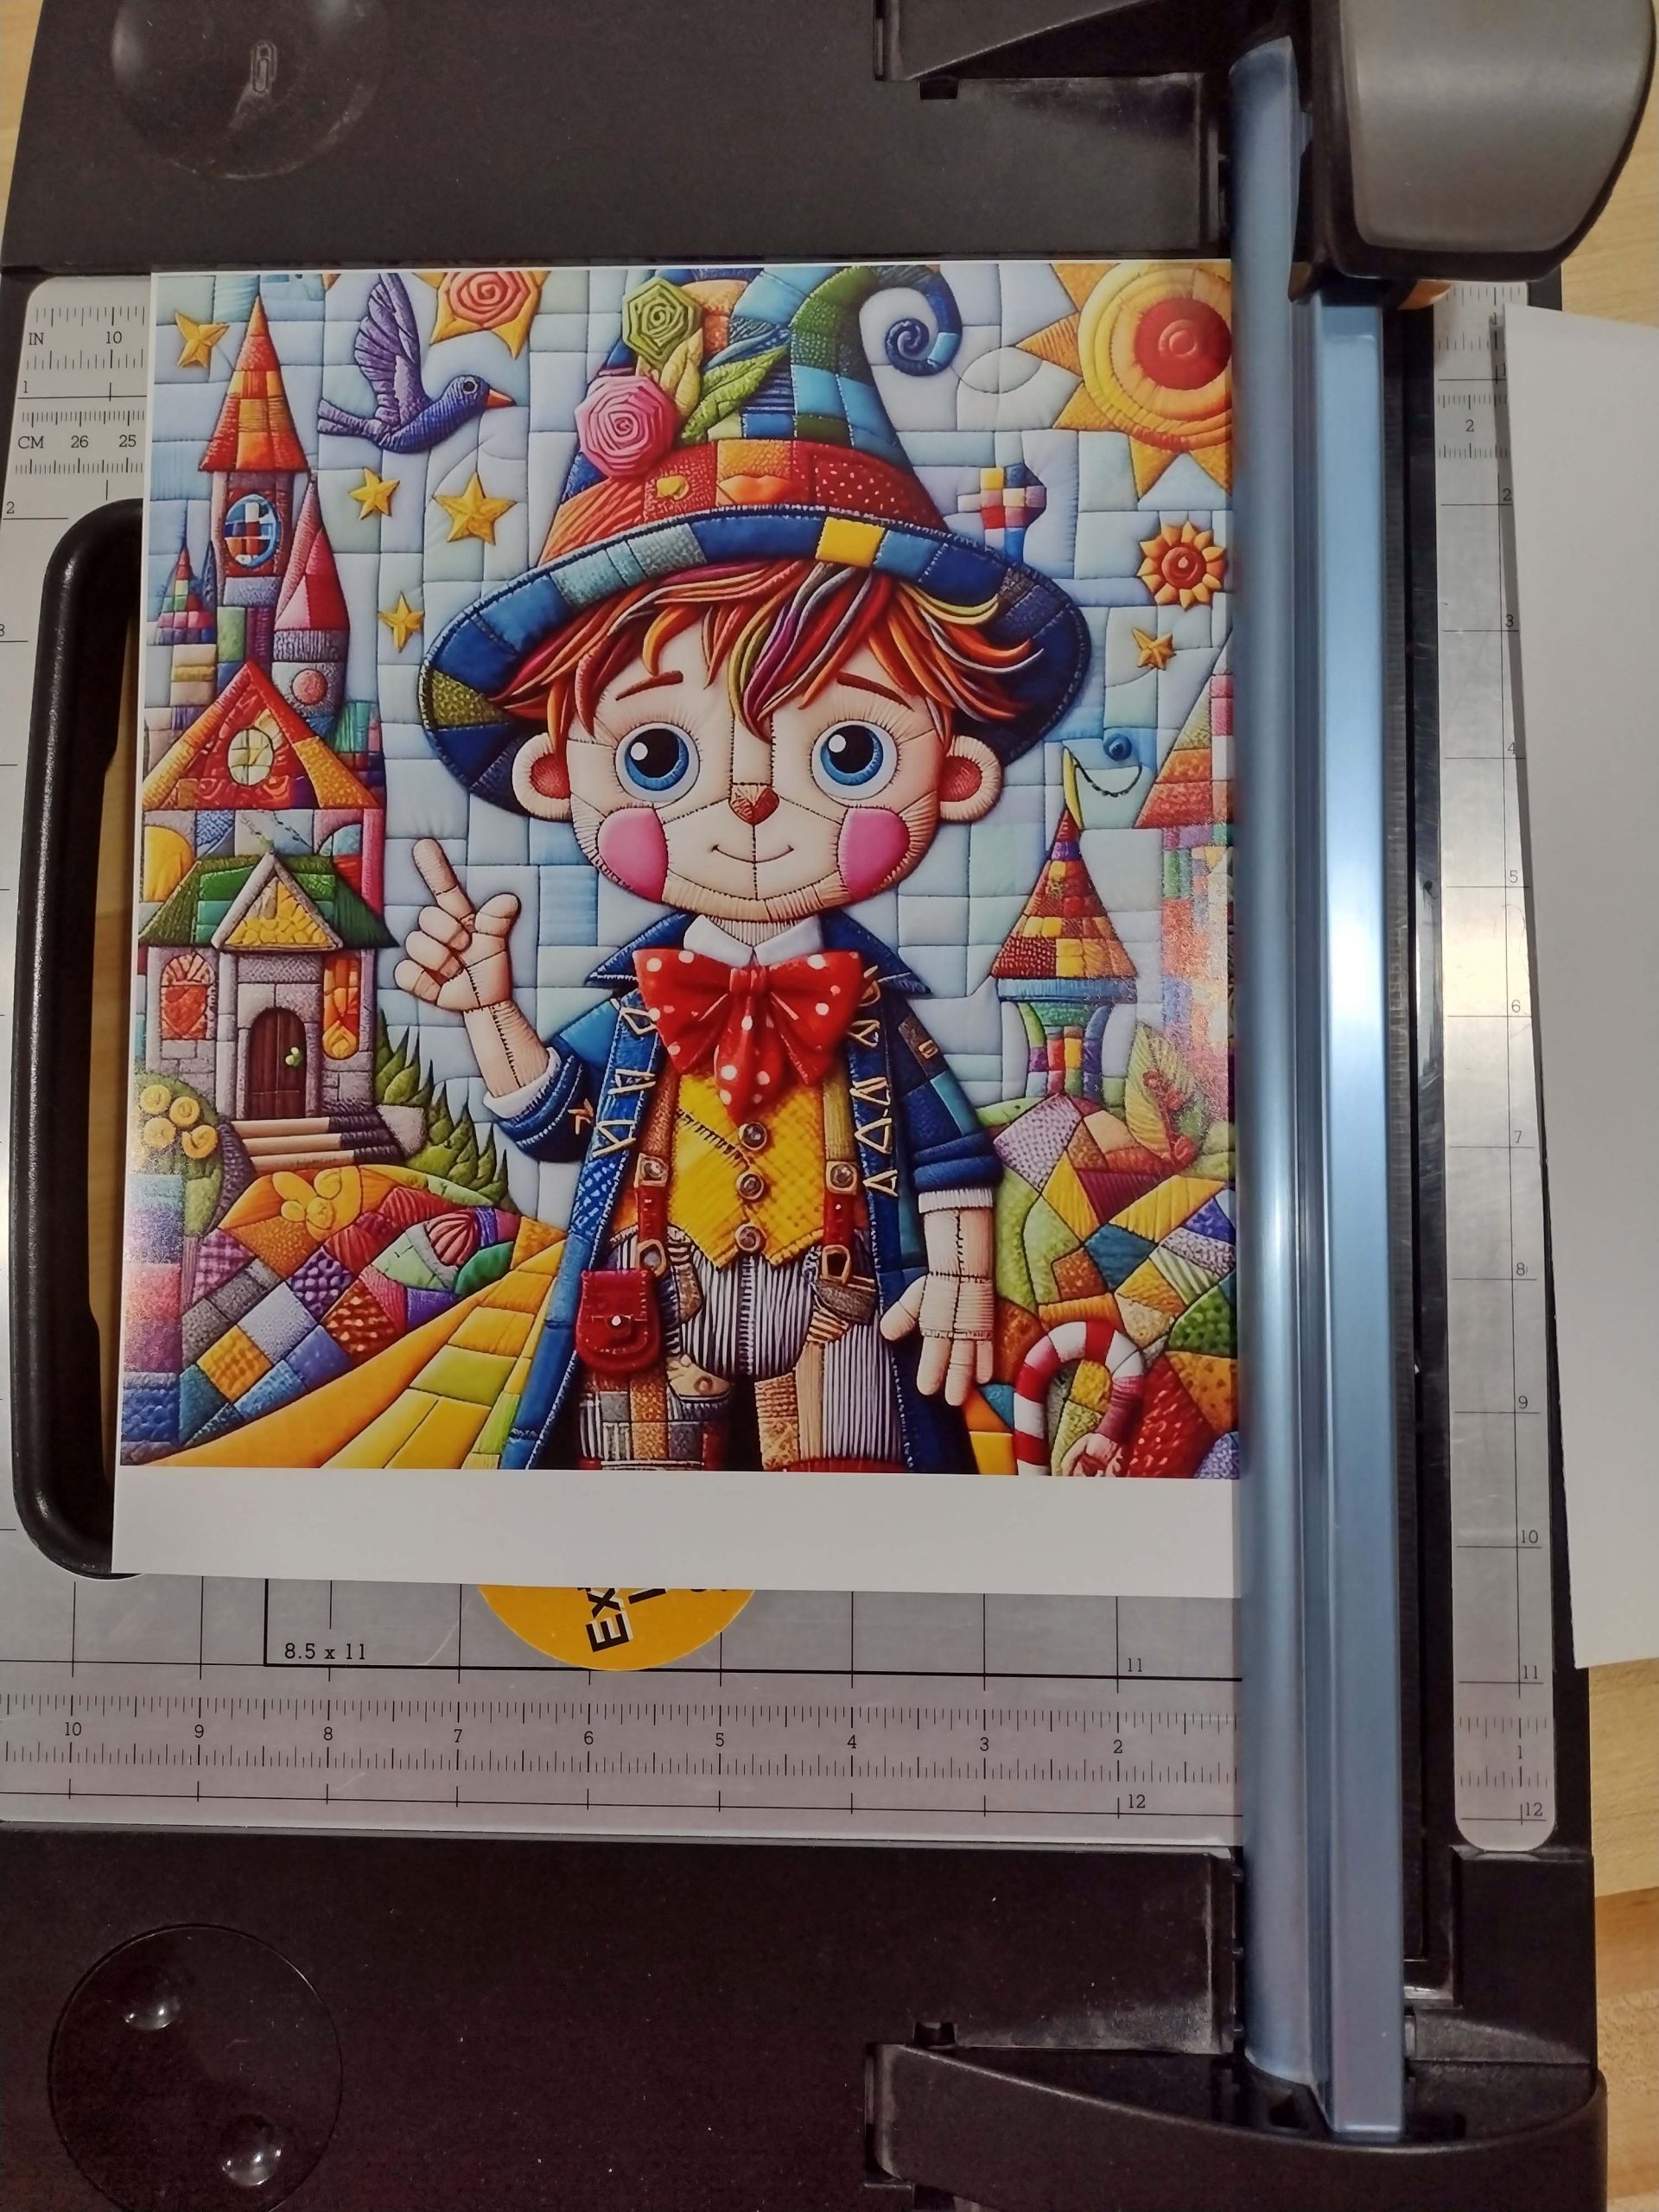
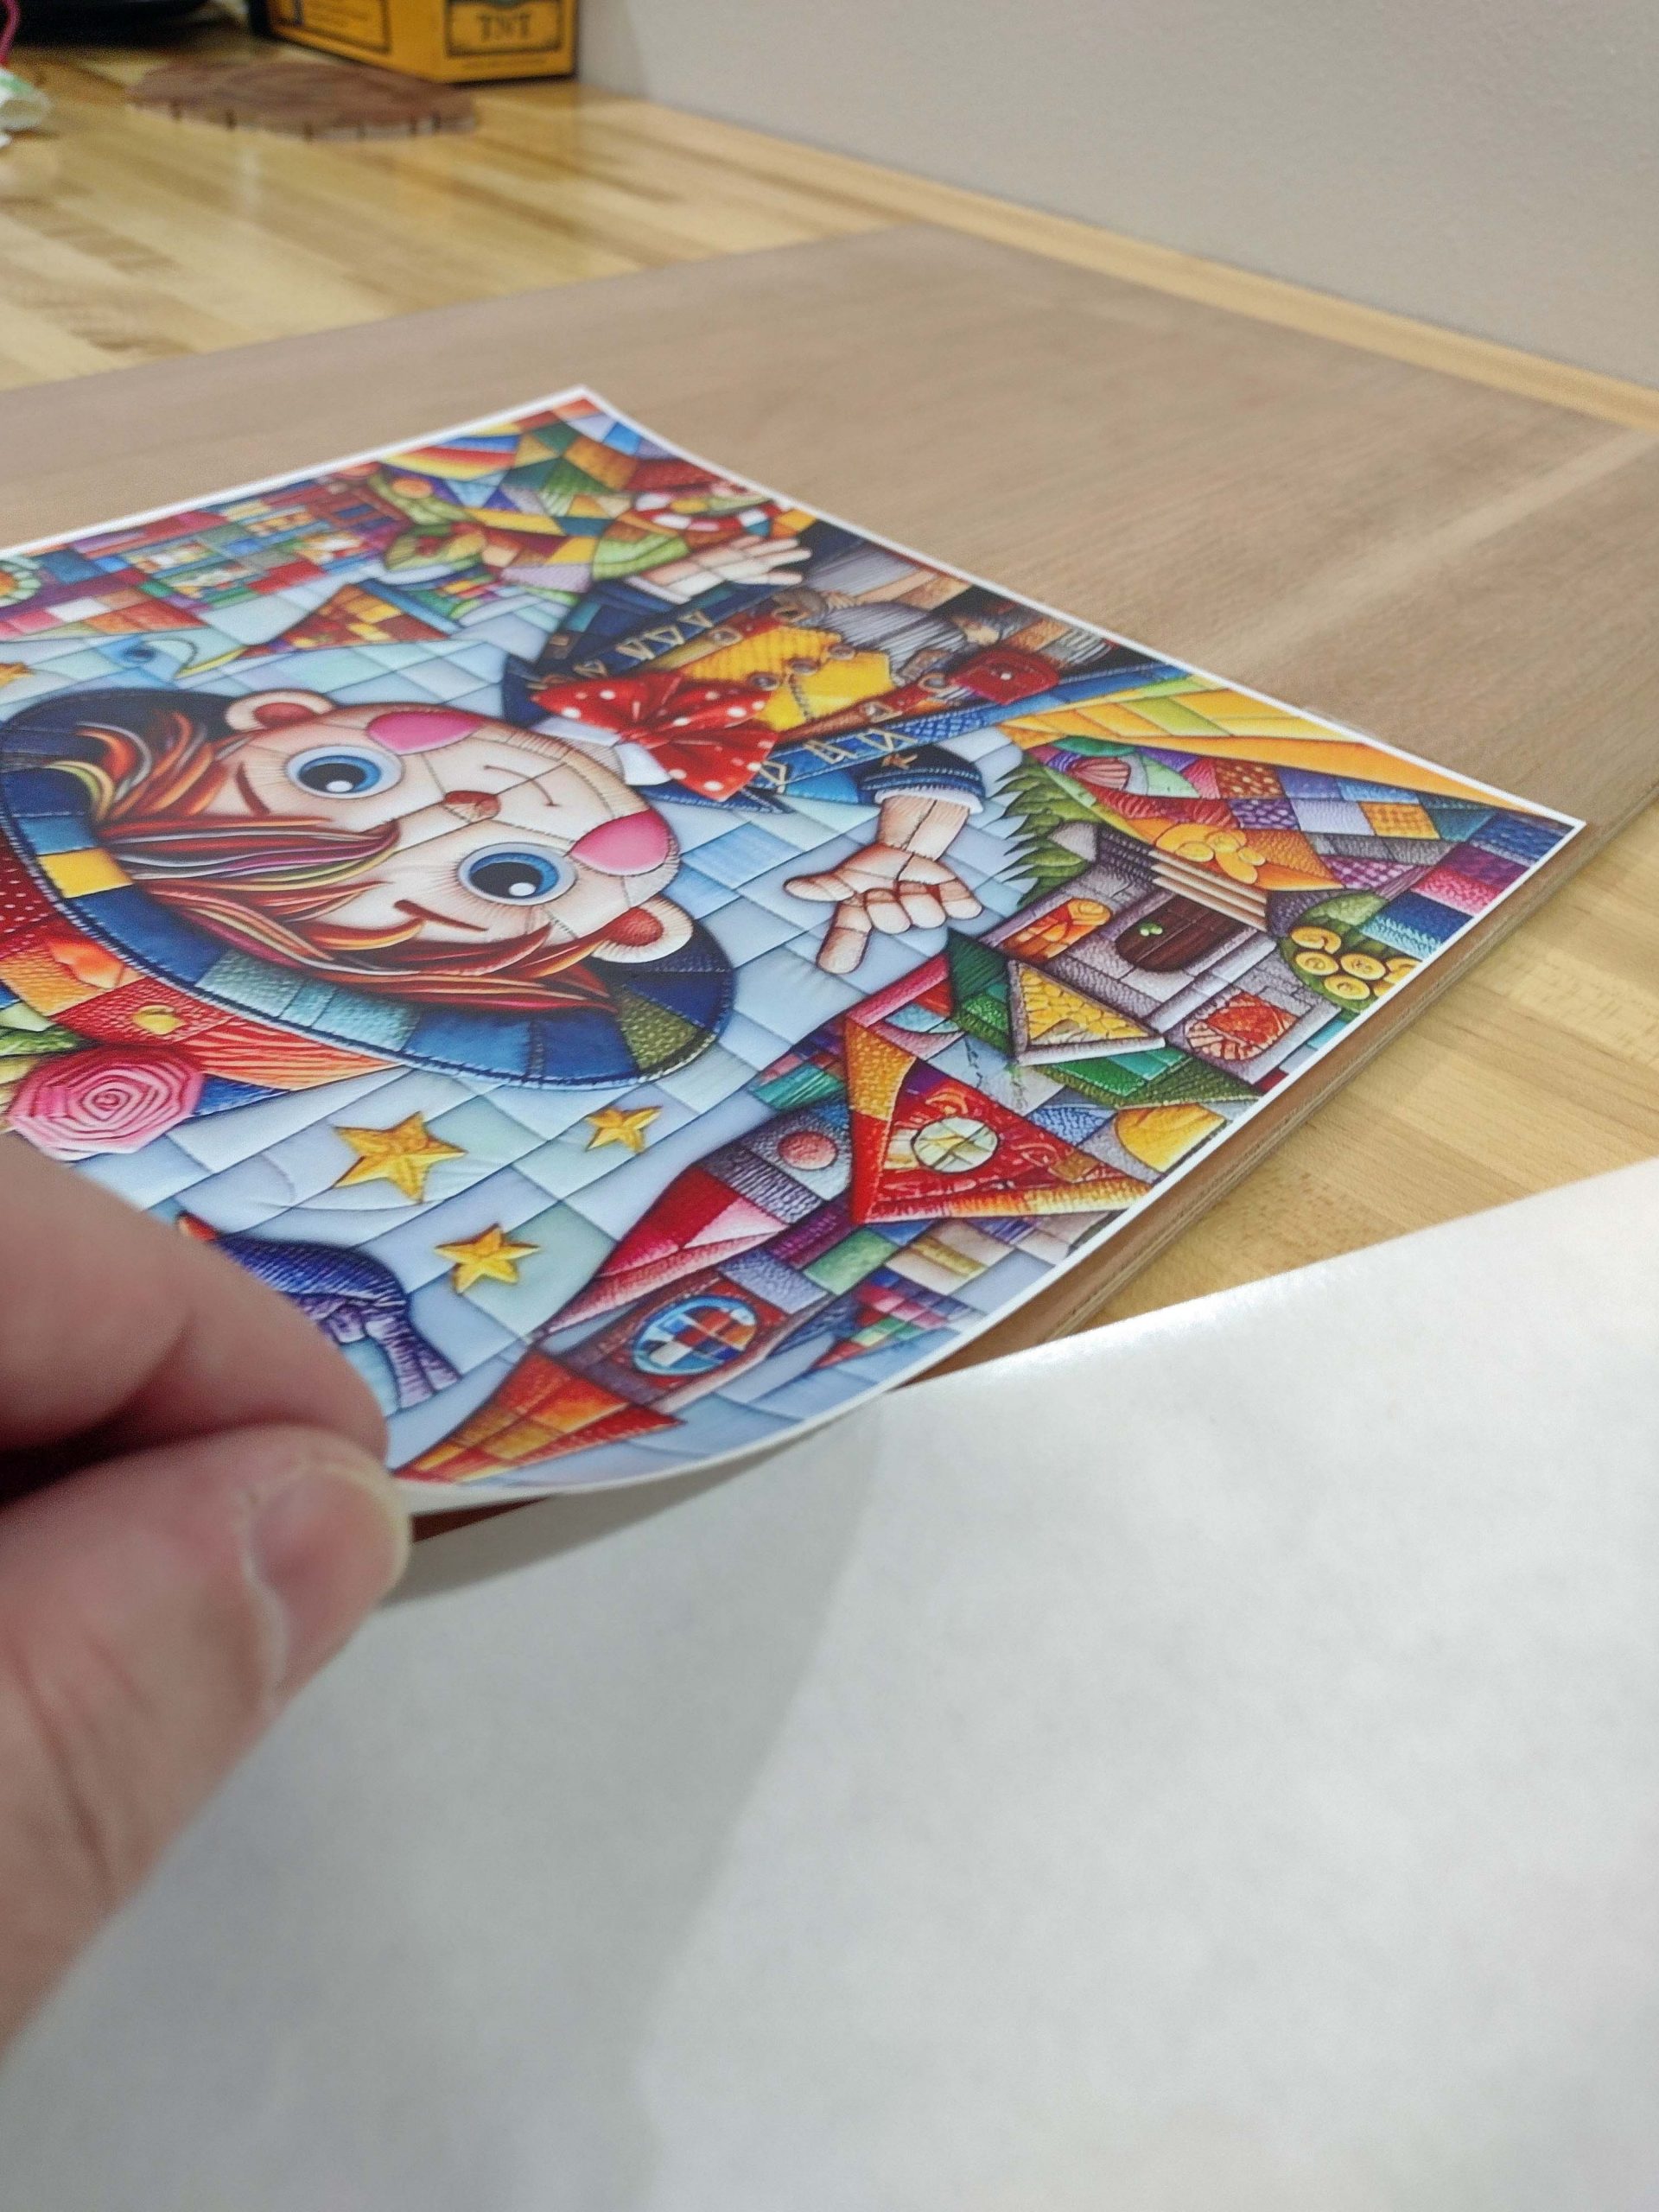
Here is the trimmed image.
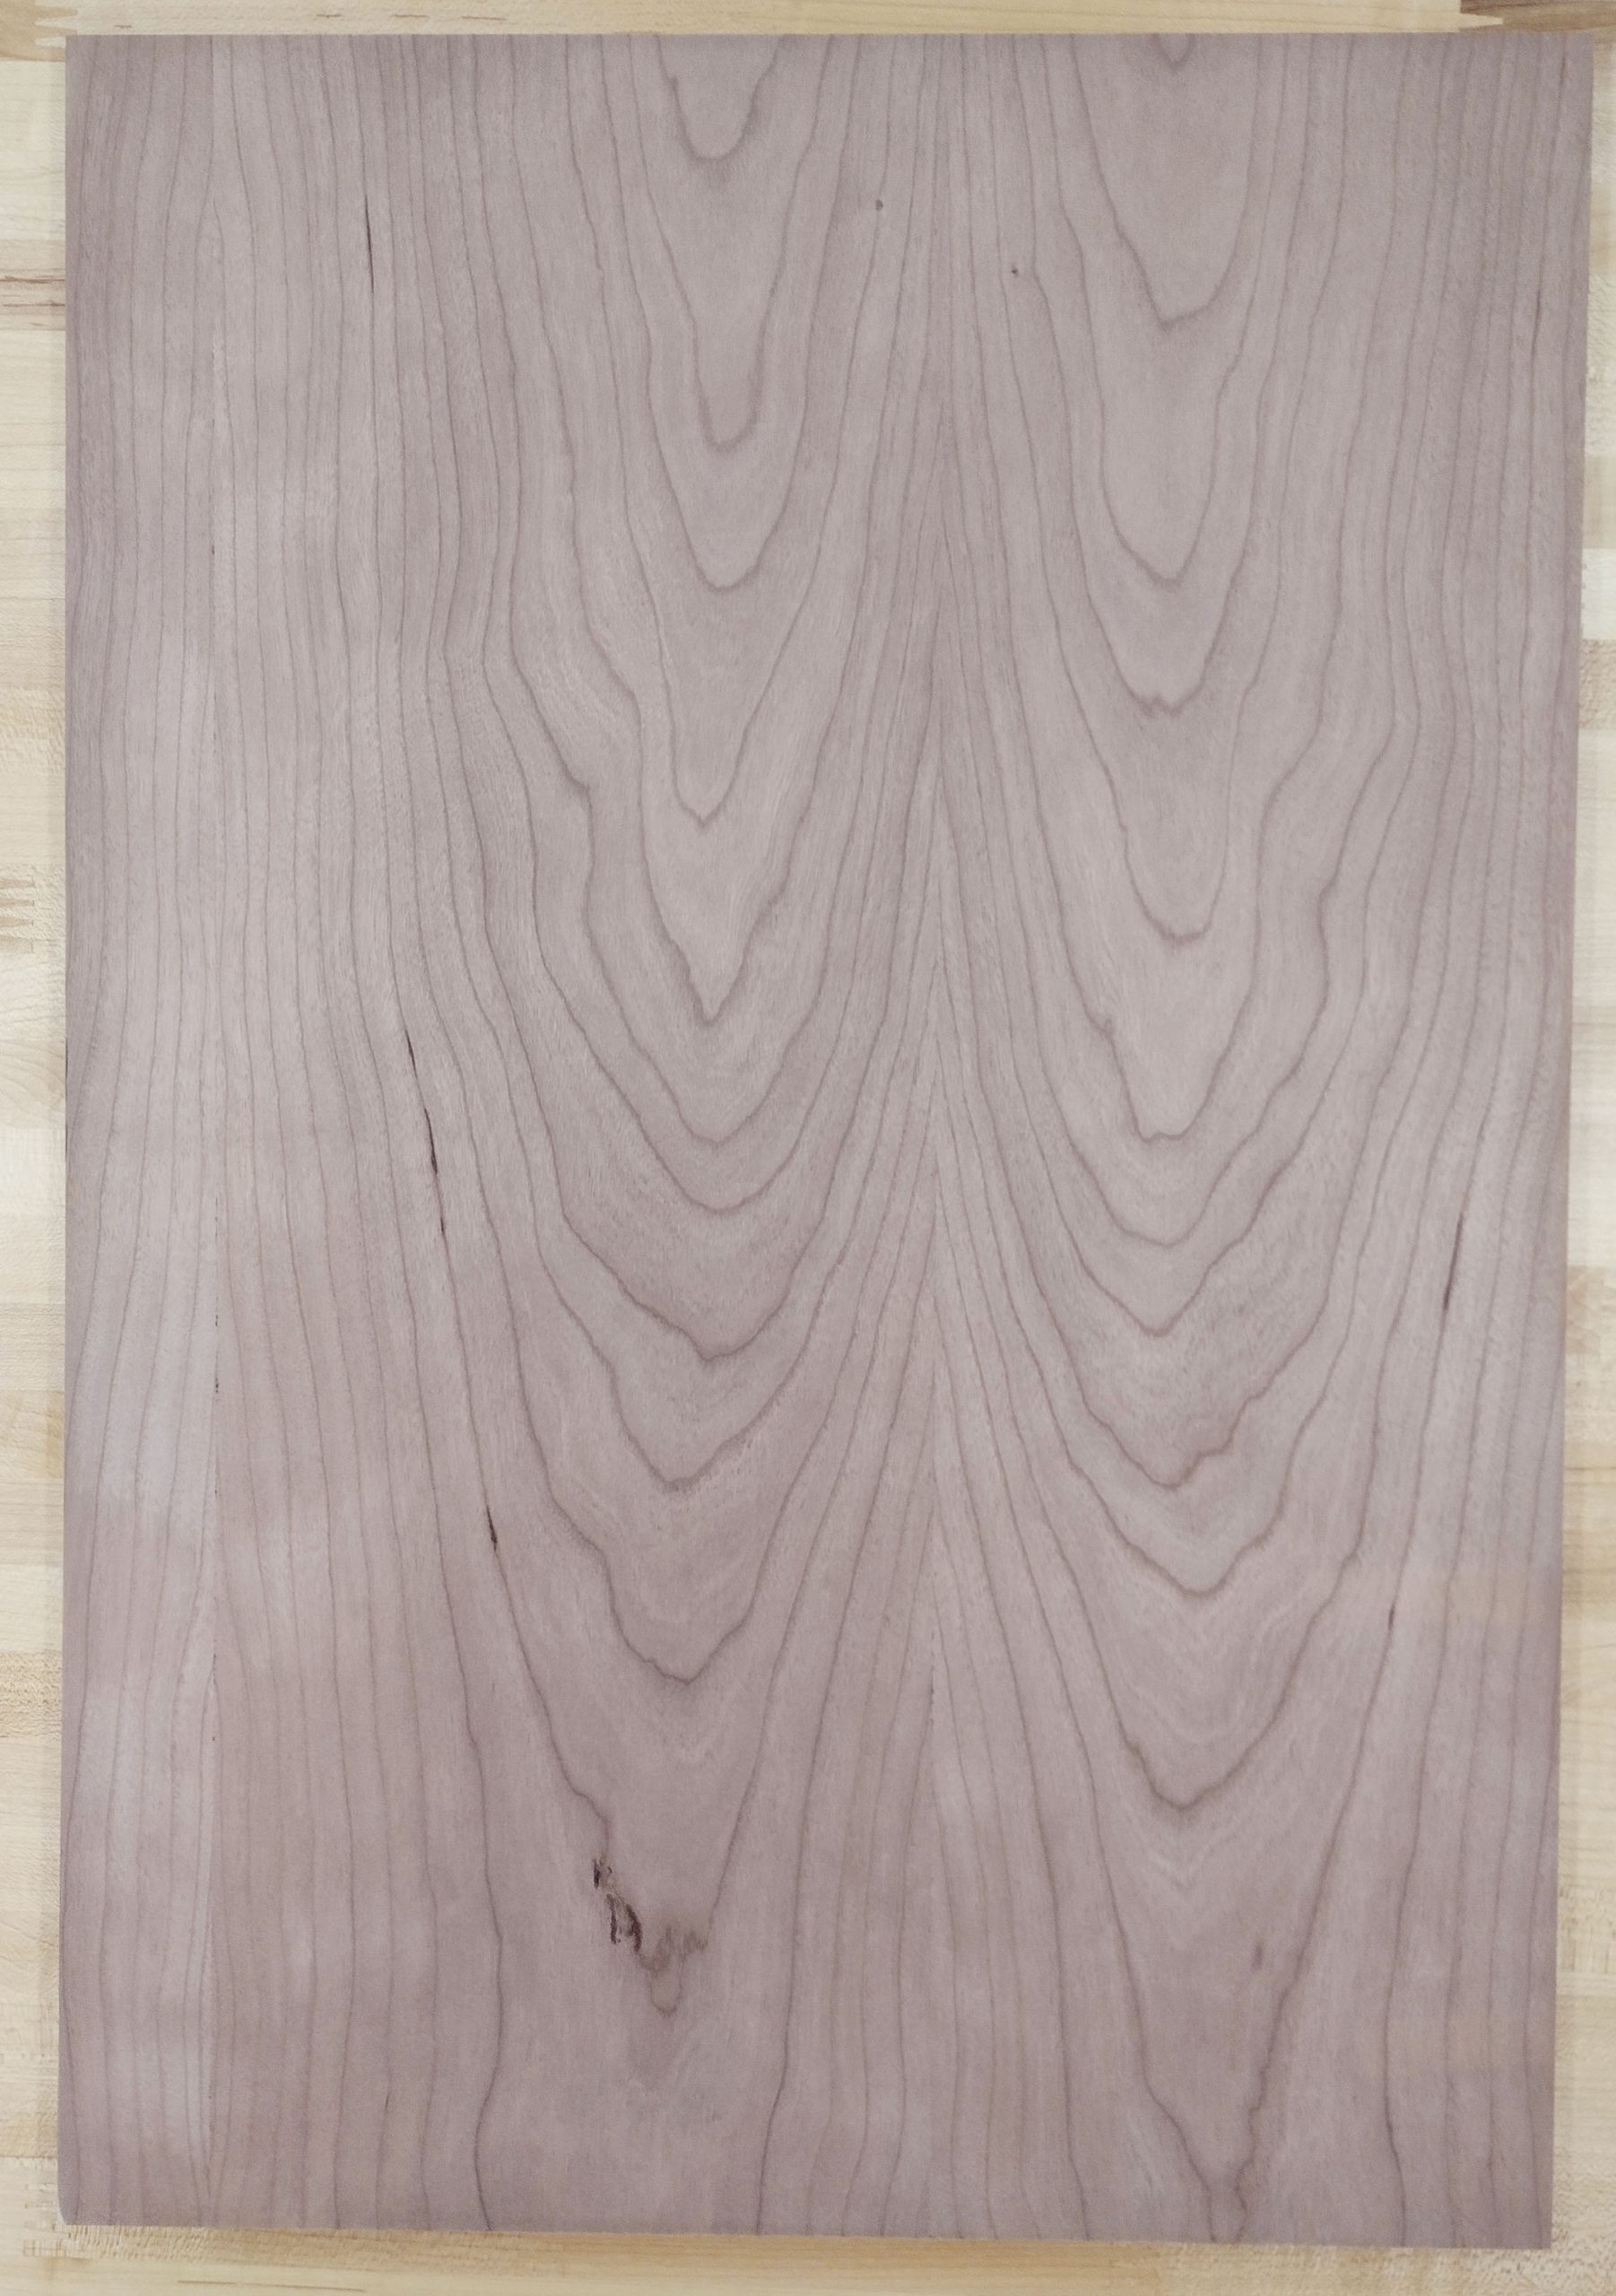
This is going to be mounted on a piece of Cherry Appleply. My wood has been pre-sanded down at the wood shop before bringing it up to the temperature-controlled house. Here is the backside of the puzzle.
The side that the image will be mounted on is swept clean once again, and then rubbed with a tack cloth to remove any remaining dust.
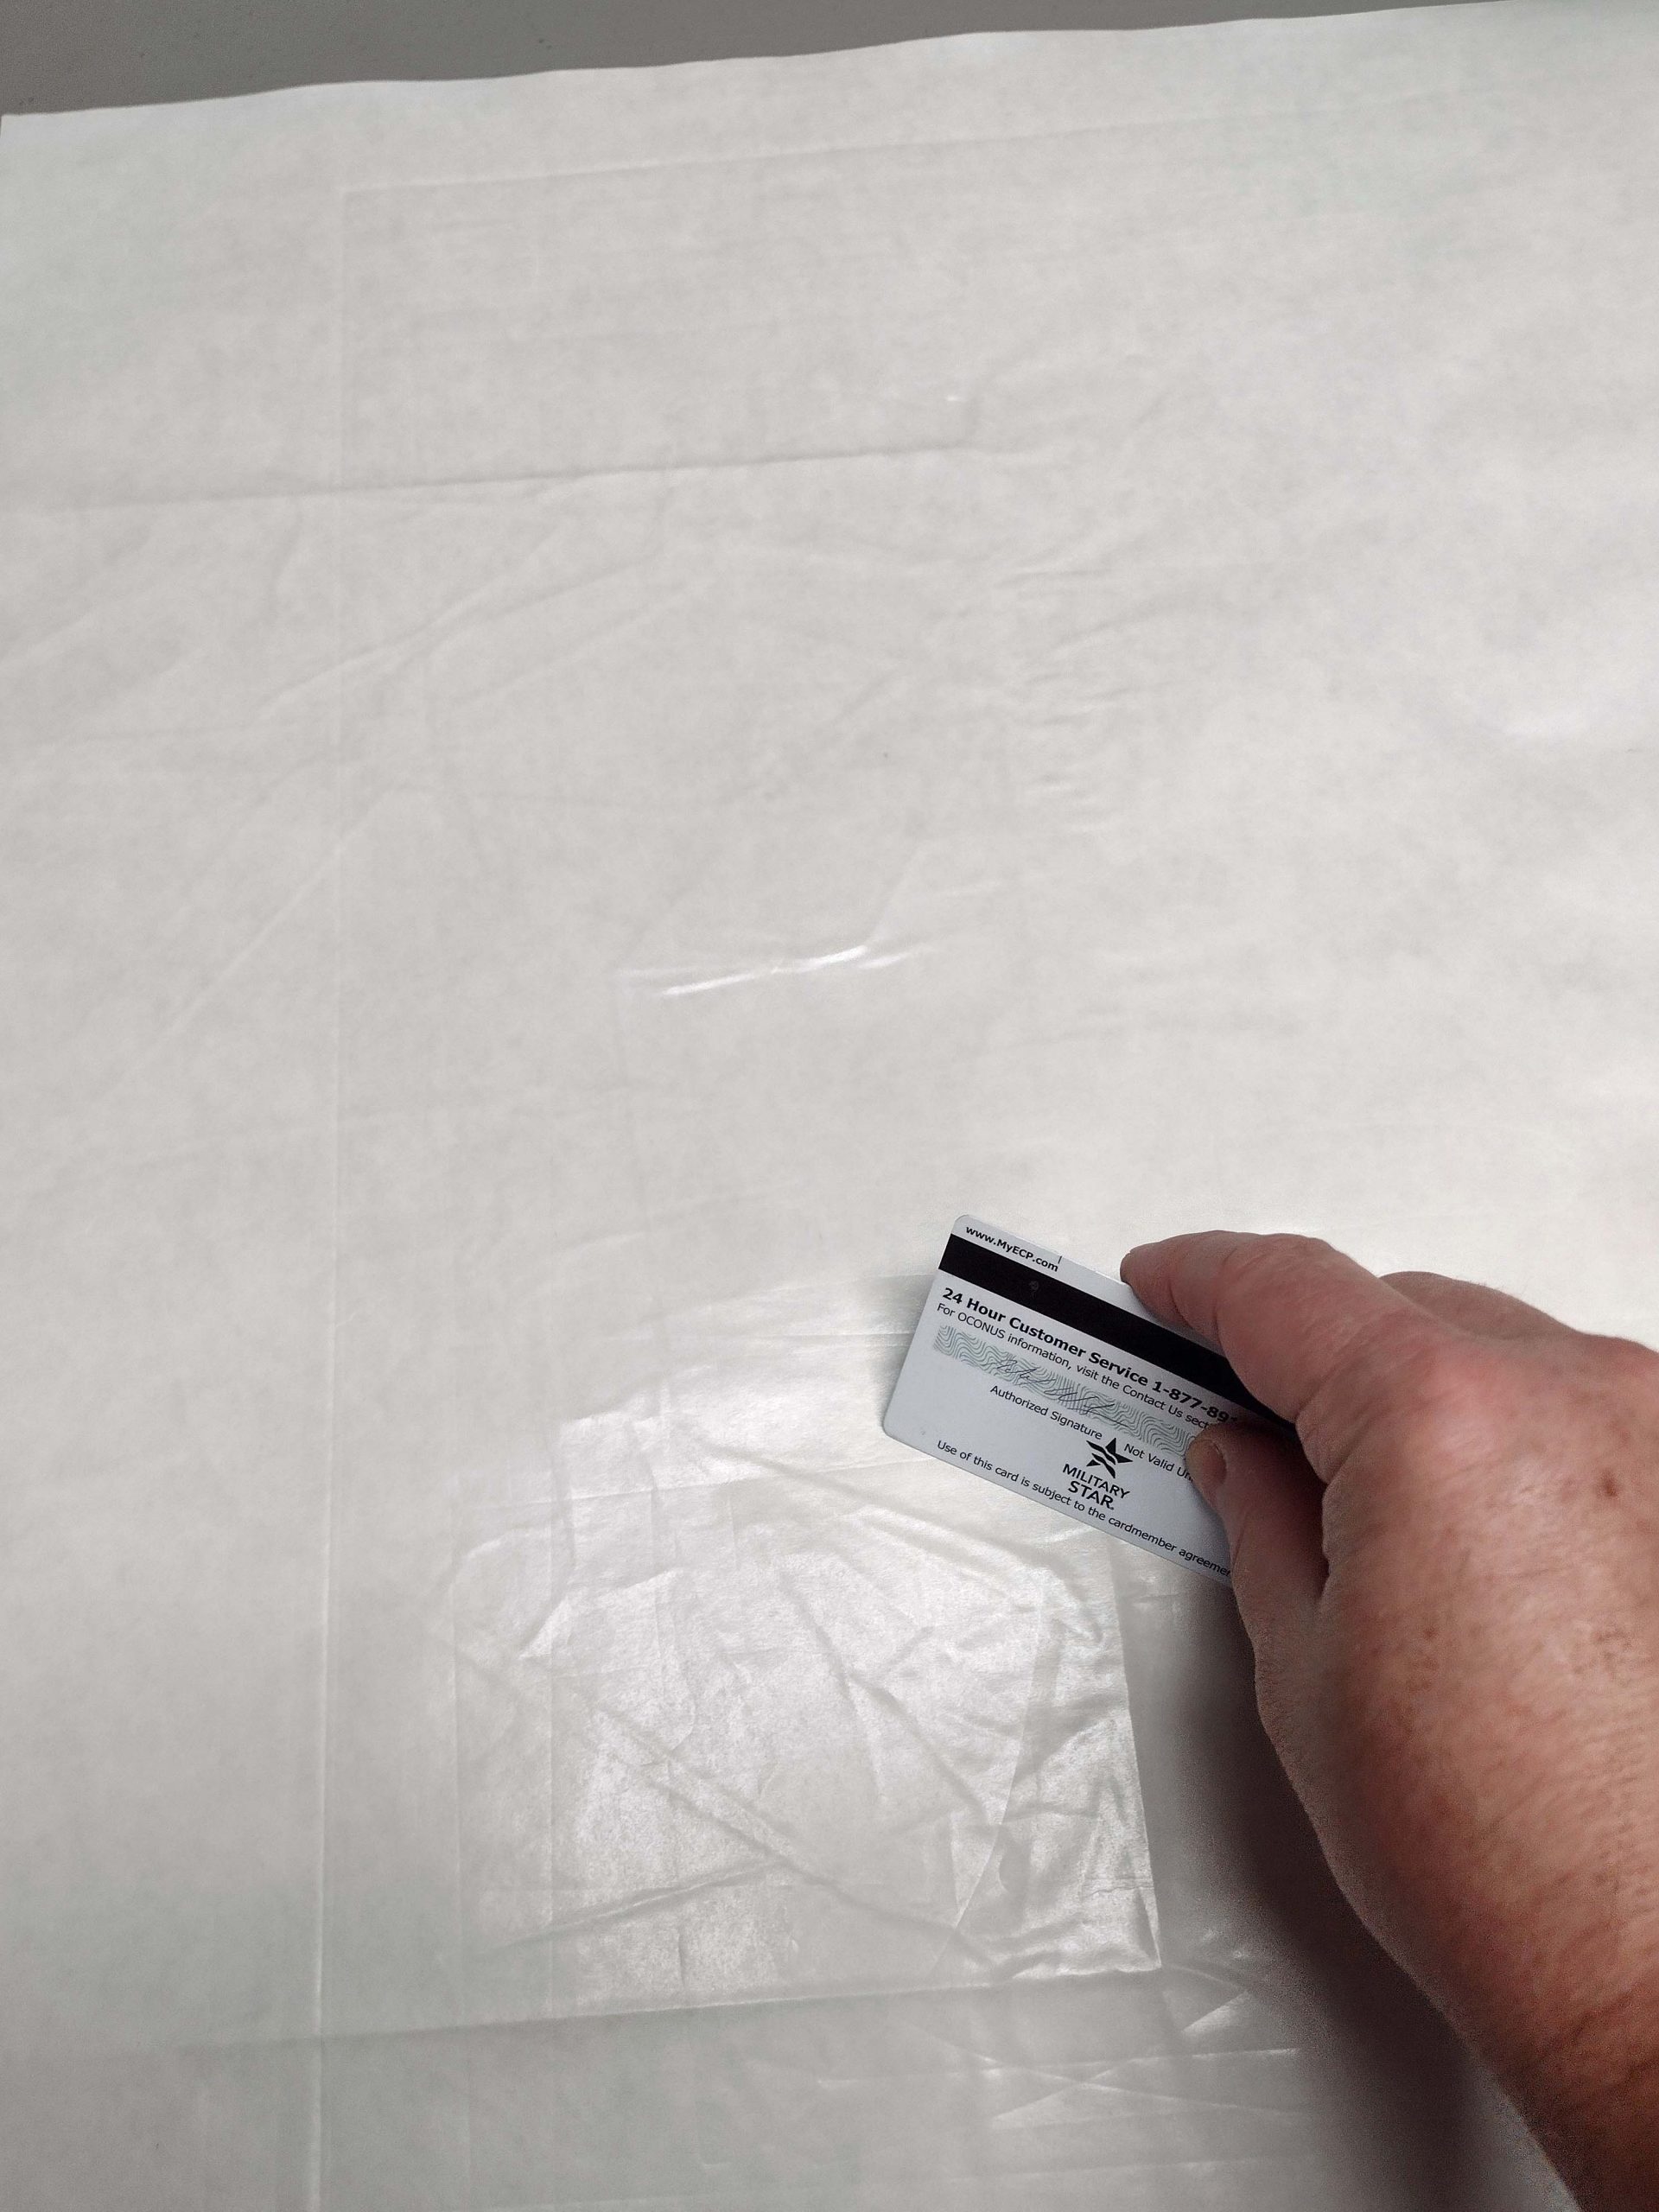
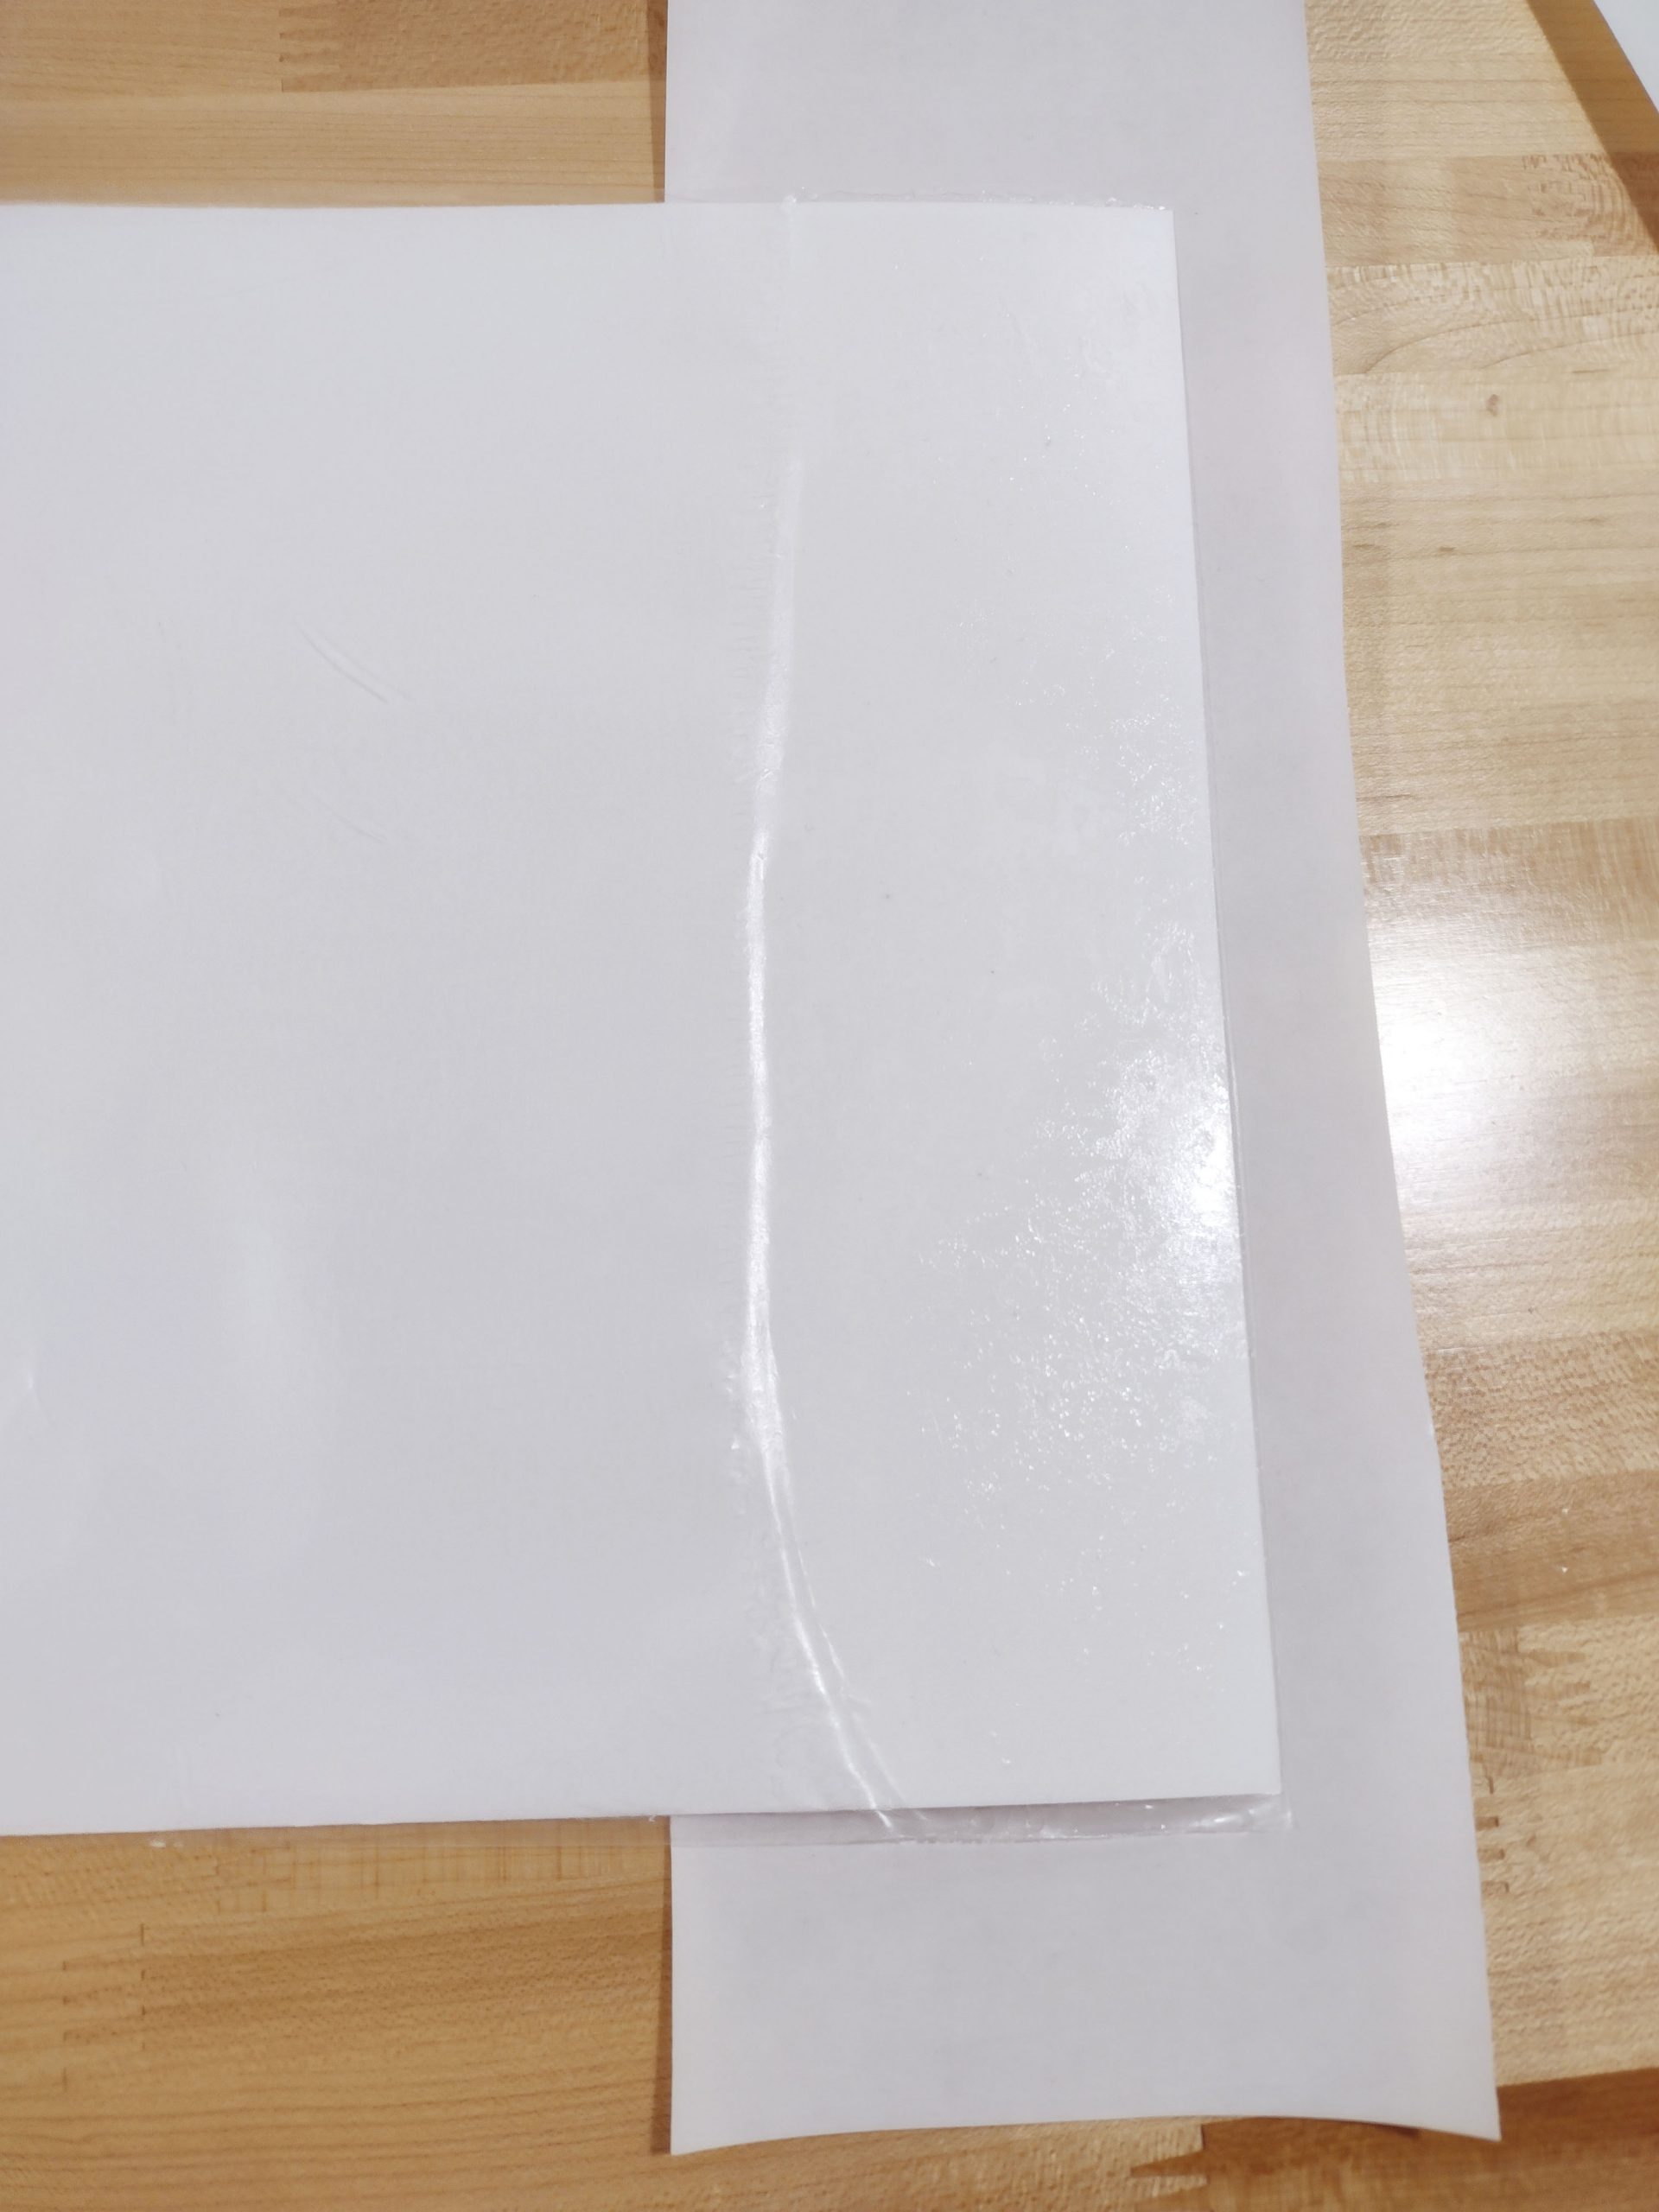
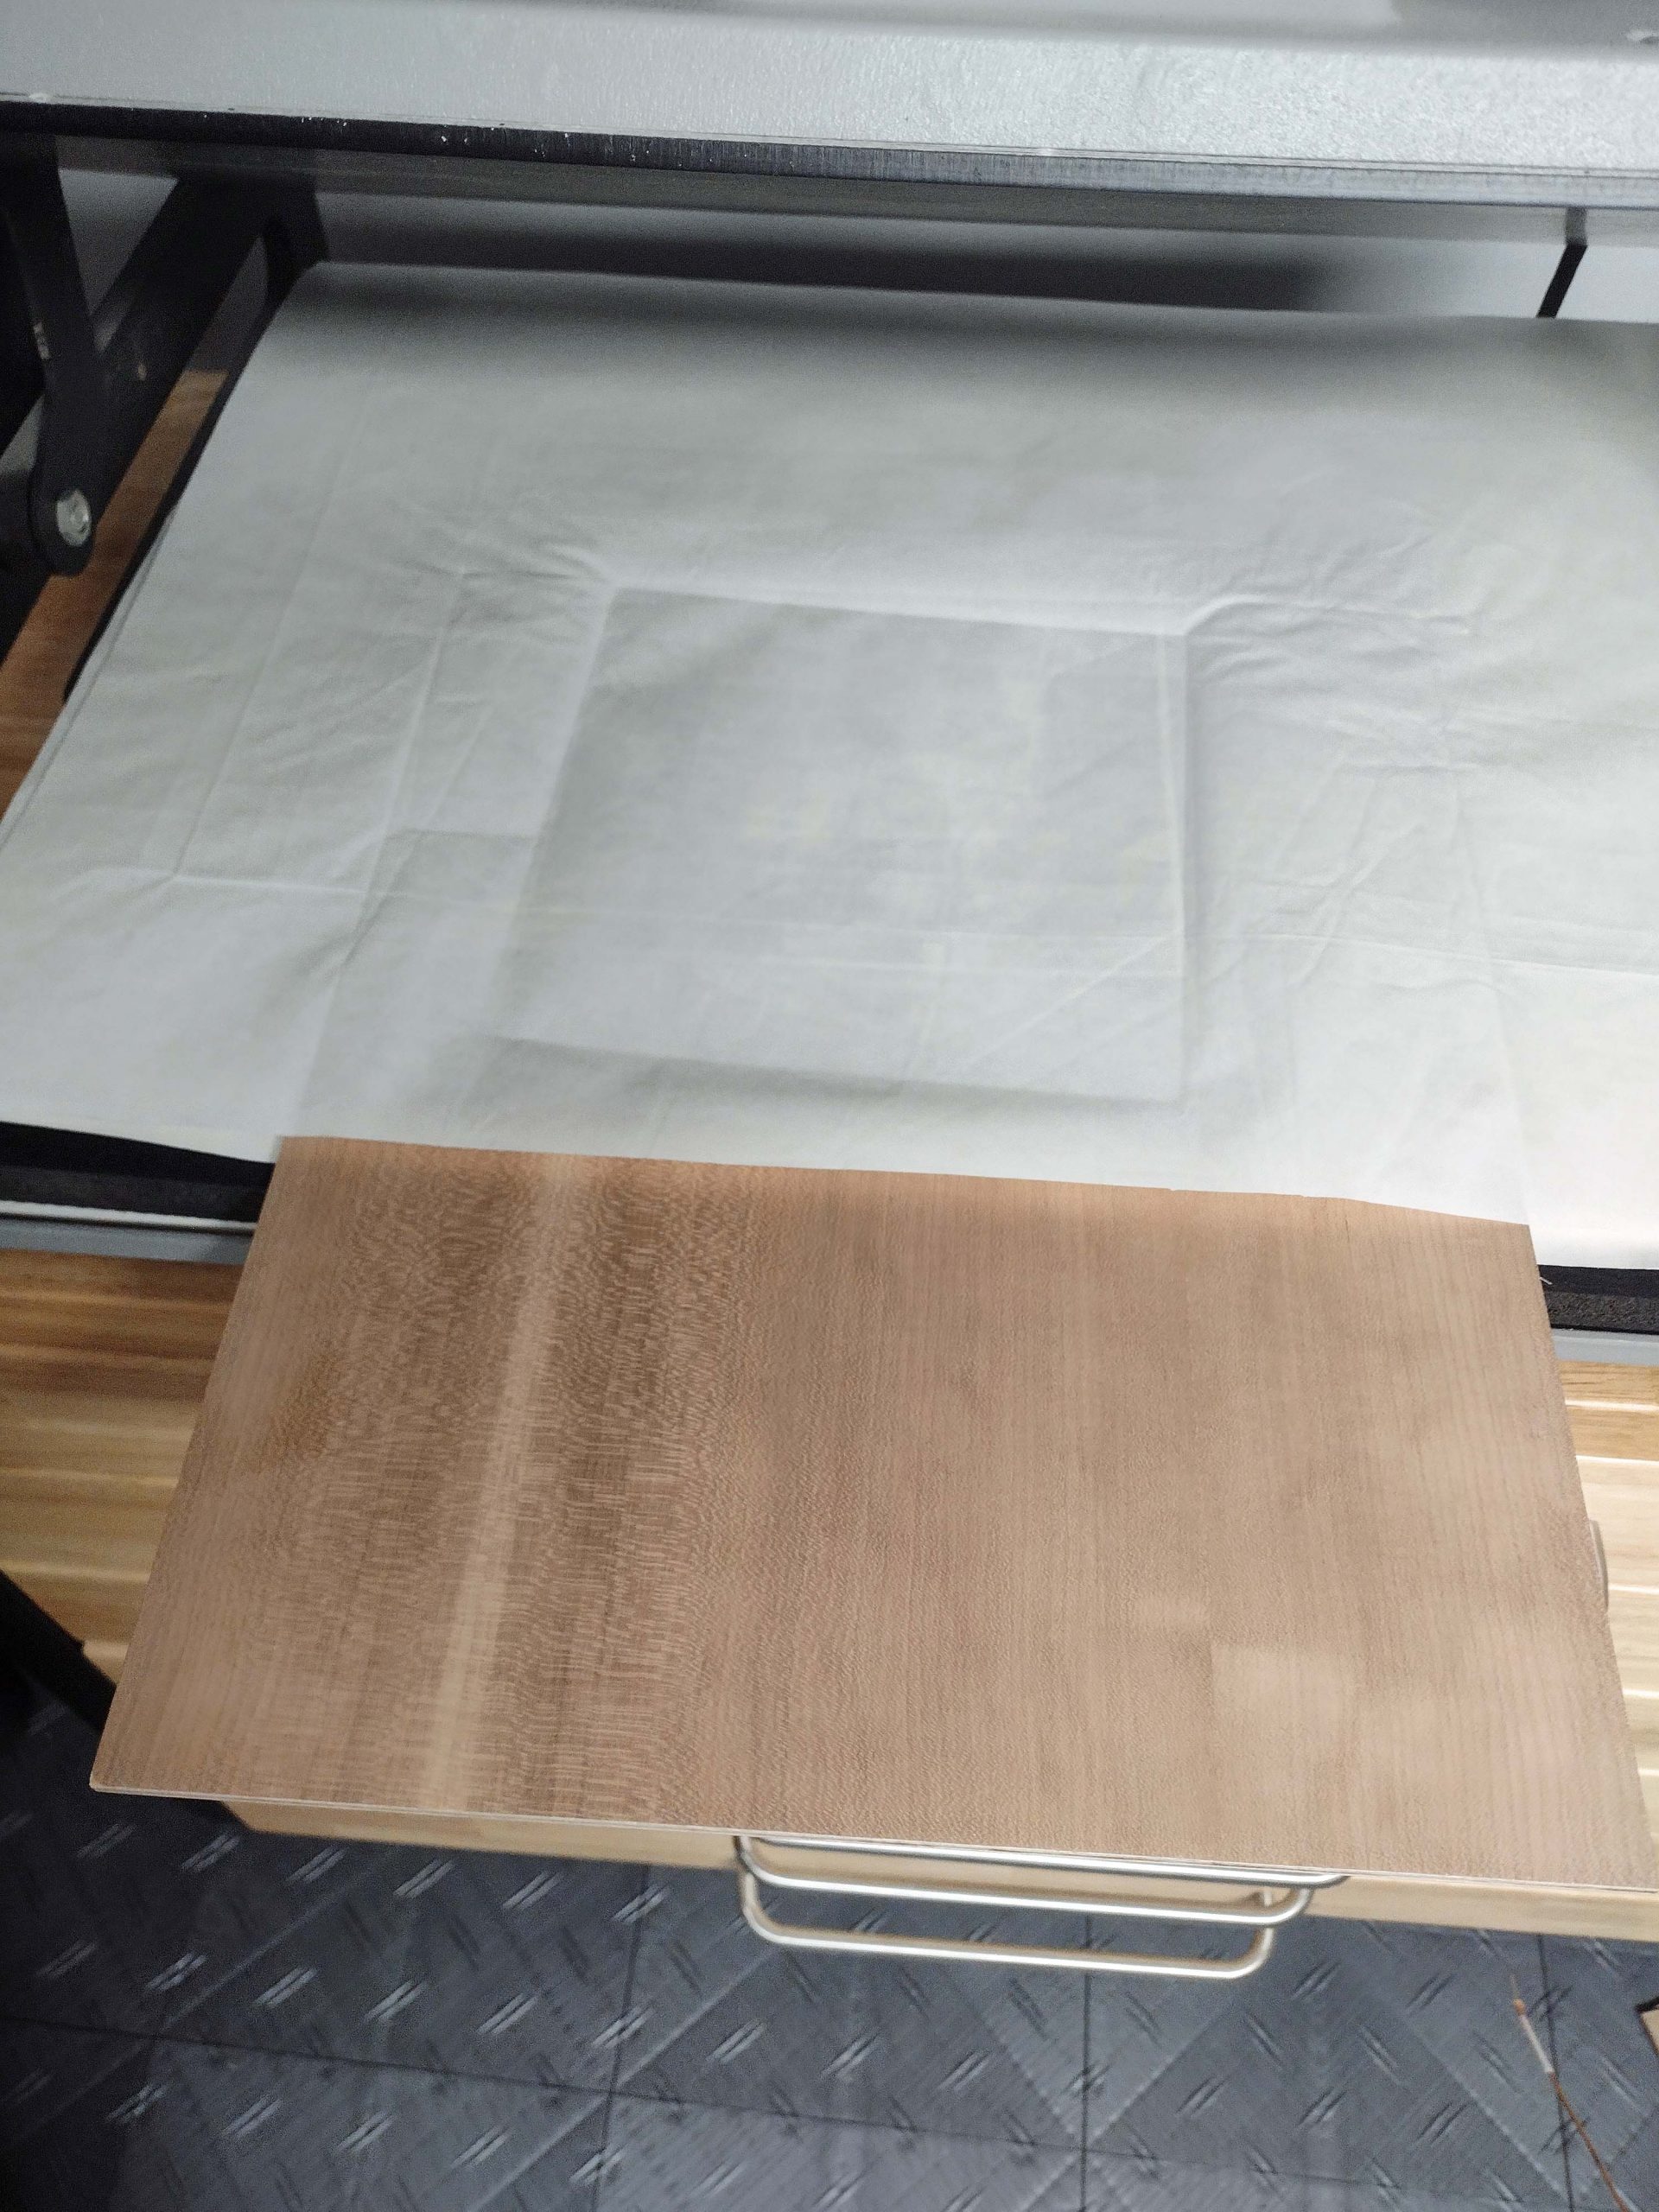
In your press, you should have two large pieces of release paper that are the size of the platens. One side of the paper is shinier than the other side. That shiny side is the side that goes towards the item you are mounting. This paper can be reused many times, but make sure it is clean and does not have any residual adhesive from prior projects.
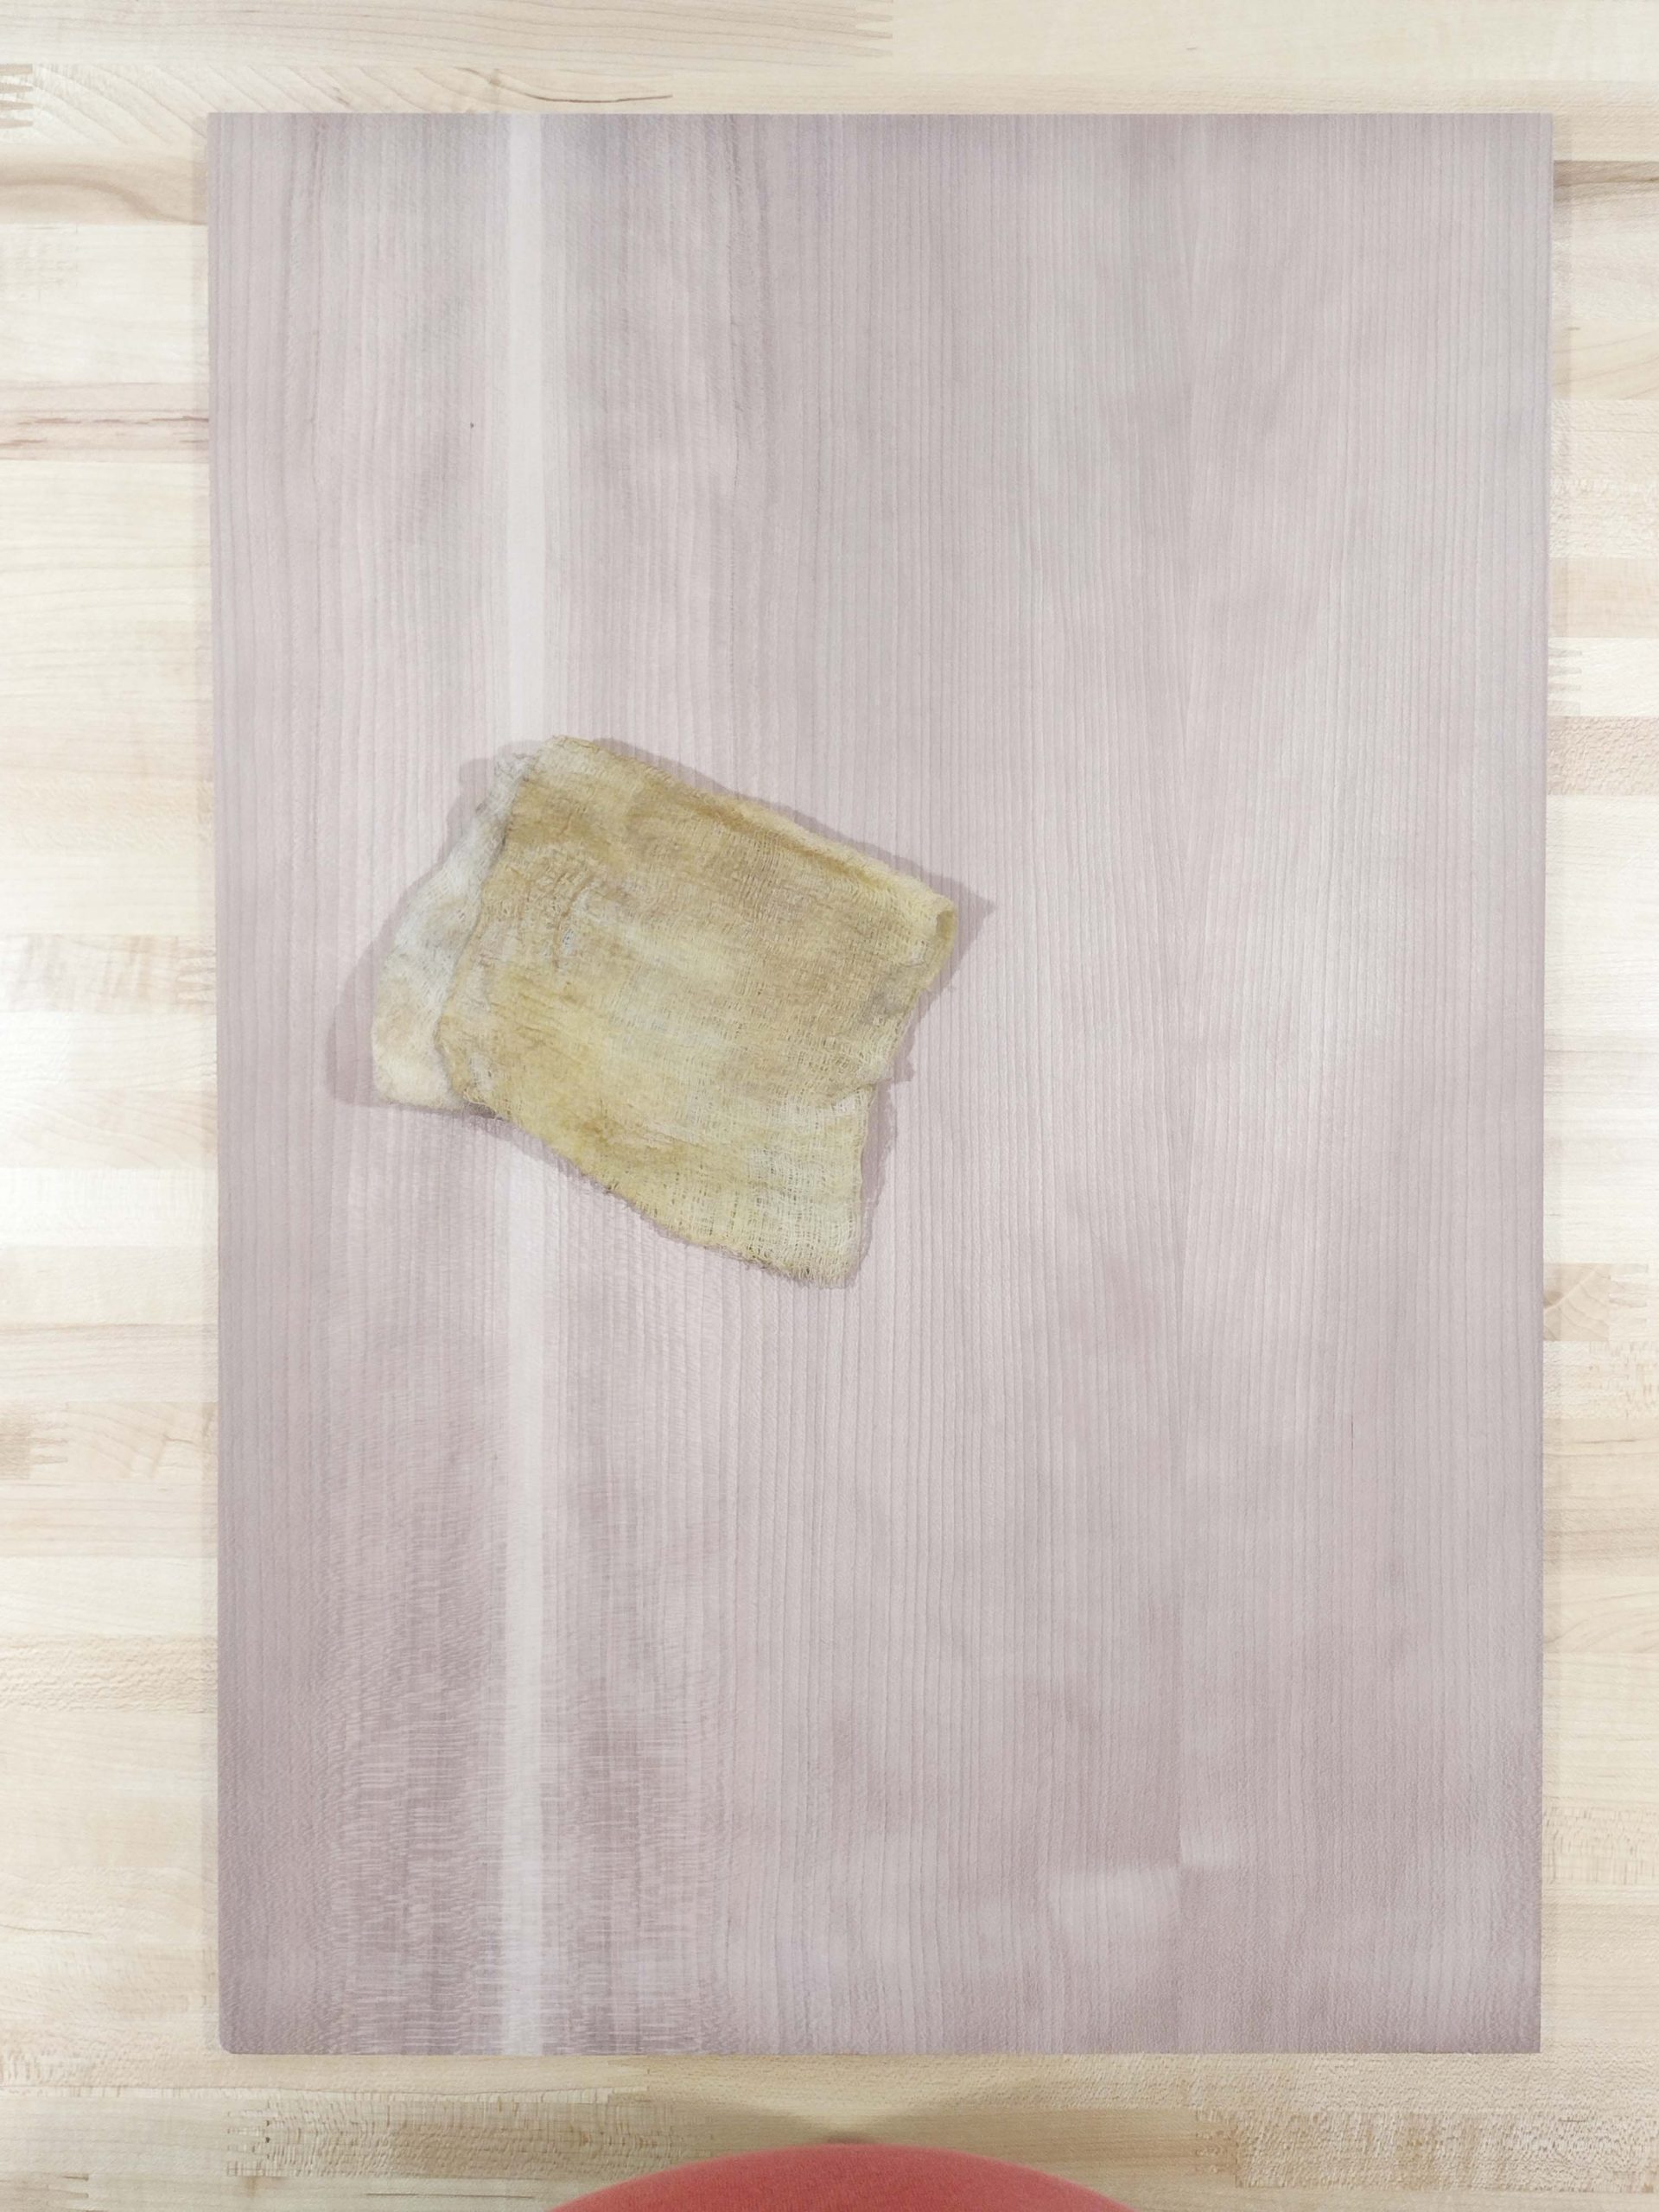
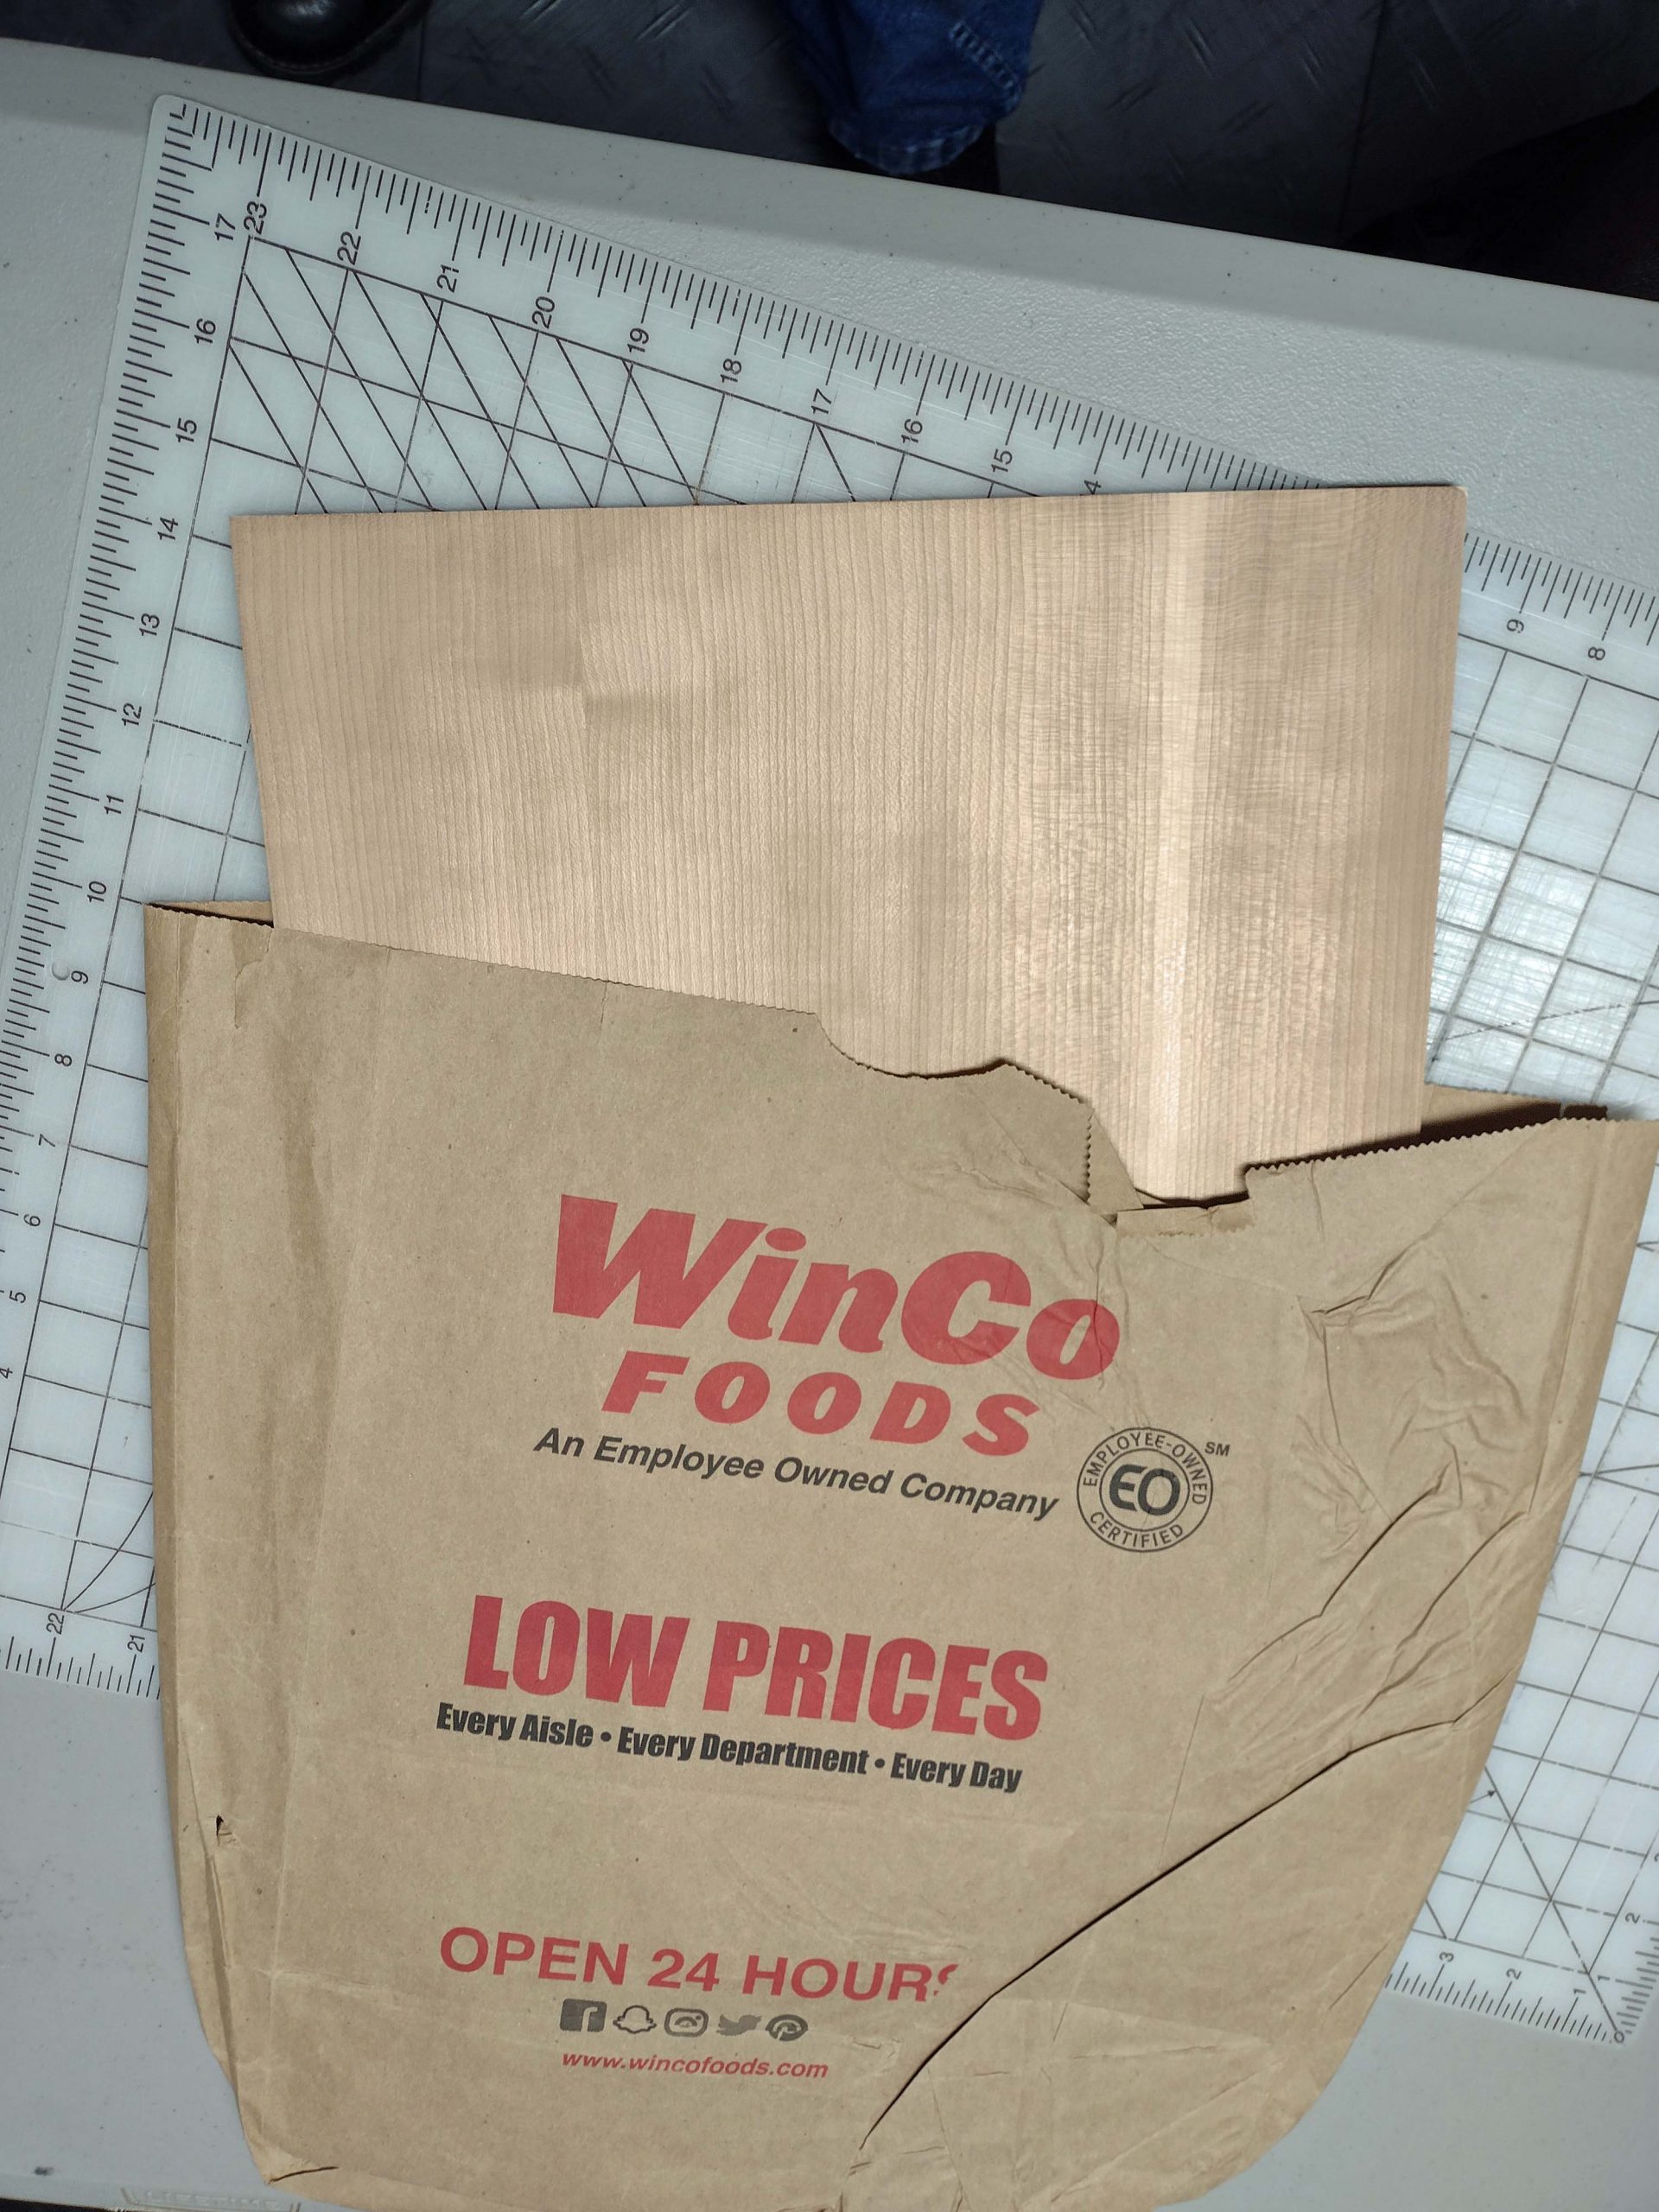
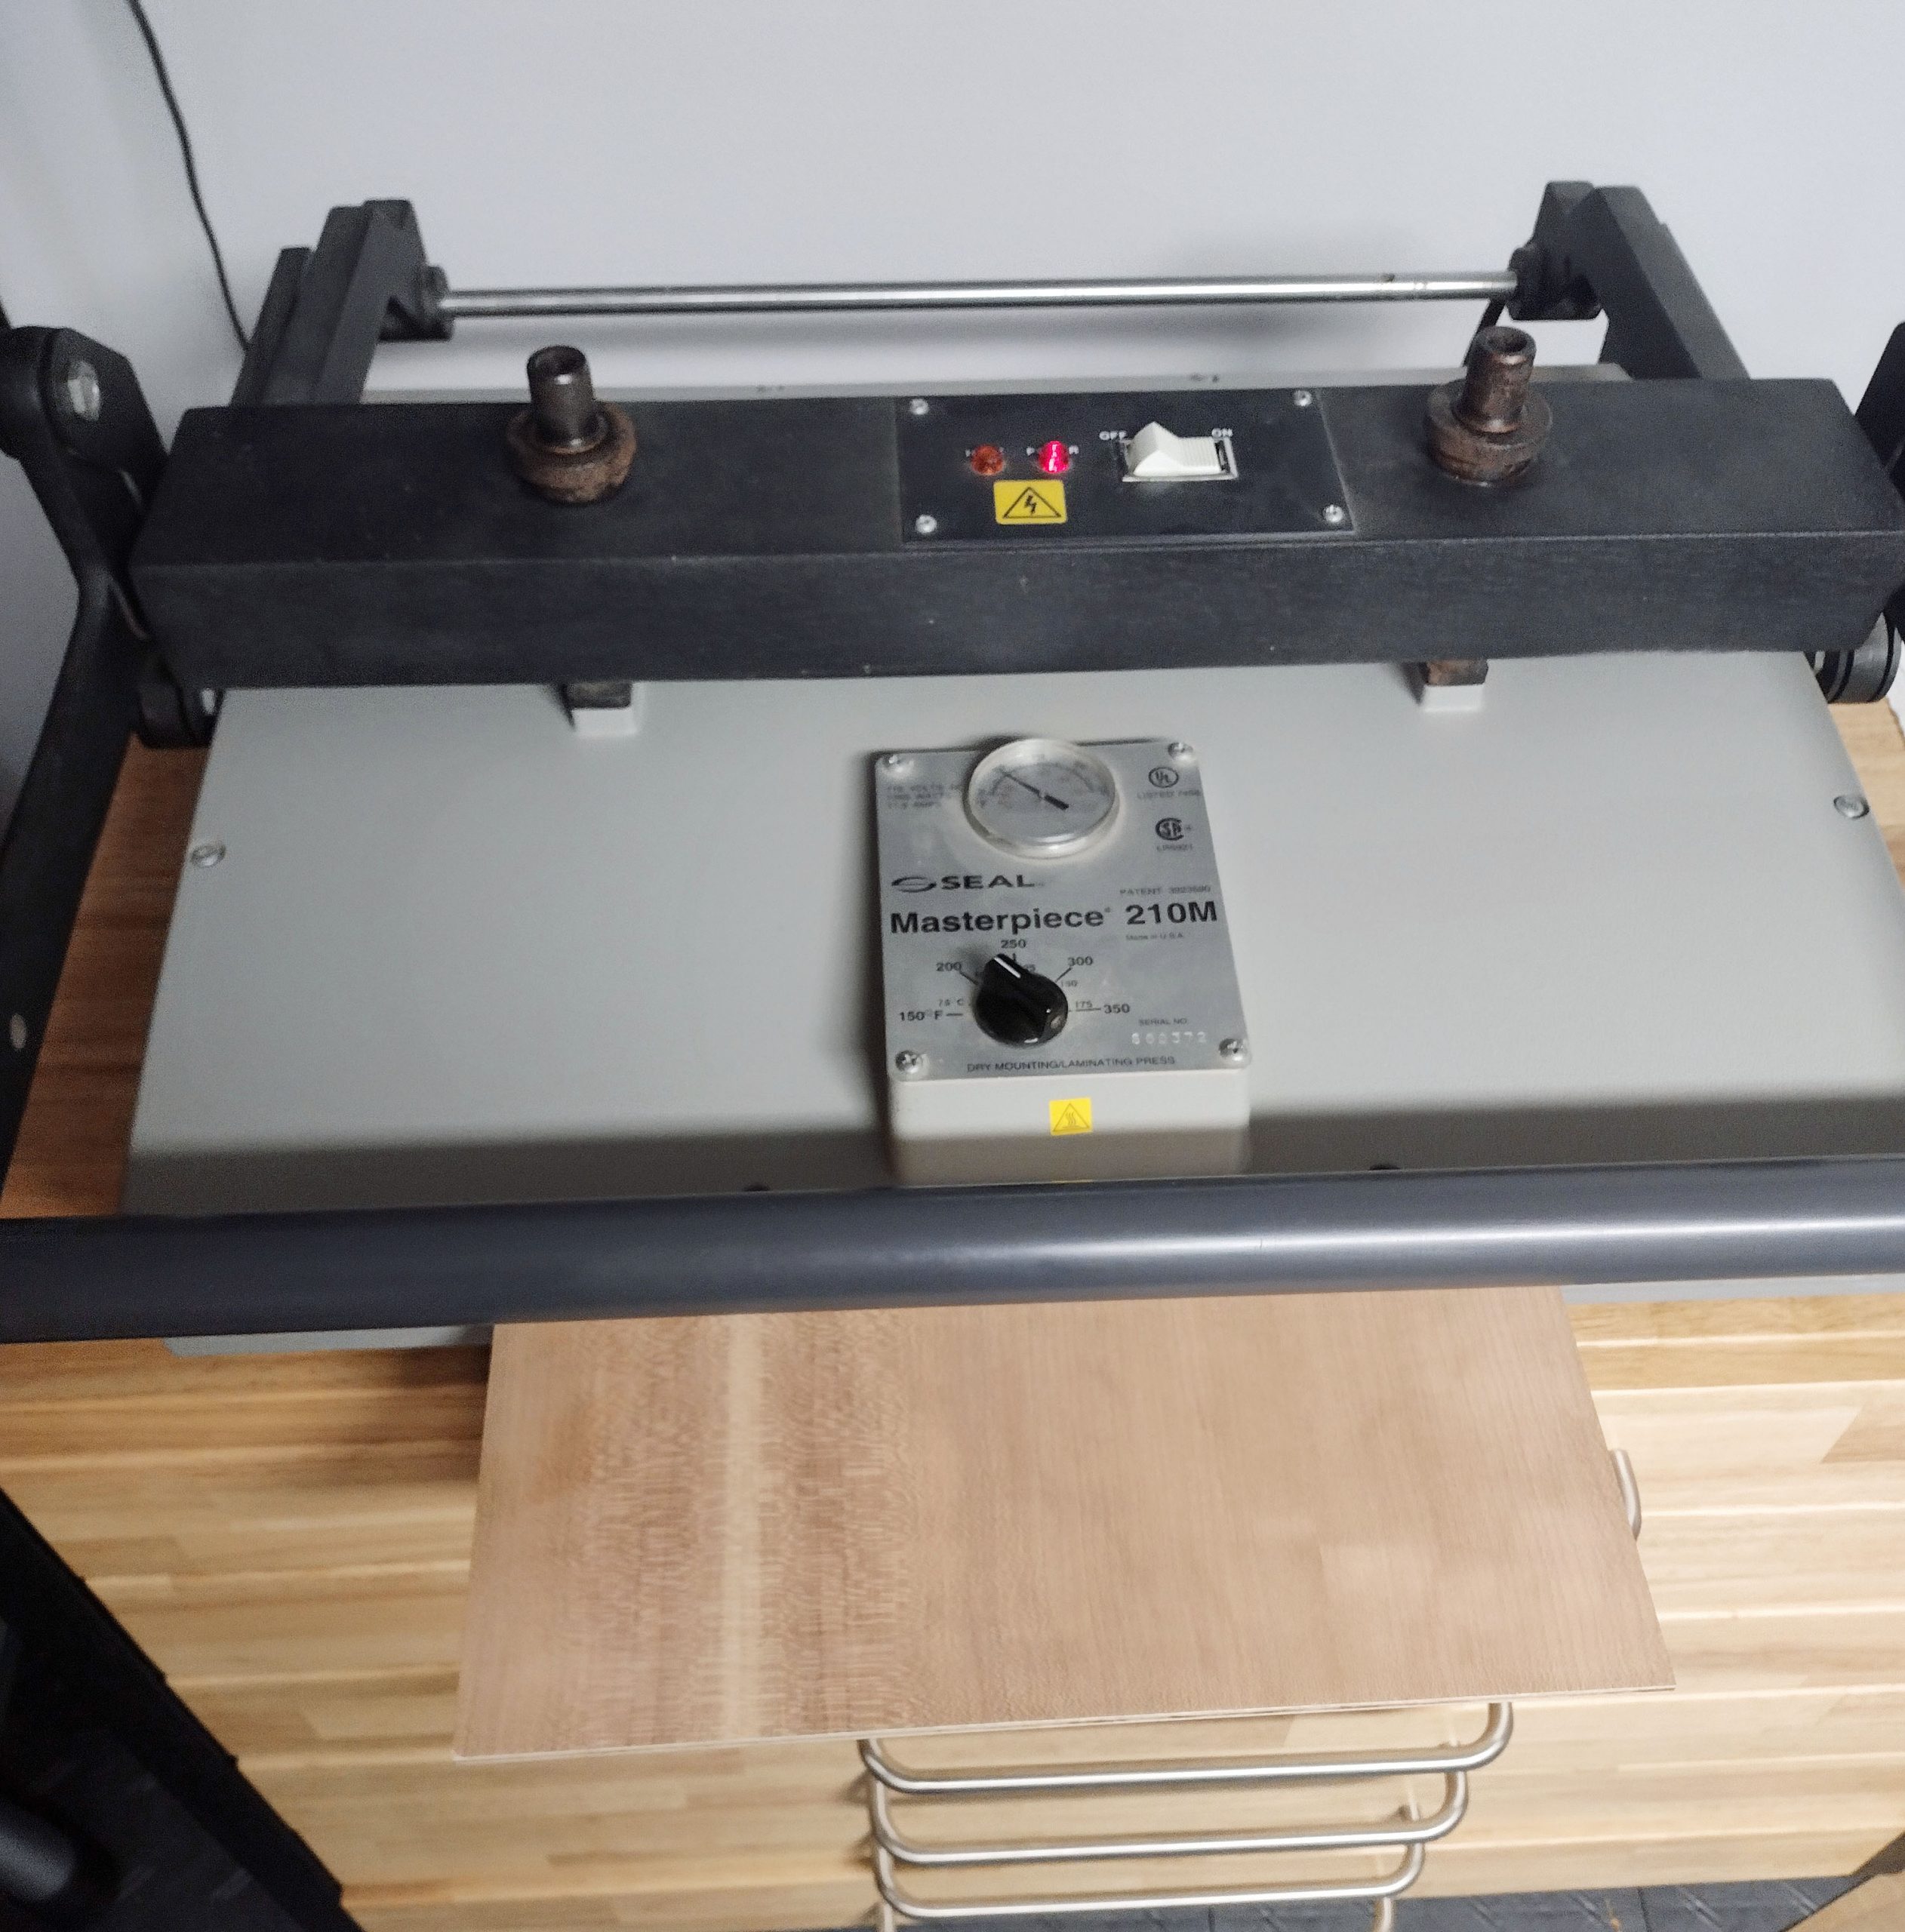
One of the key elements of successful bonding is to minimize the amount of moisture present in the process. I store my cut and sanded wood in the basement workroom of my house where the temperature and moisture are relatively stable. Additionally, some sources (including the dry mount press owner’s manual) recommend pre-drying the materials to be mounted. To do this, wrap the mounting material with brown paper or kraft cloth and place it in the warmed-up press. This tends to drive the moisture out of the wood and into the paper. If your wood is particularly damp, you may want to do this step several times with different pieces of paper to get it as dry as possible. I just use a paper bag from the grocery store. I put this in the press while I am getting the image and adhesive ready. Since I am only using one end of the board, I am not covering the entire thing.
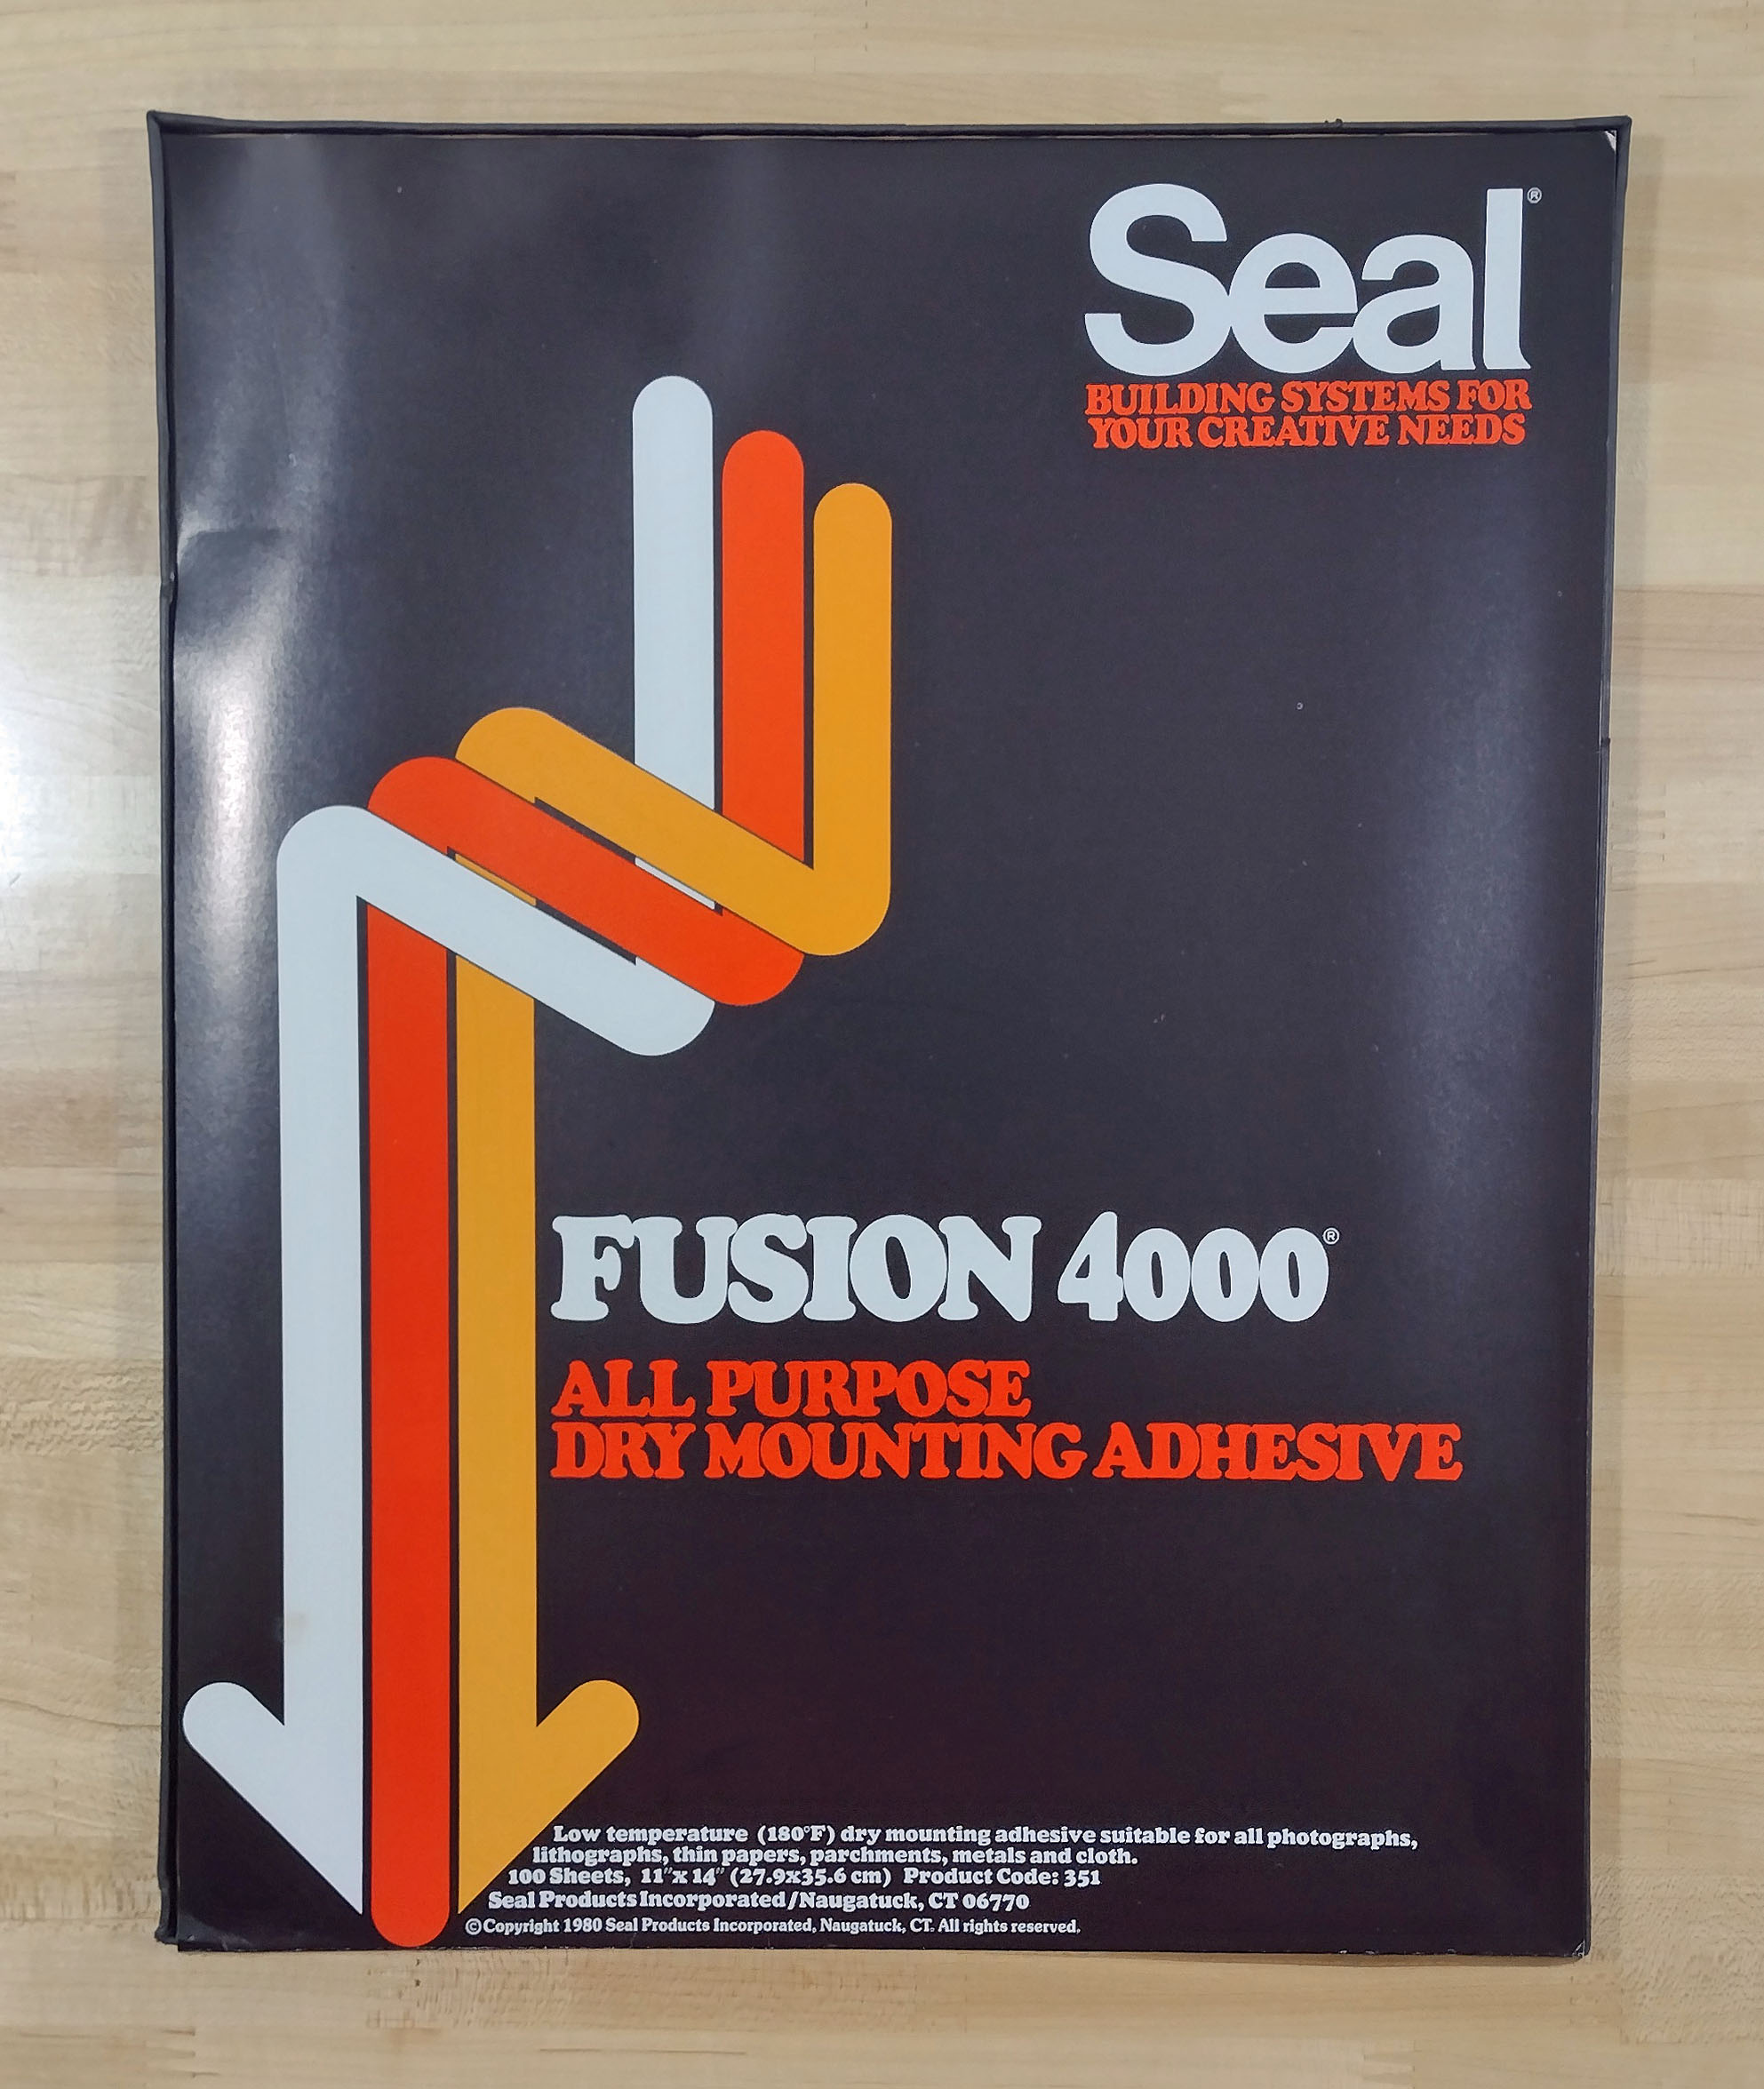
While that is heating up, I get the image and the adhesive ready. I use Fusion 4000 adhesive. I have a large roll I bought years ago. It is getting pretty well used up. I found out this stuff is no longer made, so I went on a search to buy some new old stock. I found a package of precut pieces on eBay, which is what I am using for this project. I have since bought two more large rolls from a source in Great Britain. Believe it or not, the rolls from Great Britain ended up costing less than my original roll I bought in 2012, even after factoring in the shipping cost.
Select a piece and trim it to the size of the image. You want it just a little bit bigger than the image, maybe about a 1/16 or 1/8 inch all around.
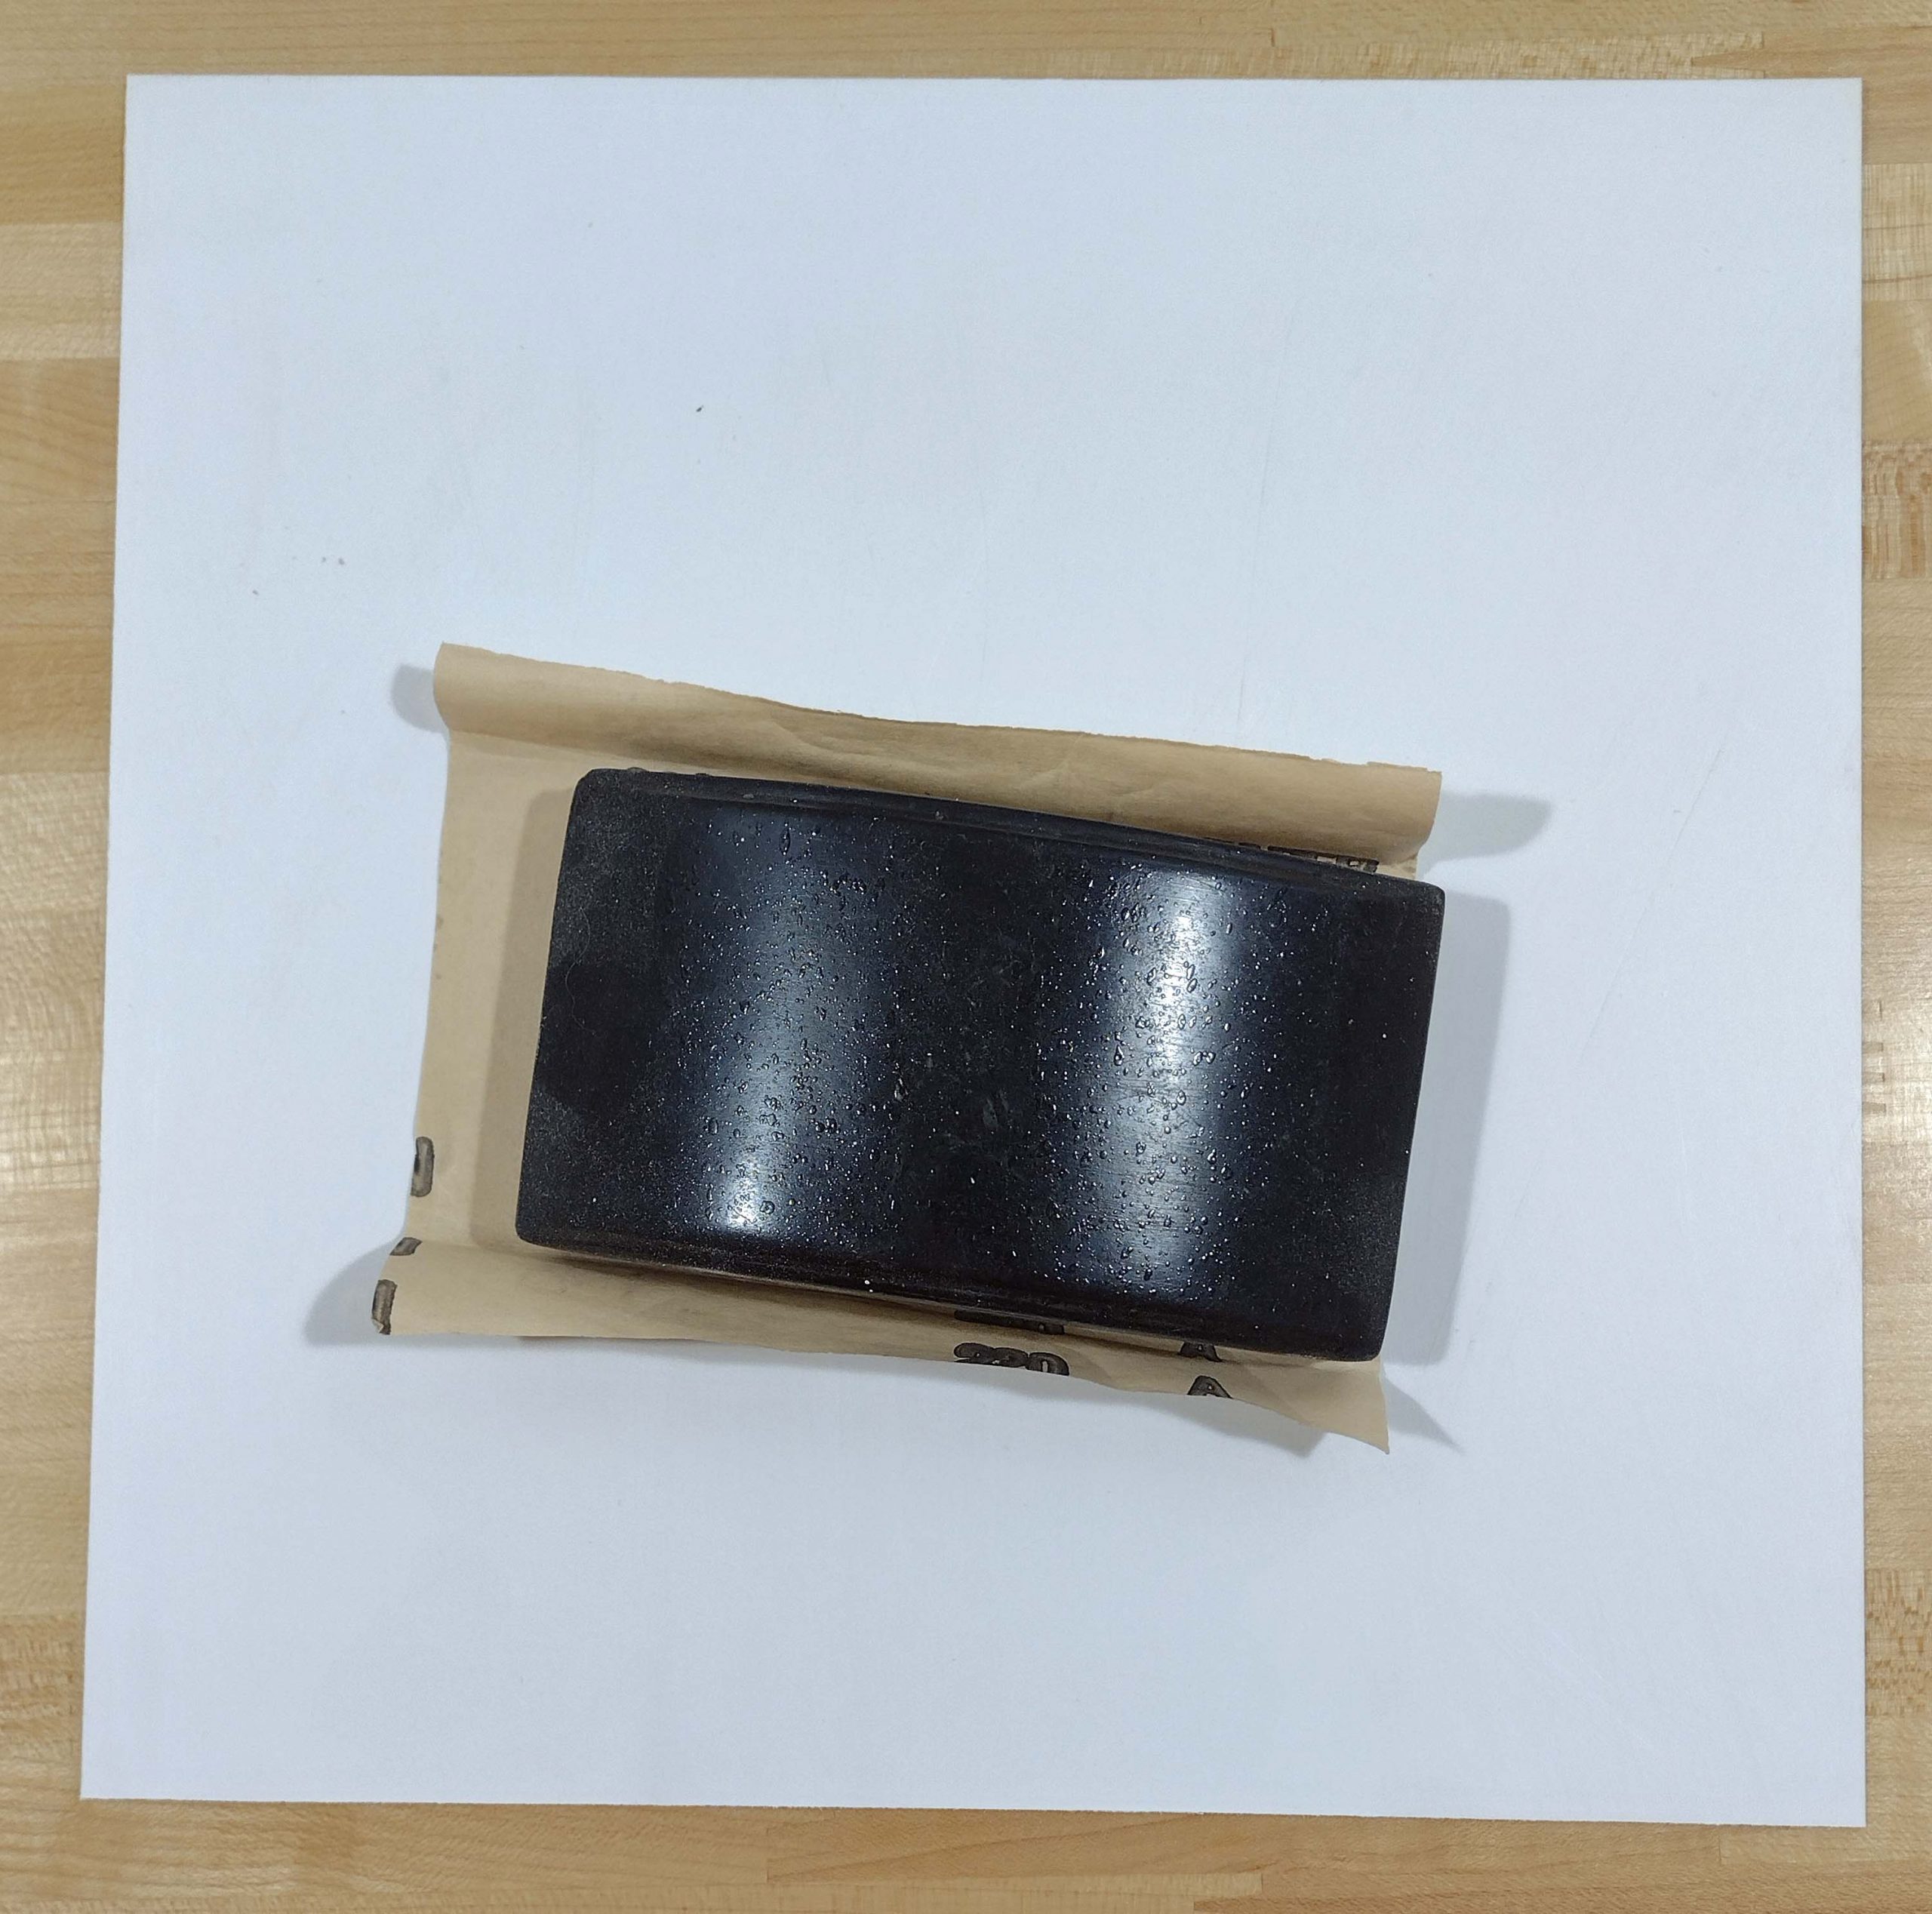
Once the adhesive is trimmed, you need to prepare the back of the image. I have learned that some of the modern photo paper is treated on the back so that it feeds through the printers more smoothly. Unfortunately, this treatment can cause adhesion difficulties. It has been recommended that the back of the image be lightly abraded with sandpaper. You are not sanding it, just roughing it up. I just take a single pass over each area.
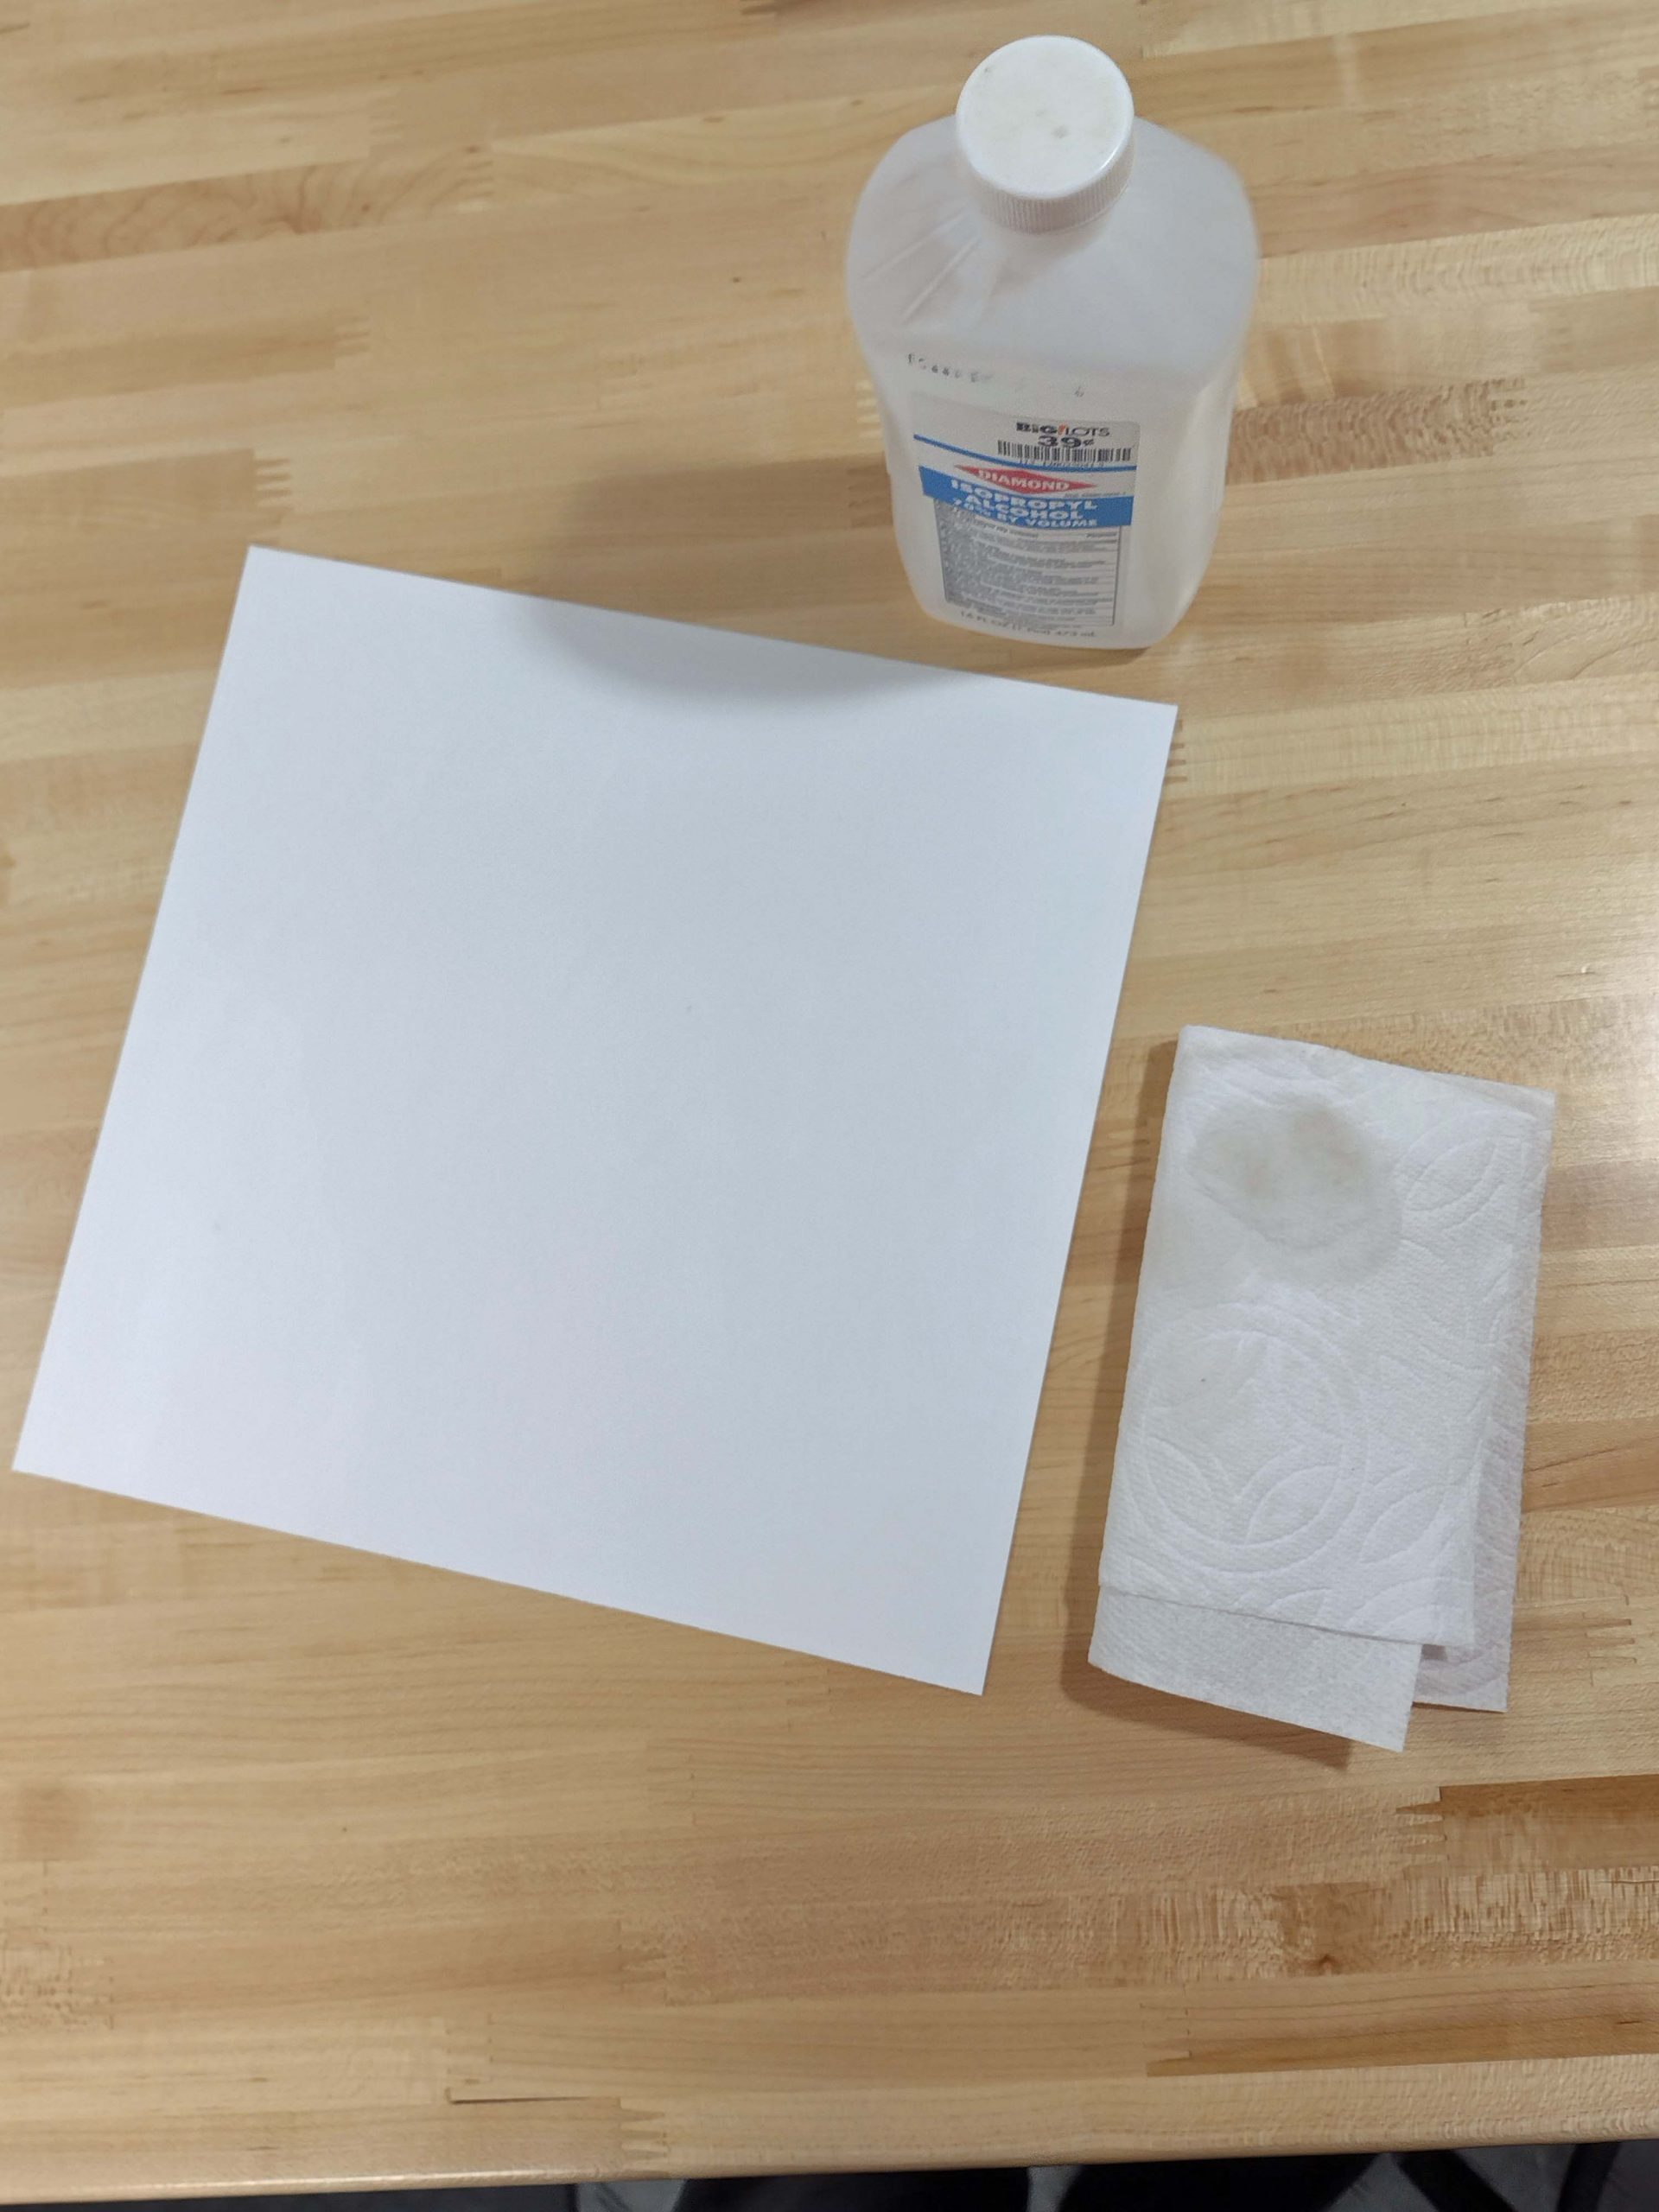
Next, I wipe off any dust from the process and then final clean it with isopropyl alcohol.
Next, place a small piece of release paper on your work surface. Place the image face down on the release paper. Place the adhesive on the image back. Place another small piece of release paper on top. Use a tacking iron to melt one side of the adhesive to the image.
This anchors the adhesive to the image. If you try to put everything in the press without this step, you will have a harder time.
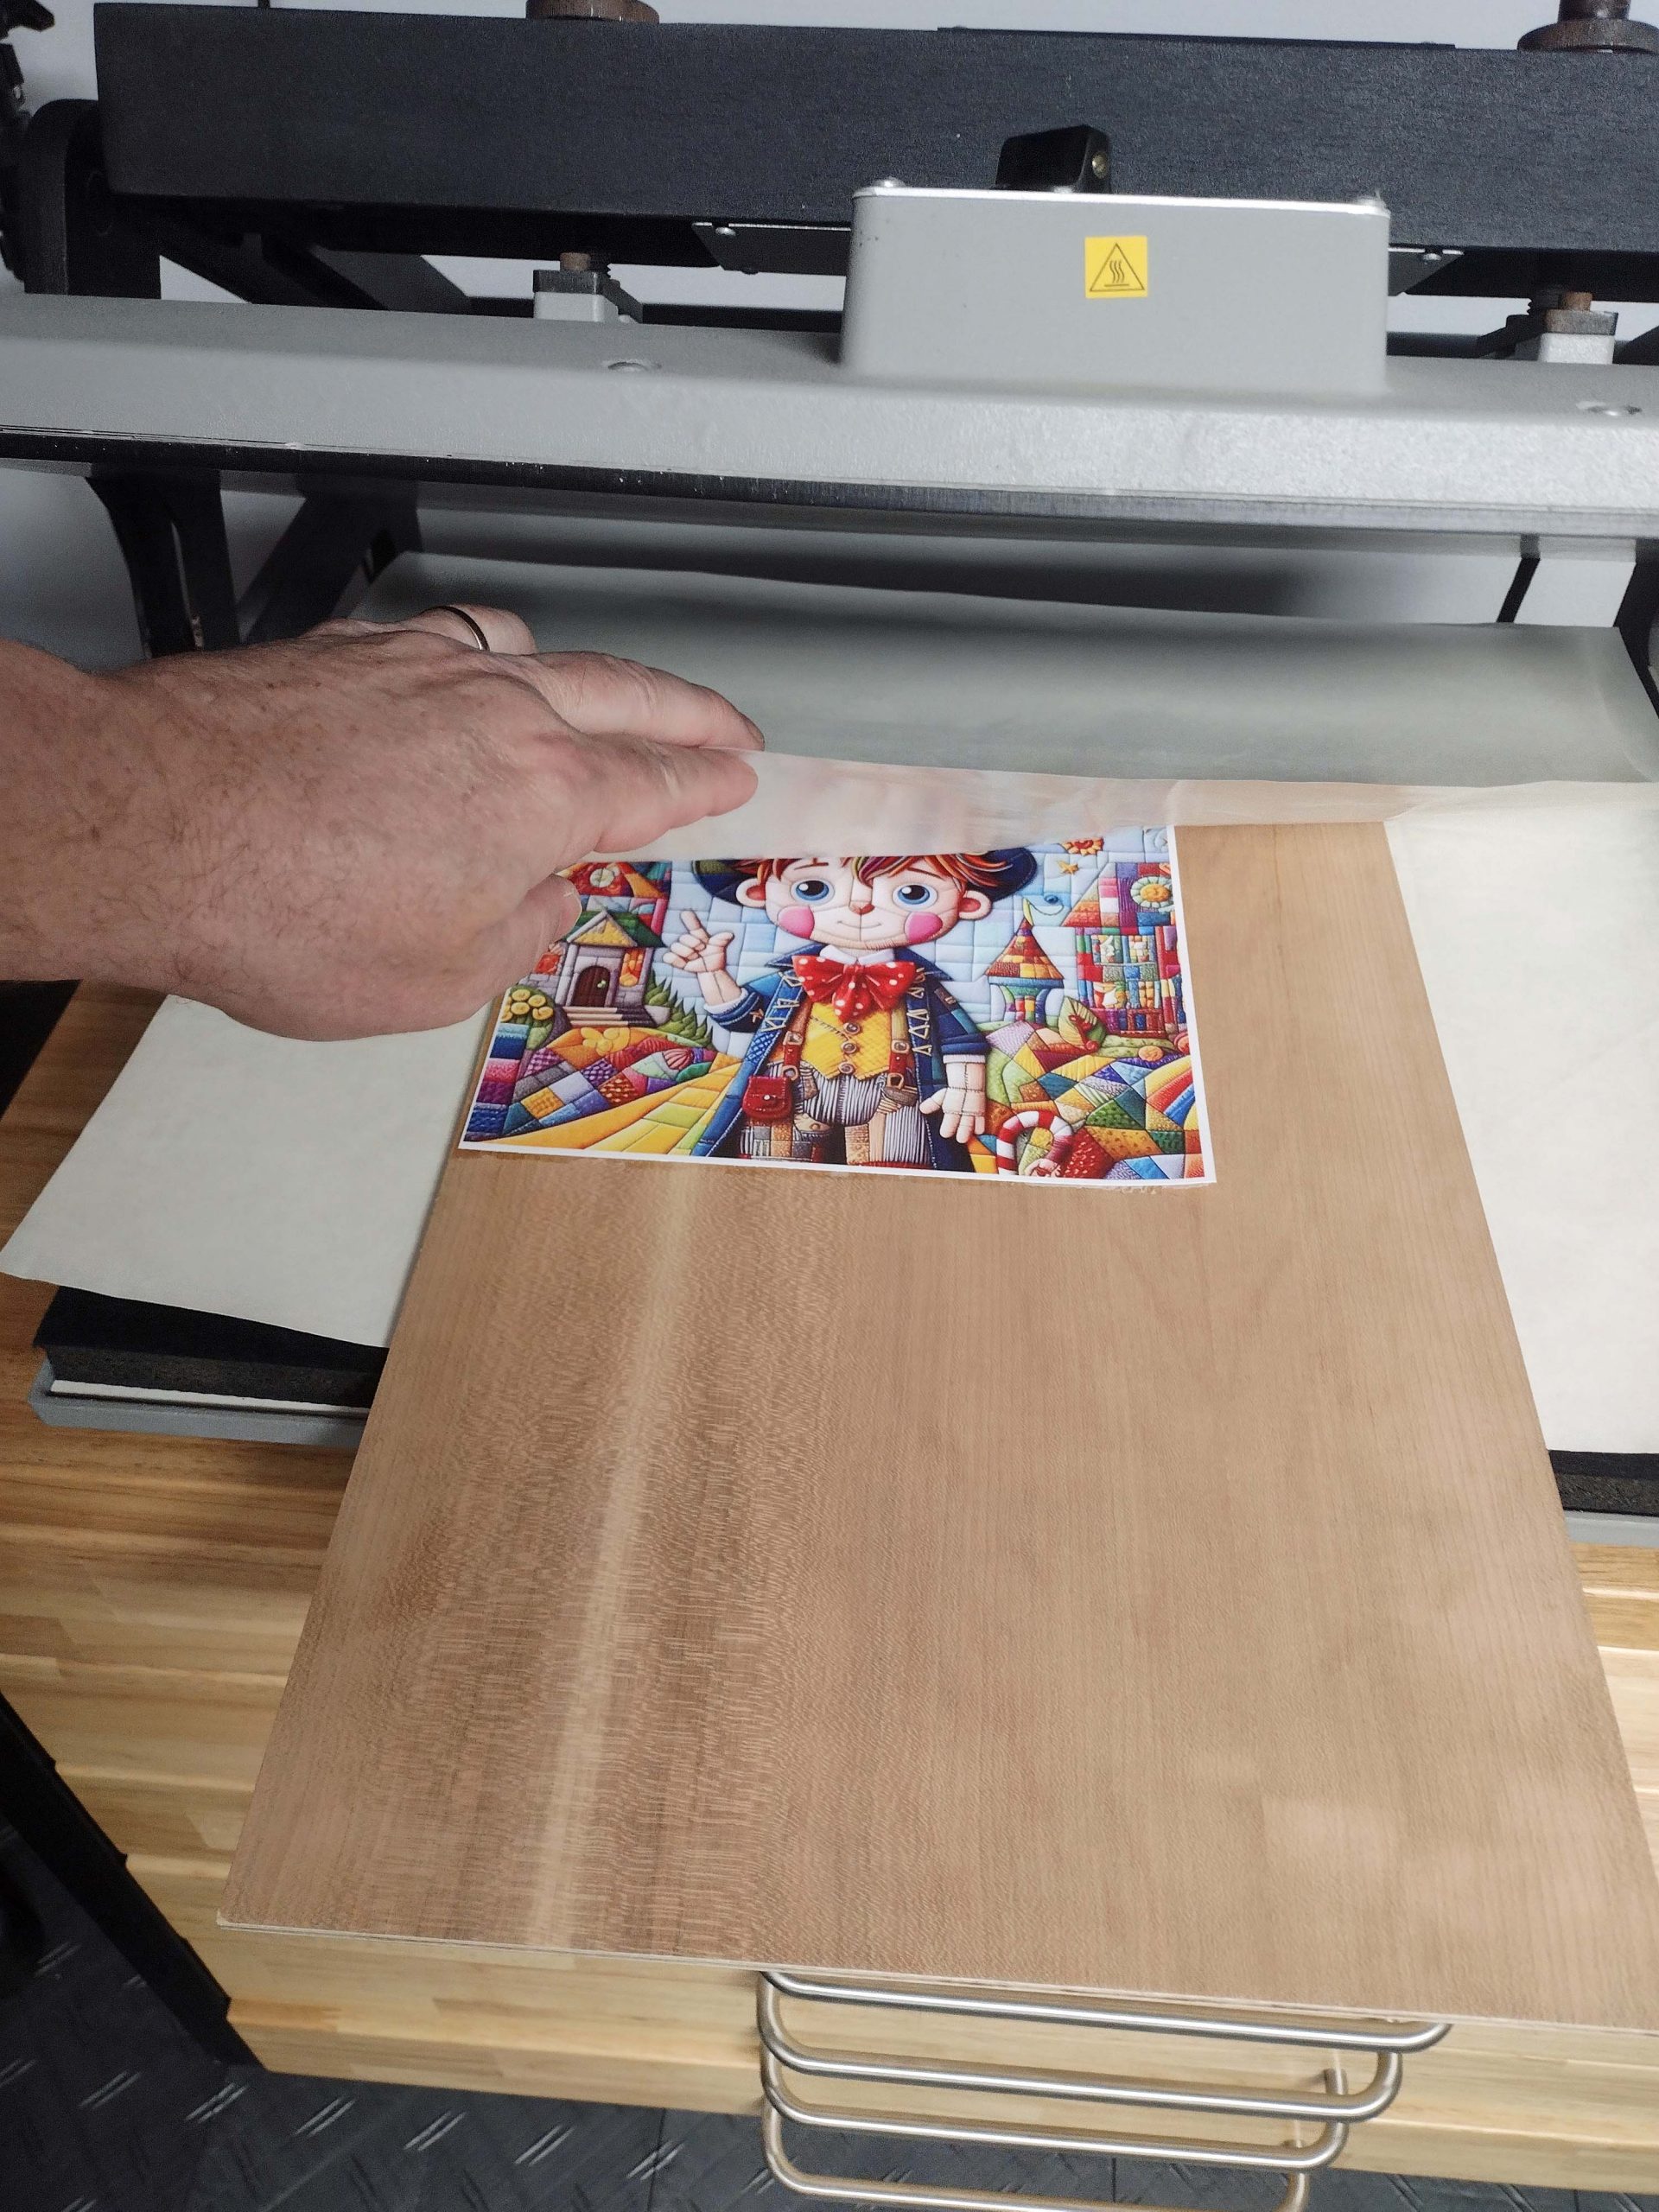
Next, pull the warmed-up wood from the press and remove the paper bag. (Remember to close the press to keep it from cooling down.) Let the wood cool enough that the adhesive does not melt. Position the image/adhesive assembly where you want it on the plywood. Use the tacking iron and small piece of release paper to tack the opposite end of the assembly from where it was tacked in the last step.
Now, load it all in the warmed-up press.
- bottom piece of release paper
- plywood
- adhesive
- image
- top piece of release paper
Make sure the image and adhesive are properly lined up and the top piece of release paper is covering them.
Close the press and clamp it. Cook it for however long your adhesive requires. I use 4 minutes.
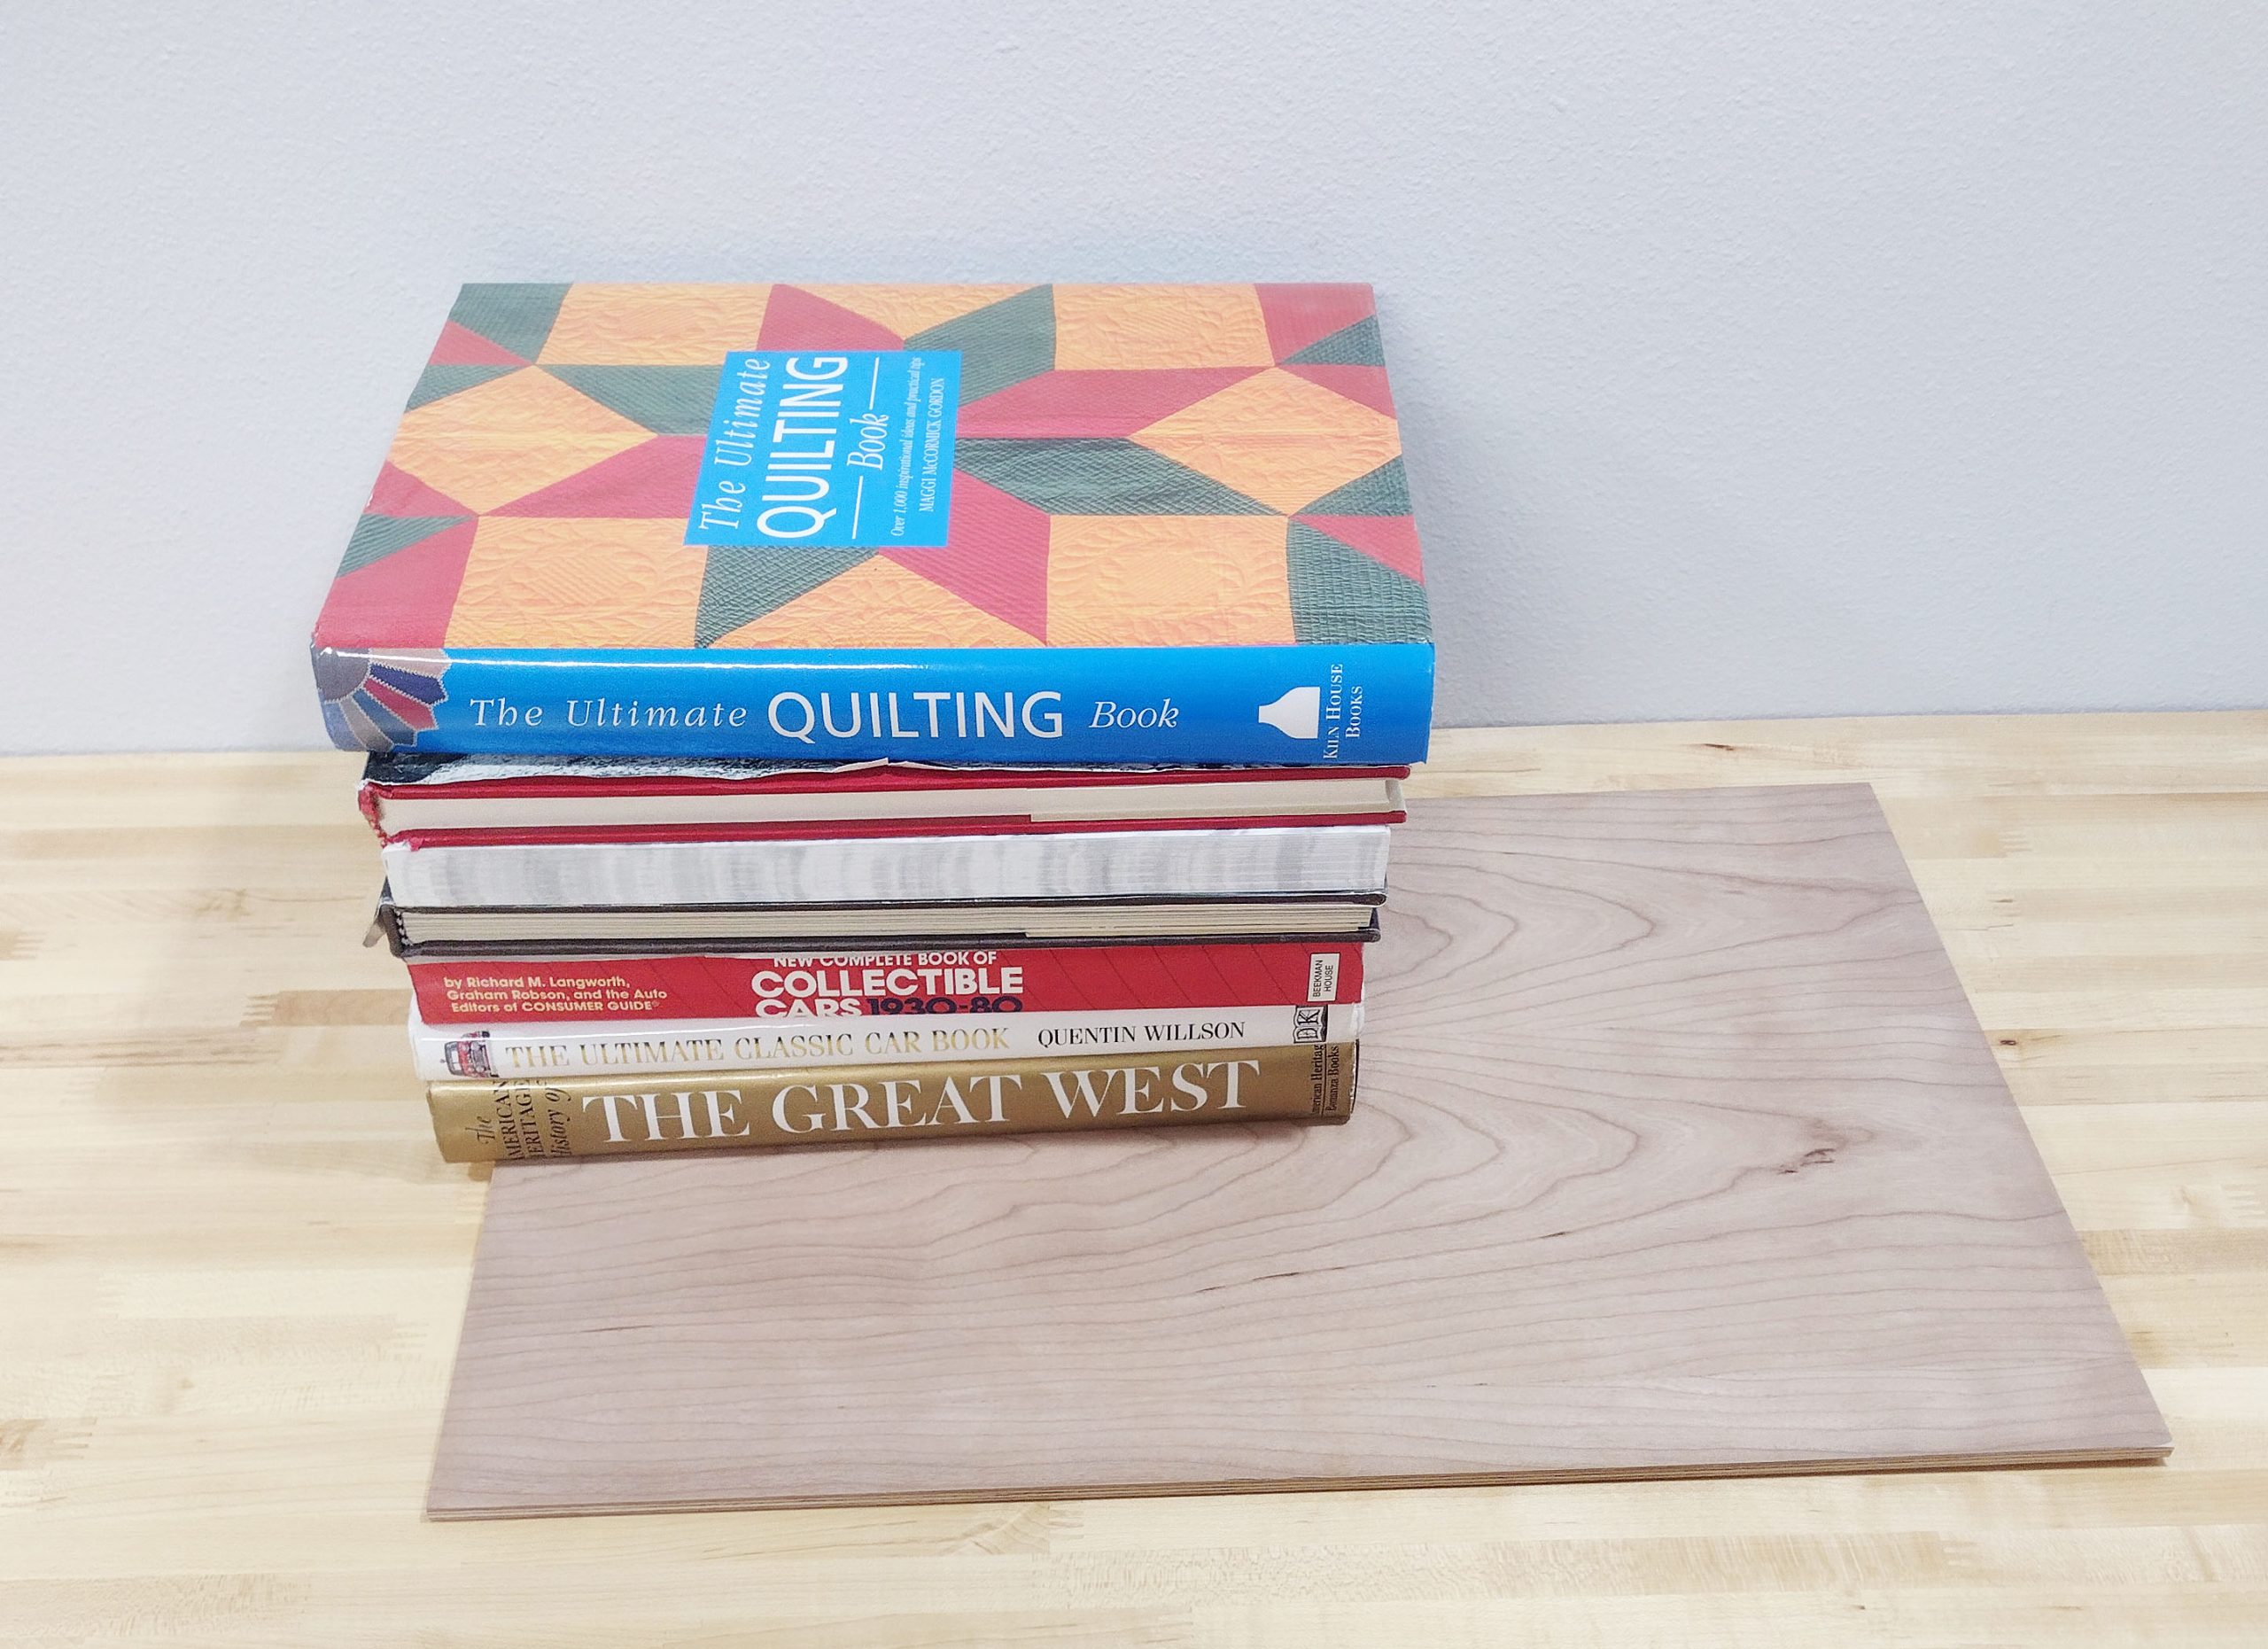
Once the time is up, pull out the assembly and place it face down on a clean surface. Place some weight on it until it cools.
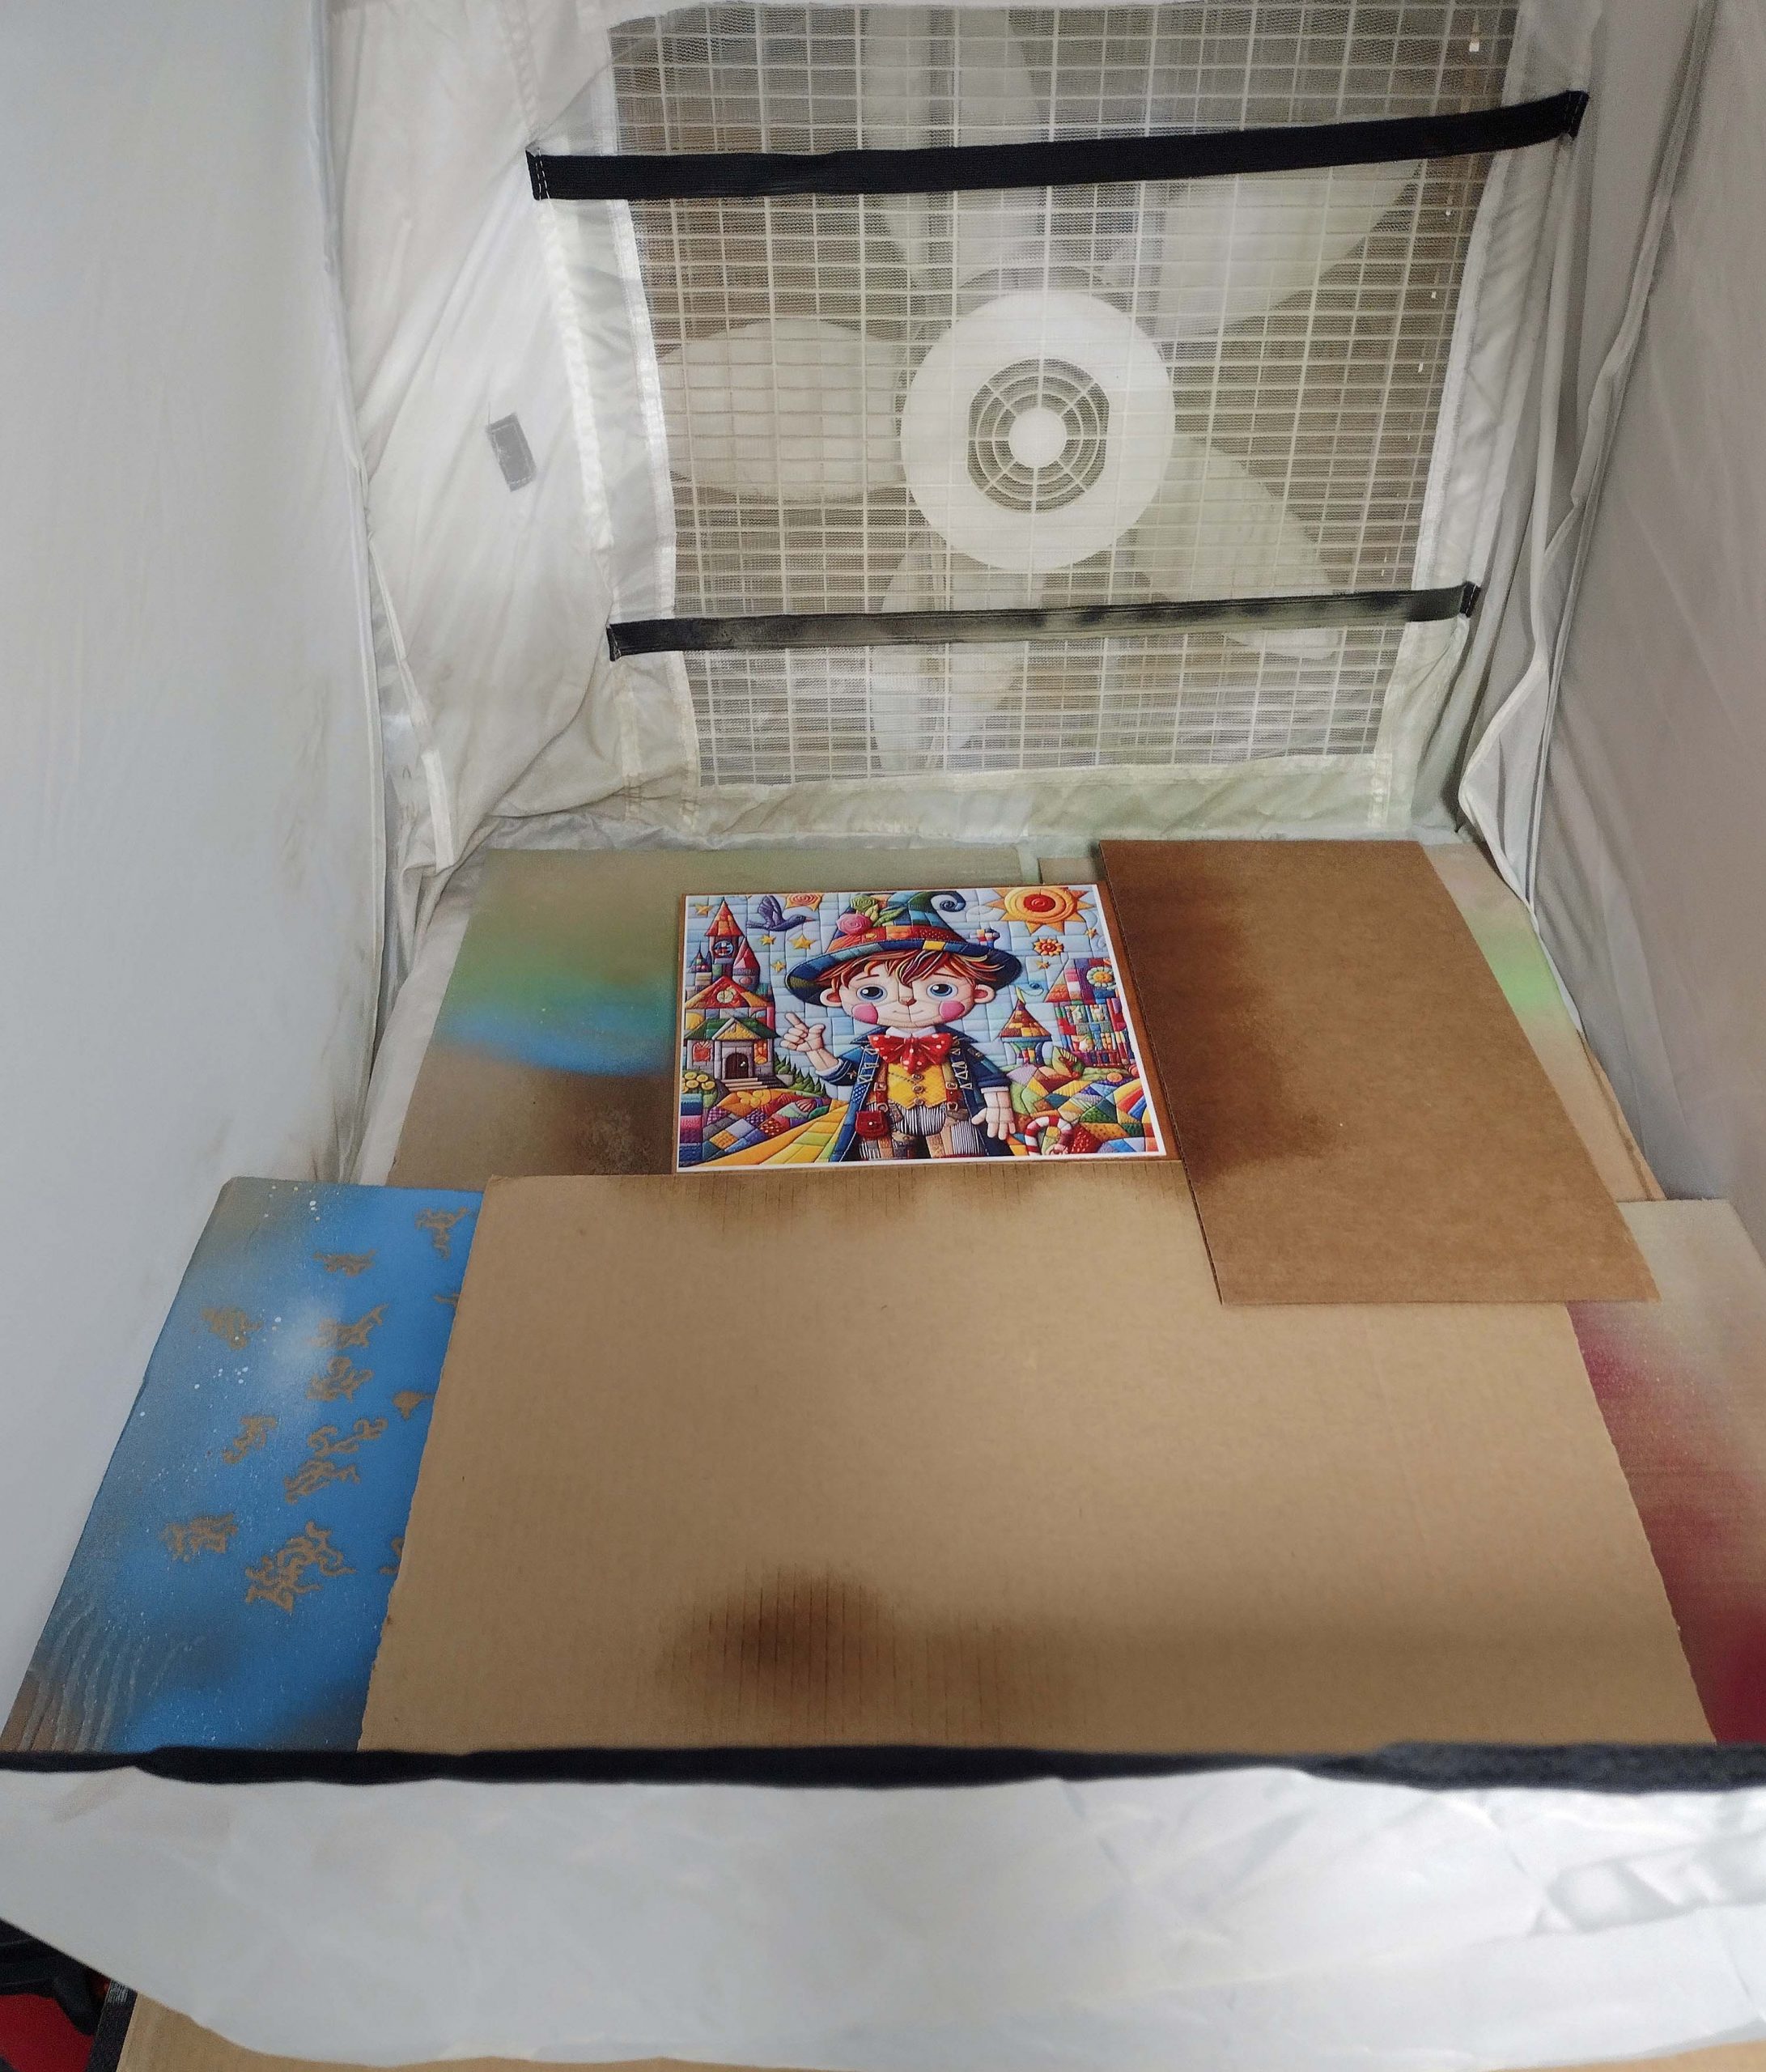
The mounting process is done! I take one final step before taking it down to the wood shop to cut. I spray a protective finish on the image to protect it from finger oils and spilled drinks. I am currently using an archival varnish that claims to be non-yellowing. I have a little spray tent with a box fan behind it that blows the fumes out of the window. I also set up some cardboard ducting behind the fan to ensure the fan discharge goes out the window instead of sneaking back around into the room. I will not spray lacquer in the house with this set up, but I find it is more than adequate for varnish and paint. Lacquer is nasty stuff.
I know some people use a plastic laminate on their puzzles, but to me that is just one more layer of stuff that might peel.
Here is the sprayed image, ready to be cut! Need to let it set and dry for the specified amount of time before handling.
So, that is my mounting process. Between adjusting an image just right to print it, printing it, mounting it, and spraying it, there may be between 45 minutes to an hour invested before it even gets close to a saw. That does not include the time that goes into cutting and sanding the plywood when it first arrives.
When I started cutting puzzles, I really struggled with images lifting off of the plywood backing material. Between that and the actual paper separating itself, I spent a lot of time researching how to correct the problem. I do not claim that the way I do this is the right way or the only way, but it is the method I use that has brought me the best results.
I hope you found this interesting reading and maybe even helpful to you.
Happy Puzzling!
Bob