I have wanted to create a double-sided puzzle for a number of years. The first one I ever encountered personally was from the 2012 Puzzle Parley. It was created by Fools Gold Puzzles and has a reverse image on it to make the puzzle more difficult. This puzzle is superbly done, including figurals of butterflies that are perfectly aligned front and back.
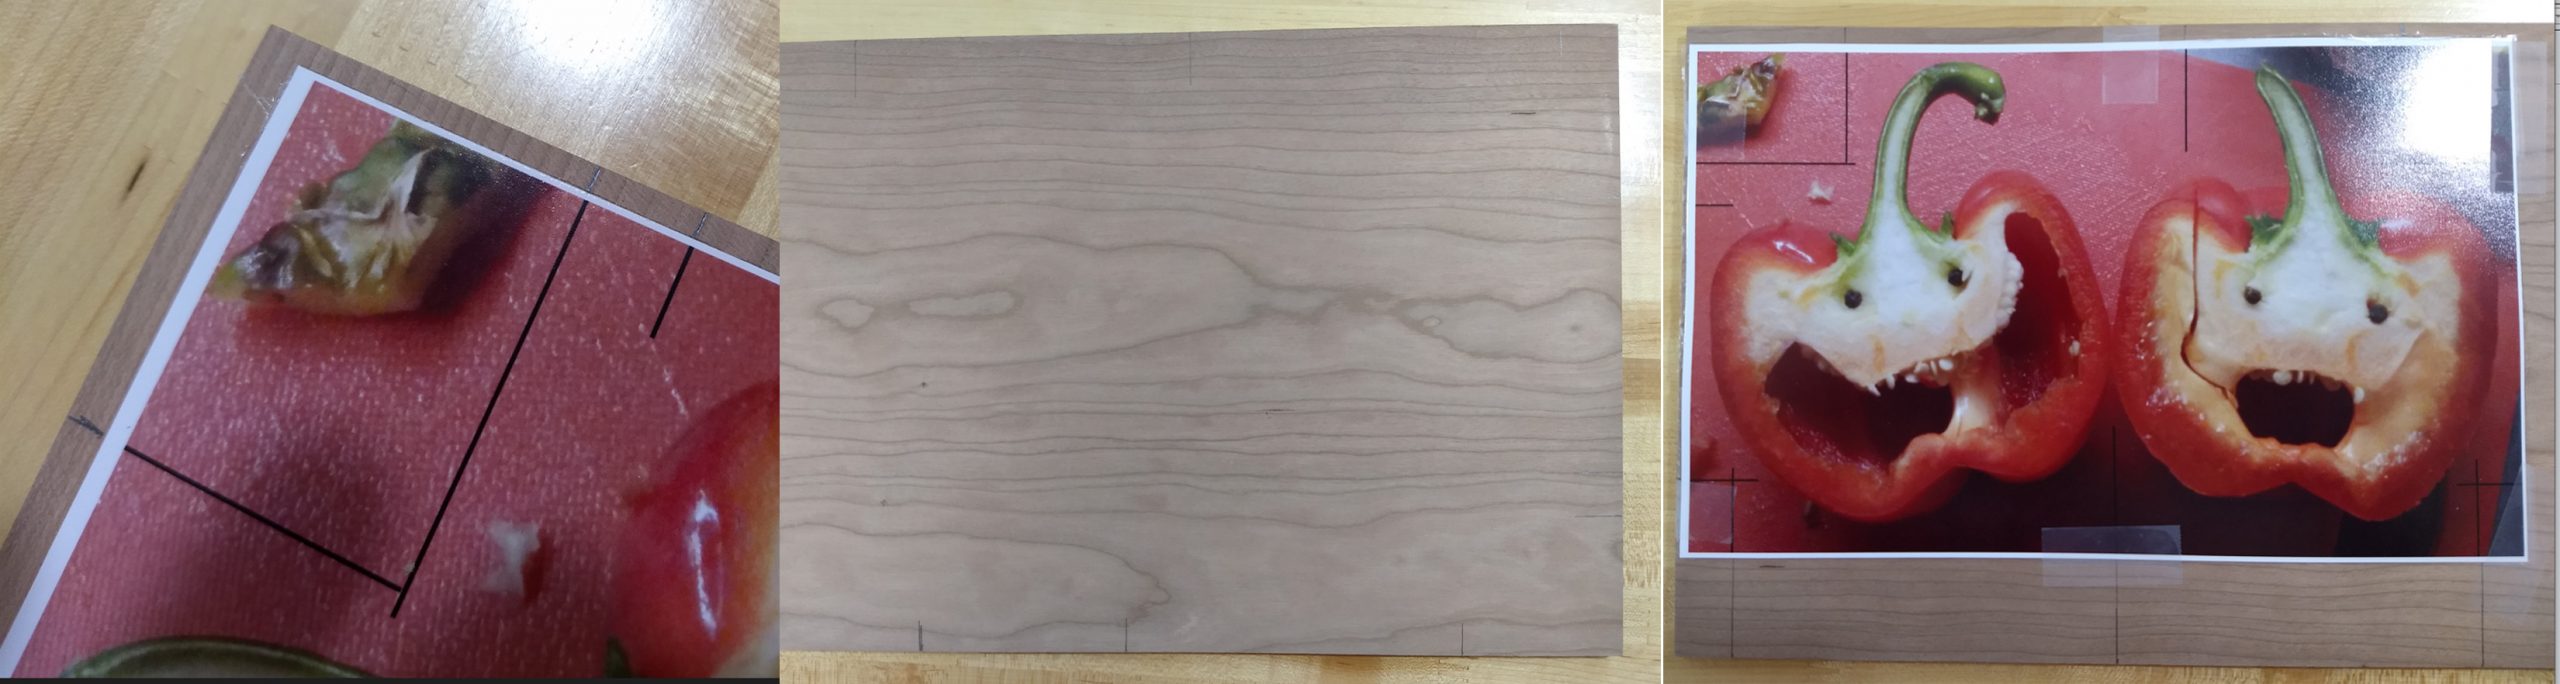
In 2022, I made my first double-sided puzzle using an image supplied by a customer. This was of a bell pepper that had been cut in half and formed a face. The puzzle would actually be two puzzles, one for each half of the pepper. I ended up making three attempts before I was satisfied enough with the outcome to send the puzzle to the customer. In this case, the image on the backside of the puzzle was the mirror image of the front side. If done well, it makes it harder to solve the puzzle, as you do not know which side of the piece is up or down.
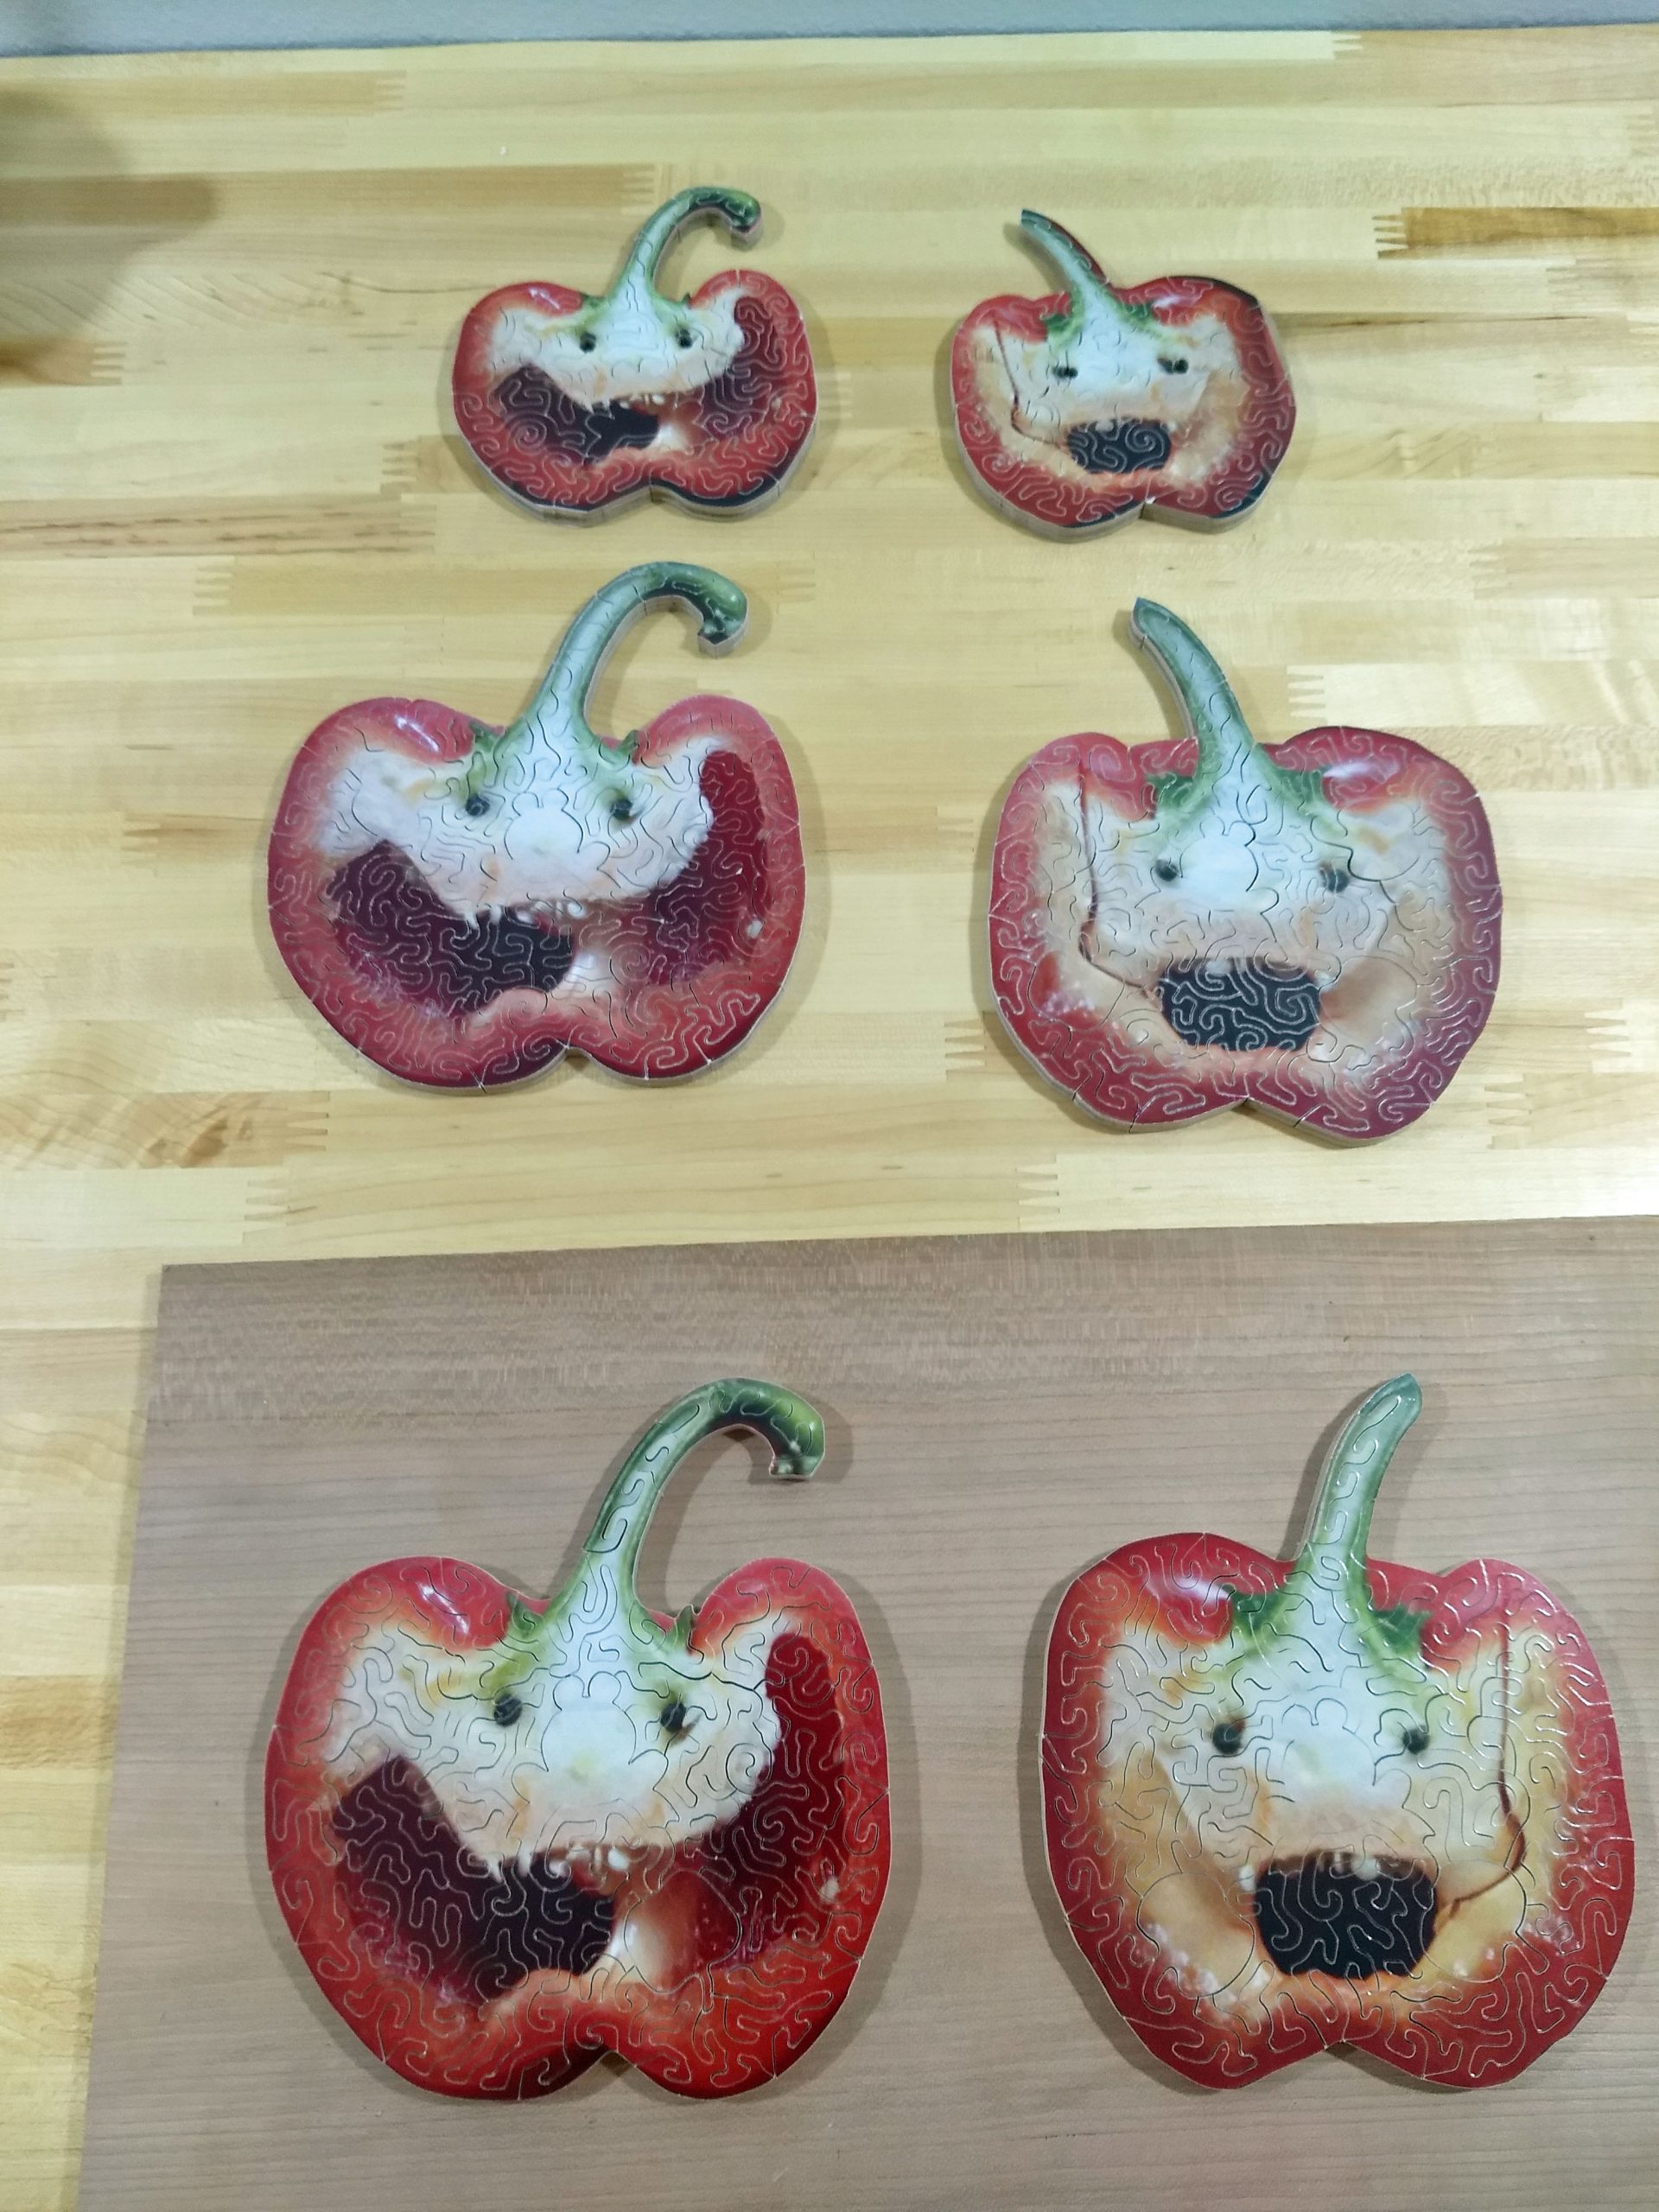
The problem I had with this puzzle was the amount of tear out on the reverse side of the puzzle. The side that was up when the puzzle was cut was nice and smooth, but the side that was down was very rough feeling. The three sets of puzzles were fine as puzzles, but due to the roughness on the back, it was easy to figure out which side is which. I made this one project and had not tried another one.
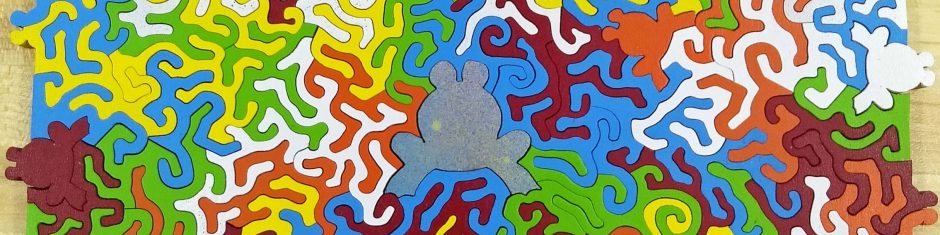
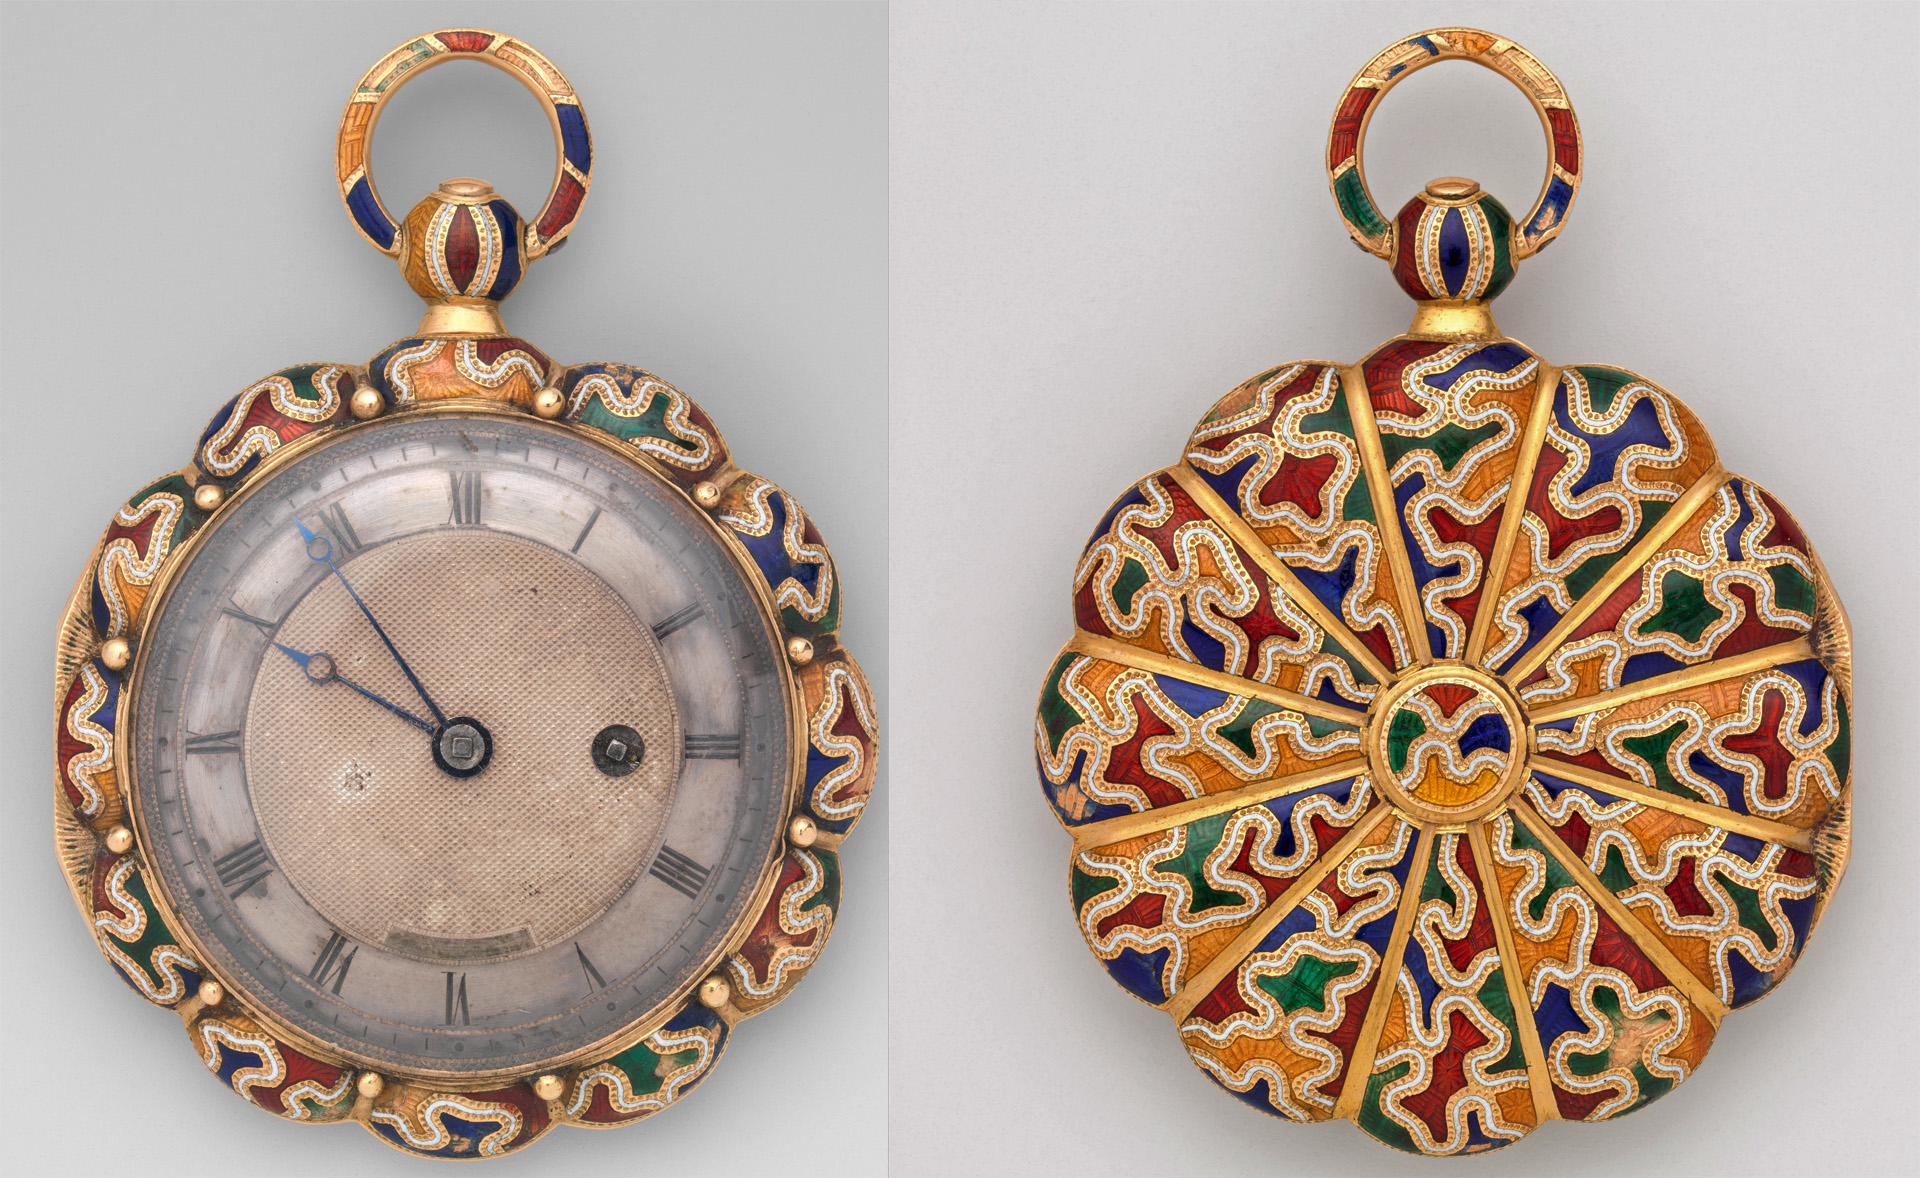
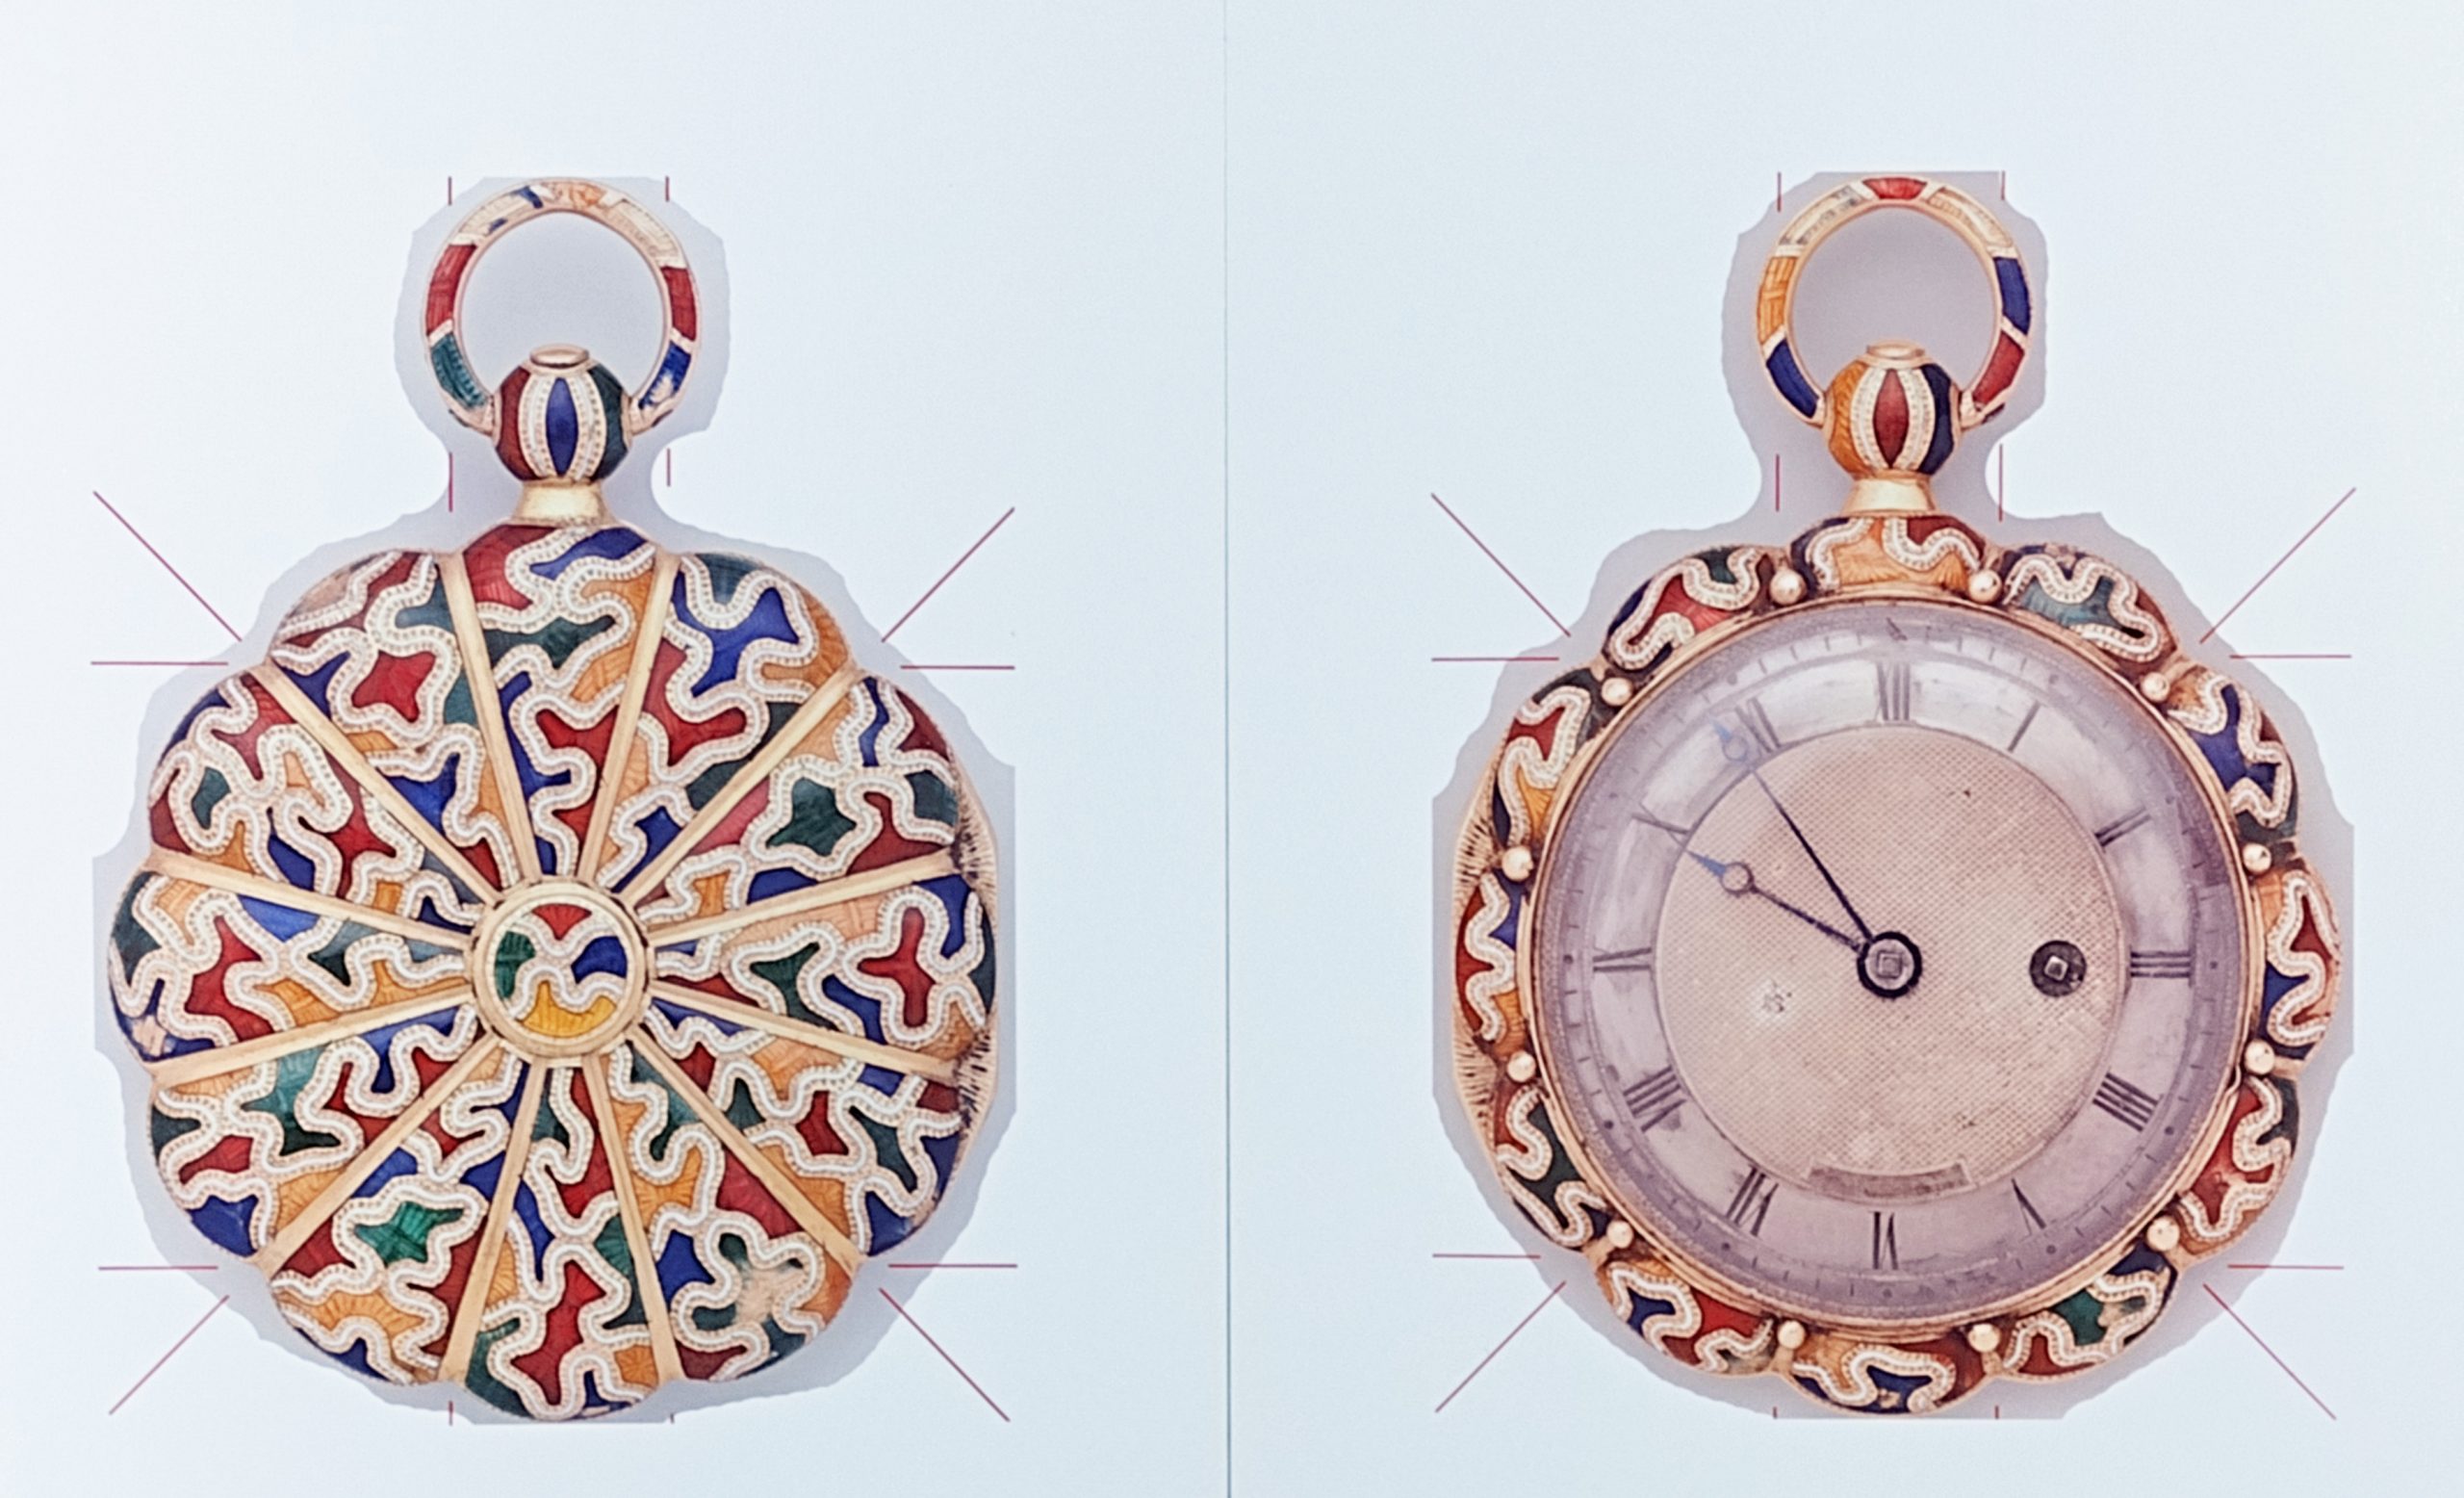
A few years ago, I found the scanned images of a pocket watch built by the firm of Moynier & Fils in about 1825 (shown at the top of the blog entry). This public domain pair of images is from the New York MET digital library. This is a perfect pair of images for a double-sided puzzle. I have been sitting on this for a number of years, waiting for the perfect time or incentive to make the puzzle.
The 2024 Puzzle Parley took place last weekend, which includes a puzzle exchange between some of the participants. The guidance for the exchange puzzles included that the puzzle should be around 6″ x 6″, have 60 or more pieces, and should challenge you in some way. This was the perfect opportunity to use this image to once again attempt to make double-sided puzzles. In this case, it is rather obvious which side is which. The advantage to this is that you really would get two different puzzles in one. The watch face is relatively easy to solve, the backside is relatively harder to solve. Even if I could not solve the roughness of the cut issue, it did not really matter. The resulting puzzles would still be good puzzles.
The two challenges for me in making this puzzle would be to 1) ensure that the front and back are perfectly aligned and 2) minimize how rough the back side of the puzzle is.
First challenge – Aligning the two images
If you are making a square or rectangular puzzle, it is relatively easy to reverse the image and add reference alignment marks. For the bell pepper puzzles, I added reference marks on the image using software, printed the image, flipped the image 180 degrees and reprinted it.
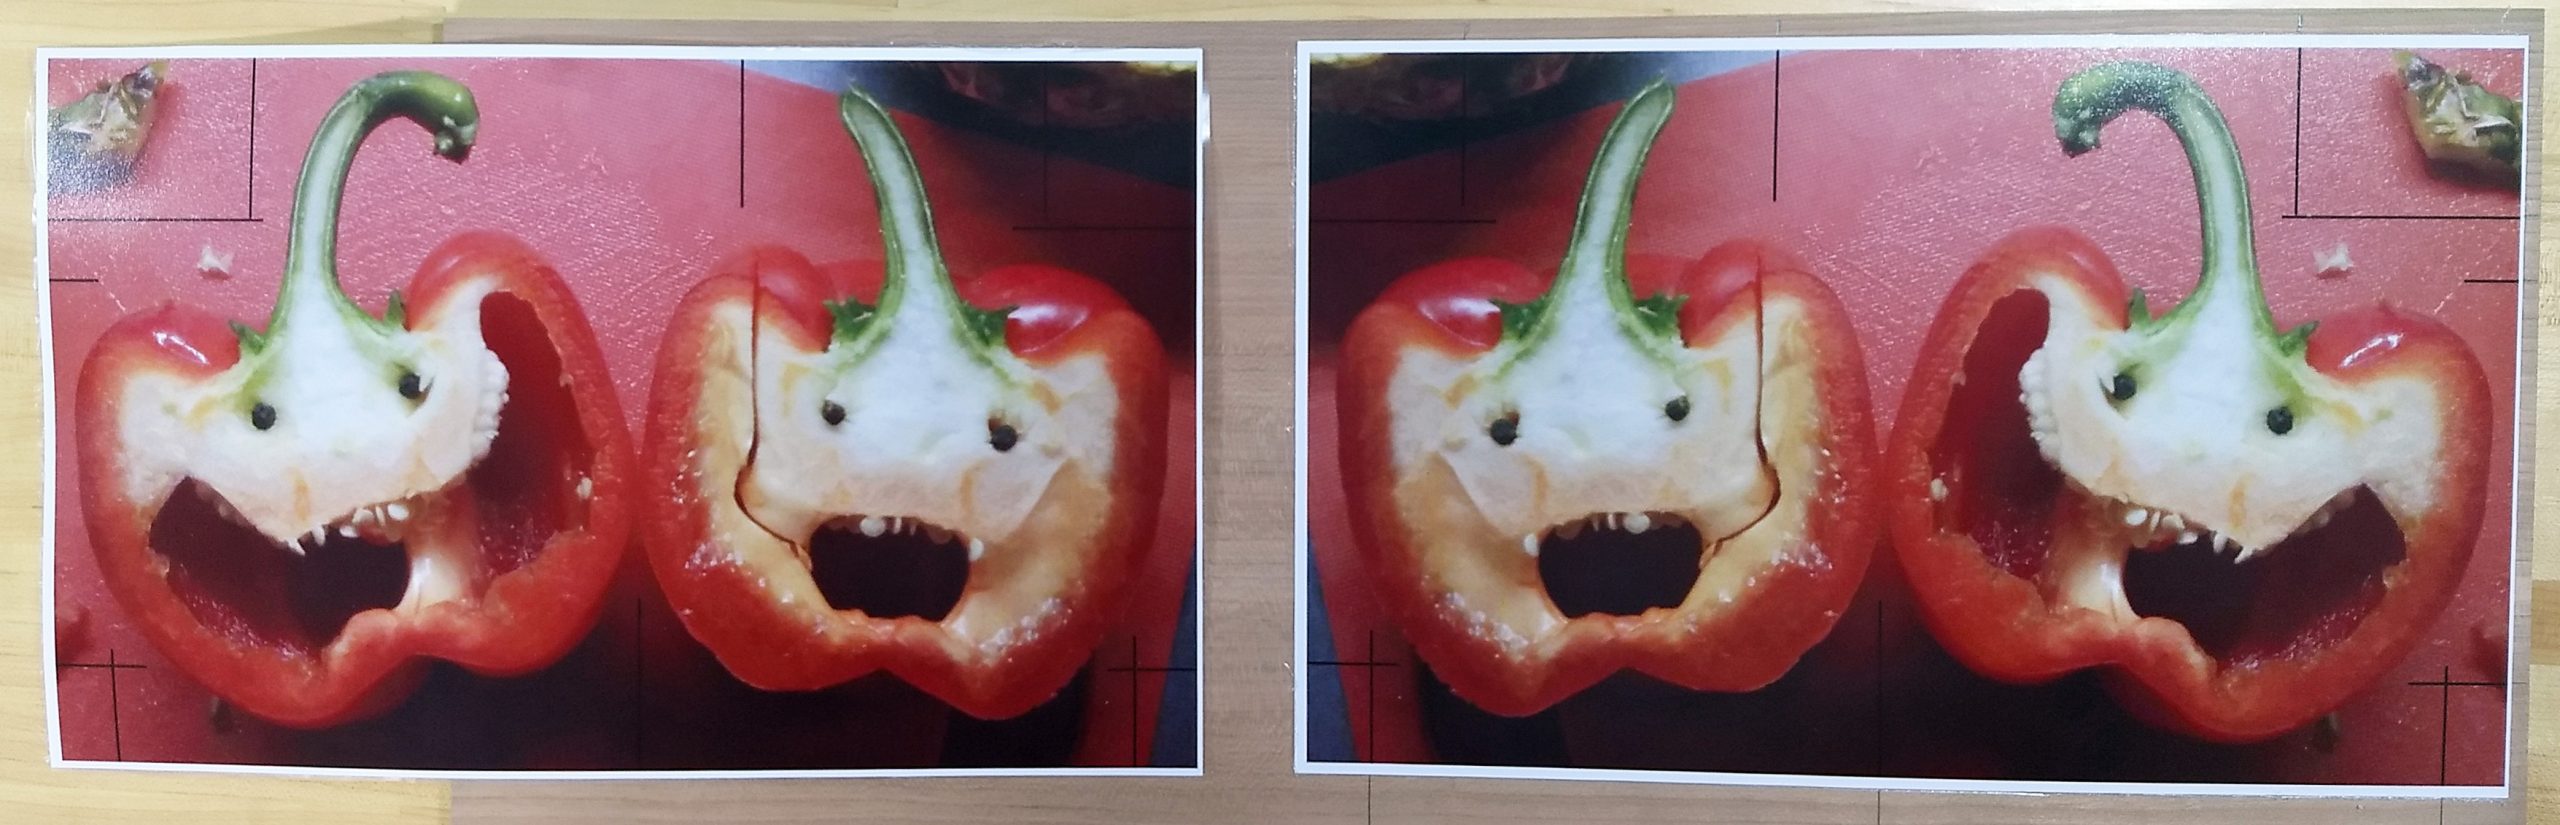
Next was to mount one image on the wood, and then extend the alignment marks to the edge of the wood and transfer the marks to the backside. Once the marks are on the backside, position the second image while matching all the marks. Easy peasy, right?!?!
For the pocket watch, it was not so easy. The images were different, so I could not just flip one image and reprint it. Additionally, the two images were not scanned exactly on the same vertical or horizontal axis. My first attempt at alignment was to make reference marks on each individual image based on obvious common points of the stopwatch, such as the scalloped edges.
The next steps were as before with the bell peppers: mount the first image, extend the marks to the edge of the wood, transfer those marks to the backside, and mount the second image.
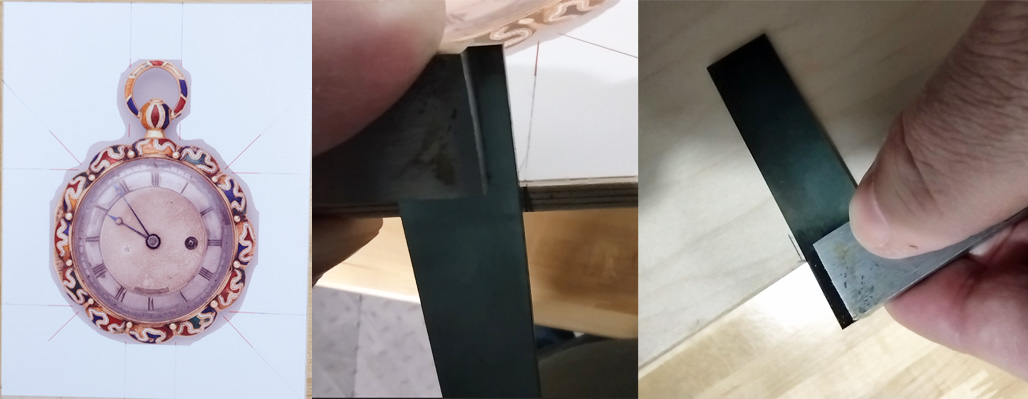
As you can see from the next photo, the positioning of the reference marks was not really very consistent between the two images. I cut this puzzle with the watch face up. As we look at the back, all of the grey on the right edge is material that should have been cut away. If you look at the left side, some of the watch edge is missing.

I tried this method for the first two puzzles I cut. Deciding that it was not working out, I changed the method. From this point on, I mounted the front side of the puzzle. That was taken to the saw, and four portions of the board were cut away. Matching portions of the second image were cut away with a razor blade and then the second image was mounted on the back.
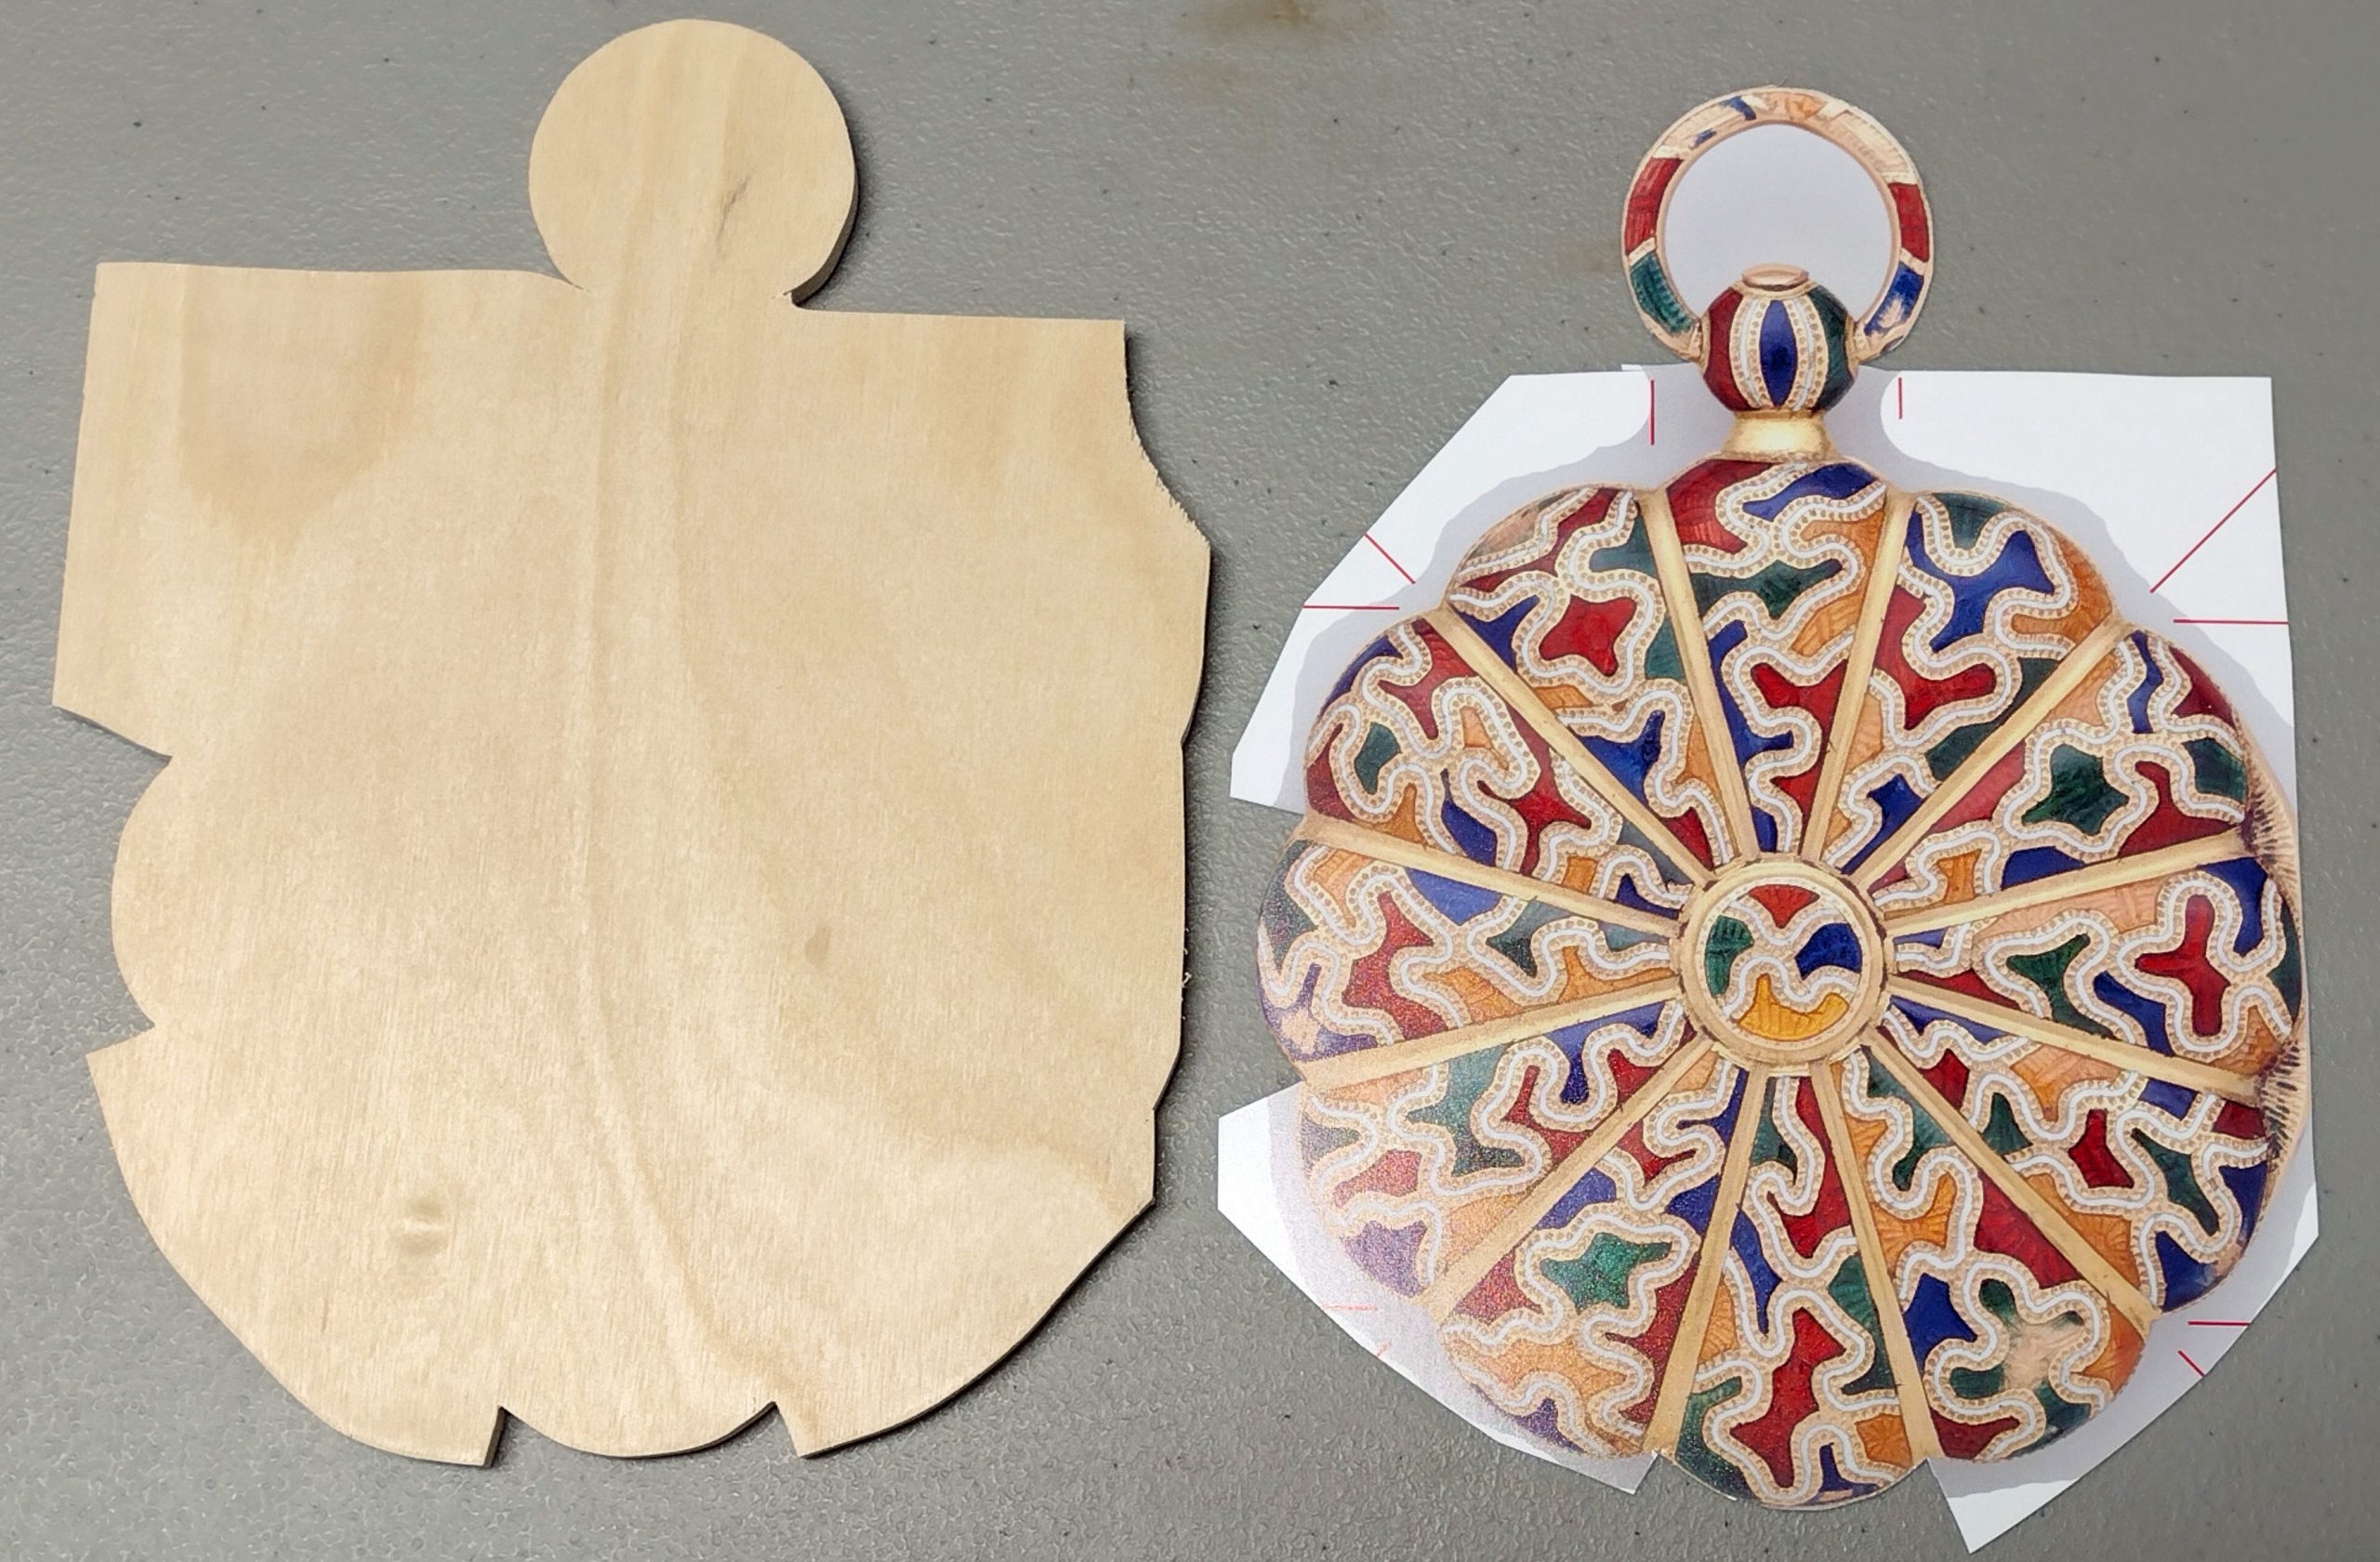
This turned out to be a satisfactory method of mounting the fronts and backs, even if it did take more effort and time than the first method tried.
I have decided this is going to be a multi part posting. The next post will discuss how I overcame the roughness on the backside of the puzzles.
Make sure you look for part 2 to read more of my journey on this puzzle.
Happy Puzzling!
Bob Walzer