Second Challenge – reducing or preventing tear-out roughness on the backside
Once the alignment issue was resolved, next was to reduce the amount of tear out on the backside of the puzzle. At first, I attempted to do this by experimenting with different brands and styles of blades. Blades are sized by numbers. 1 is smaller than 3 which is smaller than a 5. If you want smaller than 1, you see numbers that look like 2/0, which is spoken “two-ought”. Now as the numbers get bigger, the blades get smaller. 3/0 is smaller than 2/0 and so on. All of my 1/4″ thick puzzles are normally cut with 2/0 or smaller blades.
As the blade moves up and down on the wood, the teeth are typically pointing down at the table. The sharp tip of the blade cuts through the wood, leaving a smooth top side. On the bottom, that sharp tooth pushing out of the wood causes the bottom edge to tear out, leaving a felt roughness. With a wooden backside, that is no problem. When the puzzle is done being cut, you do some light sanding to smooth it out.
The first puzzle I cut (shown in my last post) was cut with Pegas MGT 2/0R blades. The “R” in 2/0R means the bottom section of teeth is reversed so they point up rather than down. This can give a very smooth bottom cut, depending on where the table sits relative to the blade. In this case, they did not give a smooth cut.
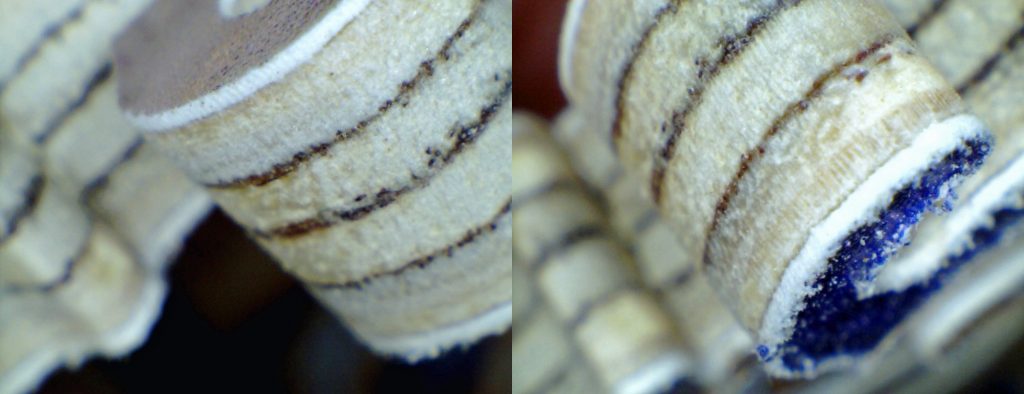
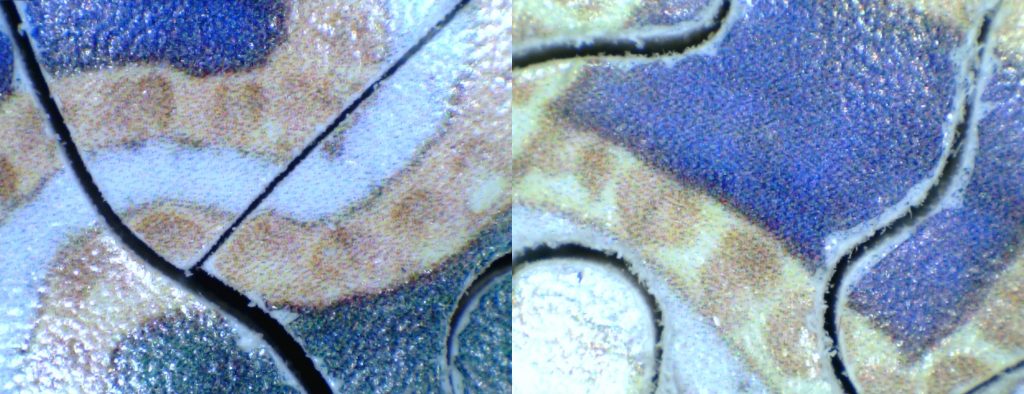
In the highly magnified picture below, the left-hand image shows the top of one of the pieces. The top edge of the cut is nice and smooth. The cut is very crisp. That same piece is then rotated a little bit to view the bottom of the piece. You can see how rough it is in the right-side image. The photographic paper is torn and curling away from the cut. When the puzzle is assembled, that backside has a rough feel to it.
I tested about 12 different brands and styles of blades. I ended up cutting a total of five puzzles while experimenting with blade types. I found one blade that was noticeably better than the others (for this purpose!). Notice I said better, but not good.
The blade I found to give the smoothest cut on the bottom side was the Flying Dutchman 2-Way Cut blade. (I am abbreviating these as FD TC blades.) It has two teeth down and one tooth up, repeated the entire length of the blade. The negative part is that you have teeth pointed up coming through the top of the cut, giving a little rougher cut on the top. Here is a drawing of the blade. Flying Dutchman has another very similar blade called the Flying Dutchman Ultra Reverse (FD UR). It has the same tooth arrangement but costs a little more. I did not find a significant difference between the FD TC and the FD UR blades.
Here are some images of the cuts on one of the test puzzles using three different blades with no other tear-out prevention measures.
After these five puzzles, I was getting a little frustrated. I was pacing around the shop and happened to look over at my table saw. Bam! Right there was the answer for me: a zero clearance insert!
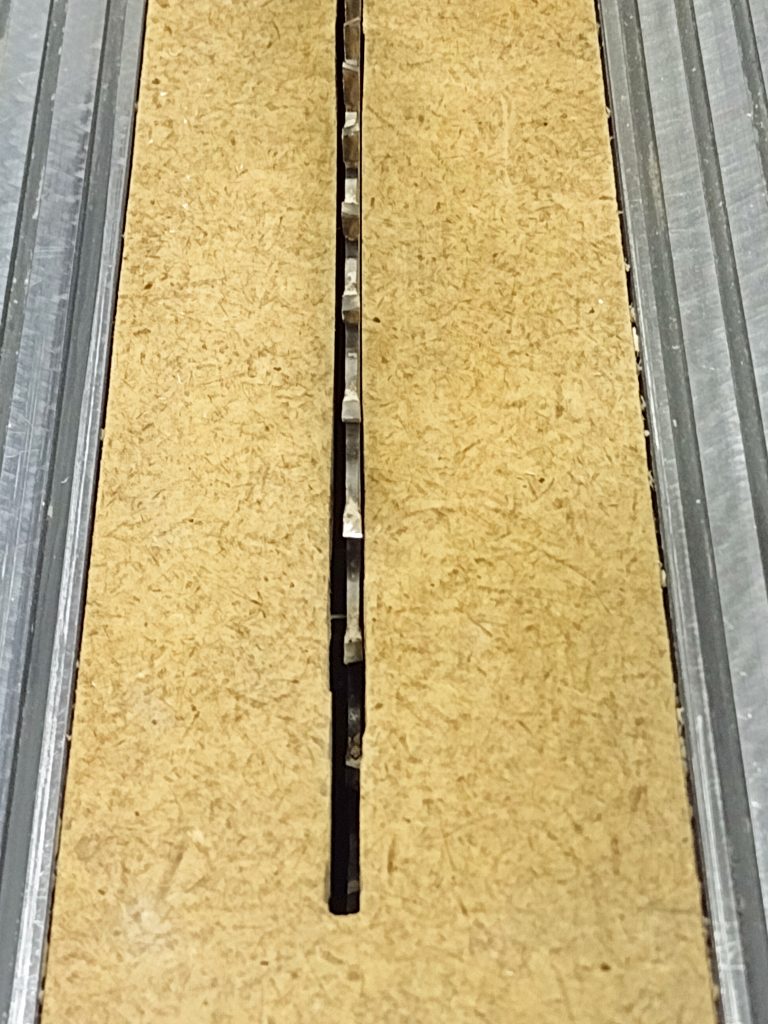
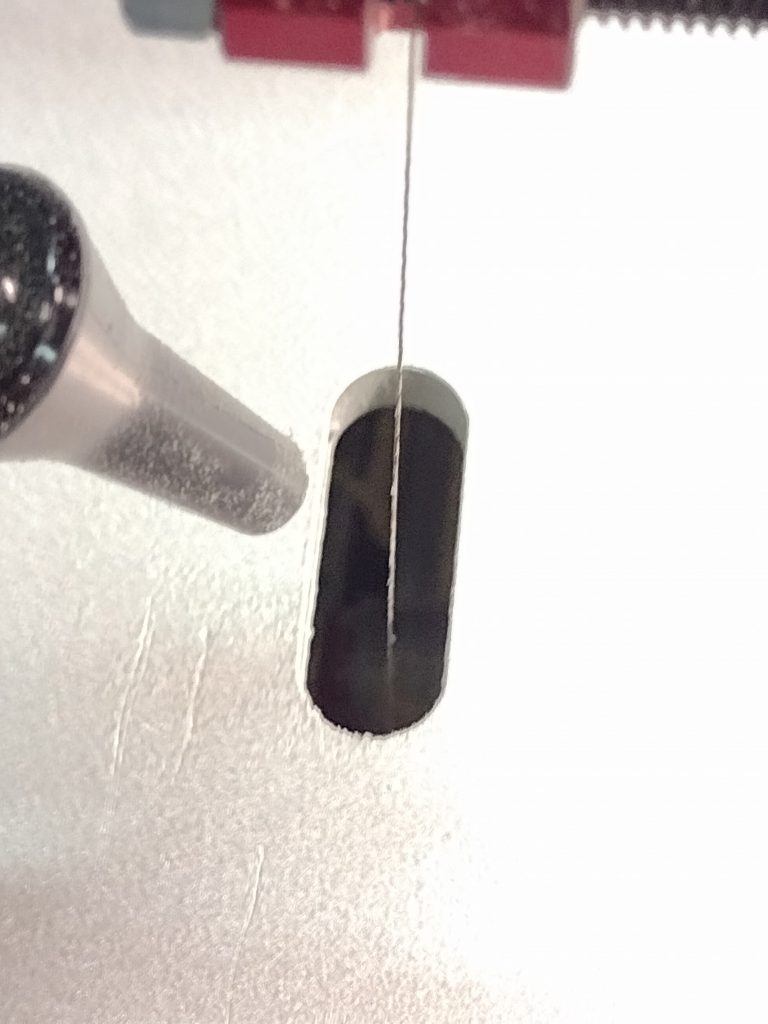
When cutting wood on a table saw and you want to minimize the splintering, you place a new blank piece of wood in the throat on the table, and then slowly raise the spinning blade through that new piece of wood. This causes the wood to be very tight around the blade and provides support to the underside of the wood being cut. This reduces splinters. (They do need to be replaced periodically as the blade slot gets wider and wider with use, like the one above.) Now how to do that with a scroll saw? As you can see below, the scroll saw has a rather large hole in the table with no allowance for making zero clearance inserts.
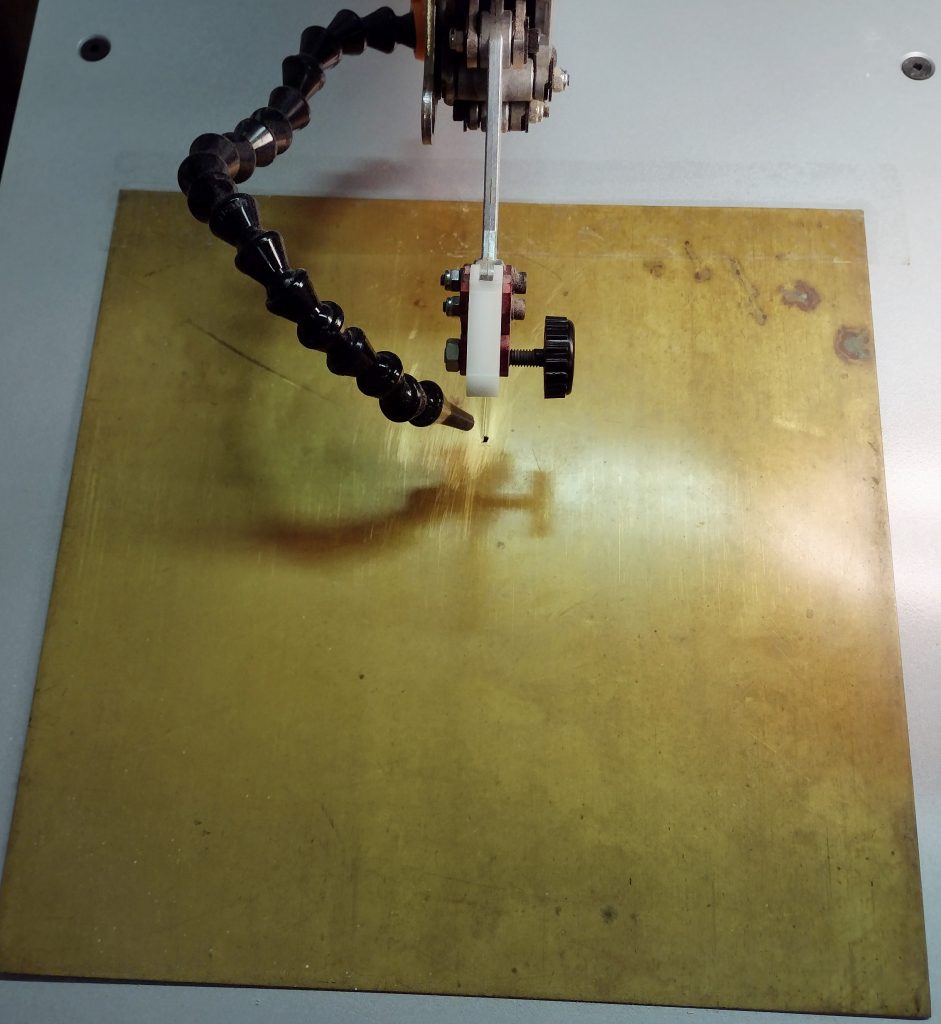
I happen to have some 12″ x 12″ sheets of brass stock. I am not sure what they were originally intended for, but I use them for getting signs/plaques engraved and for shim stock. I took one and cut right down the center of it until I was part way in. At that point I taped it down to the table.
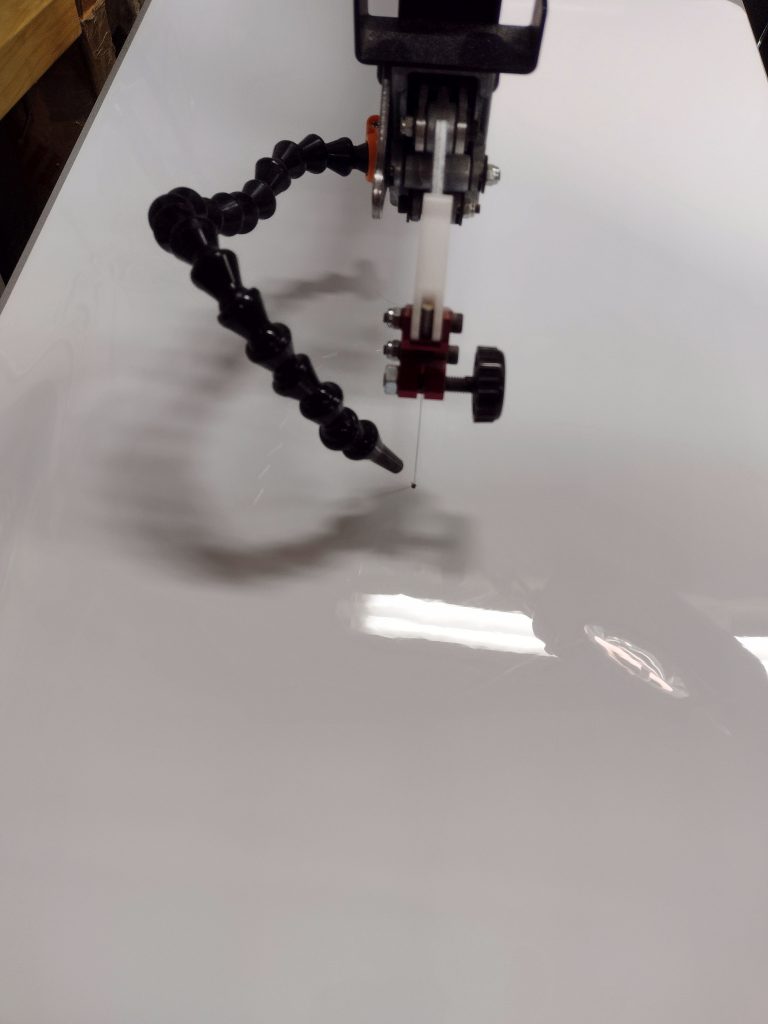
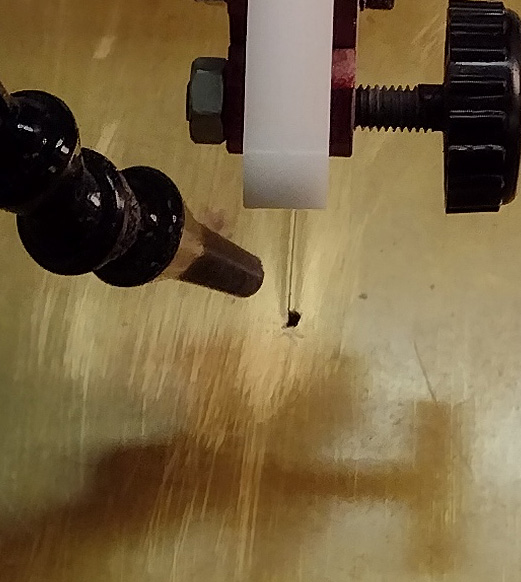
Now we are talking! I started cutting another puzzle. As I cut, one problem rapidly became apparent. The sharp edges of the brass were catching on the puzzle as I spun it around, trying to cut/tear the bottom image. That is not good, so I took the next step. I have a large flexible white board that is a refrigerator magnet. It is too soft and flexible to prevent tear out but will work great on top of the brass. I drilled a little hole and placed it over the brass plate to smooth the transition out.
This was a vast improvement! I ended up cutting four of the puzzles I used for the exchange using this zero-clearance plate set up. The image below shows the FD TC cut with the zero-clearance plate on the left, and without the plate on the right. It is a very noticeable difference.
After the fourth puzzle, I noticed the edges were getting a little more ragged again. This is because the more I cut, the more the side to side and back-to-back movements of the blades made the hole in the brass plate get bigger and bigger. This provided less support to the bottom of the puzzle, resulting in increased tear out.
So, I had to either replace the brass plate or find another solution. I suppose I could have just moved the brass plate over an inch and made another slot, but that is a spendy piece of material and I did not want to completely turn it into brass confetti by the time I was done. I threw in the towel and did what I did not want to do. I ended up using a piece of sacrificial plywood on the bottom of the next nine puzzles for the exchange.
By attaching another piece of plywood as a backing board, it does the same thing as the zero-clearance concept. The saw blade exiting the puzzle passes into the second piece of plywood, which acts as a backing board and prevents the tear out on the puzzle. The second piece of plywood does get tear out, but who cares?
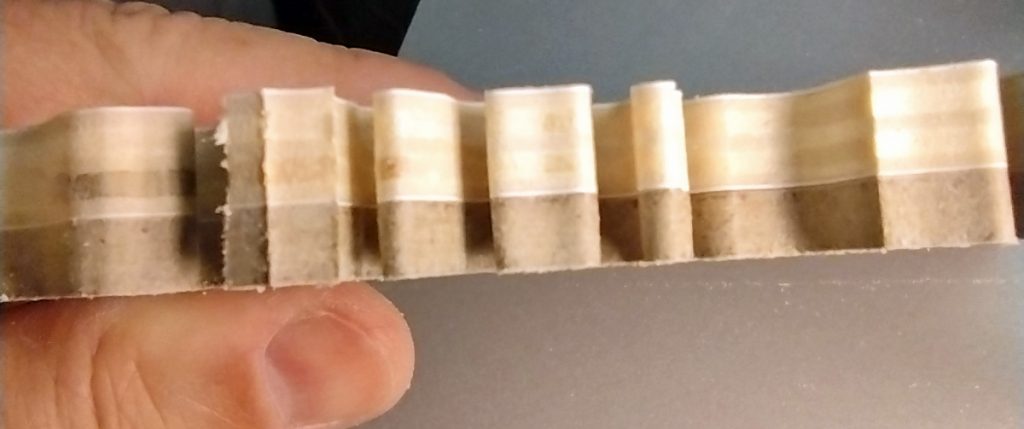
The wood I used for the sacrificial backing board is a thinner MDF product with thin alder veneer layers on the outside. These ended up being puzzles in their own right. Once sanded to remove the tear out whiskers, they can be painted however a person would like. The image below shows how I glued this material with a hot melt glue gun to the puzzles to be cut.
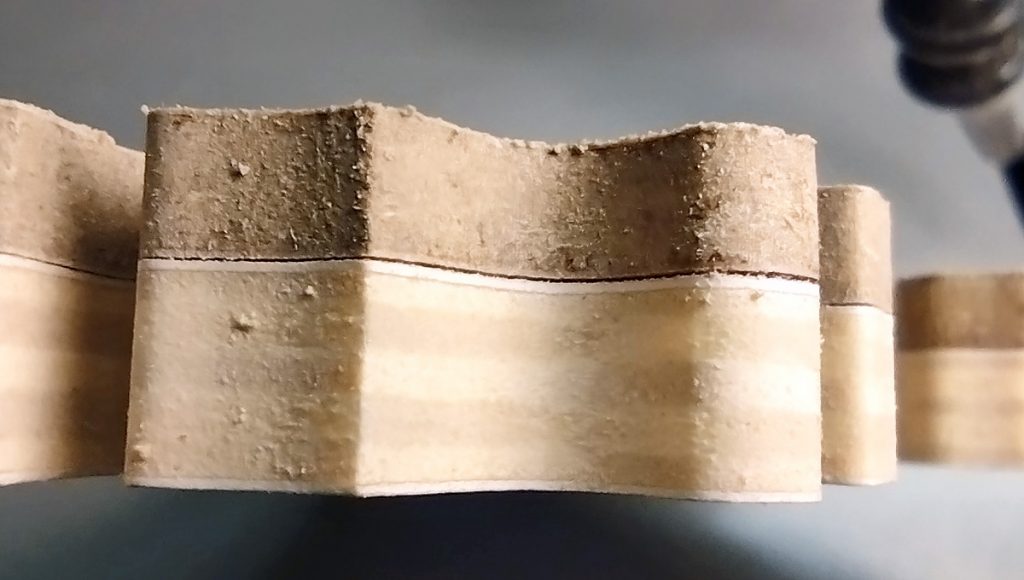
As long as the backing board stayed tight against the puzzle board, this gave great results. While gluing the two together, I selected backing boards that matched any cupping or warping in the puzzle board to try and ensure this. The image below shows this tight relationship which resulted in almost no tear out on the puzzle image.
However, as the days went on, those assemblies I had glued up started to expand/contract with the temperature changes in the shop. We went from 70-degree days to 98-degree days with nights getting down into the 50’s. I only cut in the mornings while it was cool, but the wide temperature swings over several days caused some of the assemblies to develop permanent gaps between the puzzle blank and the backing board. This effect would have been reduced if I did not glue up all 9 puzzles at one time and let them set in the heat. Lesson learned.
For these glued up assemblies with gaps, I had to press down firmly to close the gap while attempting to spin the puzzle blank around to cut the pieces out. Pressing down while spinning is not a great thing. It makes it hard to control the cut. On some of these puzzles, my figurals really kind of look a little mangled.
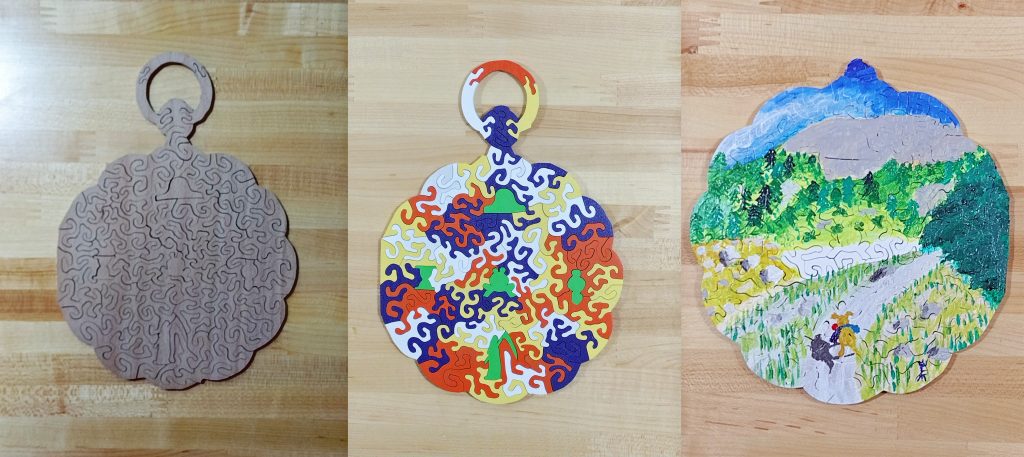
So, the 13 puzzles I provided for the exchange have minimal tear out on the backside and feel relatively smooth. About five of them are exceptional in that regard. All of them are good puzzles from a puzzling standpoint, but a few of them are not as smooth as I would have liked. The next two images show the front and back of one of the 13 puzzles exchanged.
Summary
These puzzles were a great project for me. I learned quite a bit in the process. When everything was just right, a nearly perfect double-sided puzzle resulted.
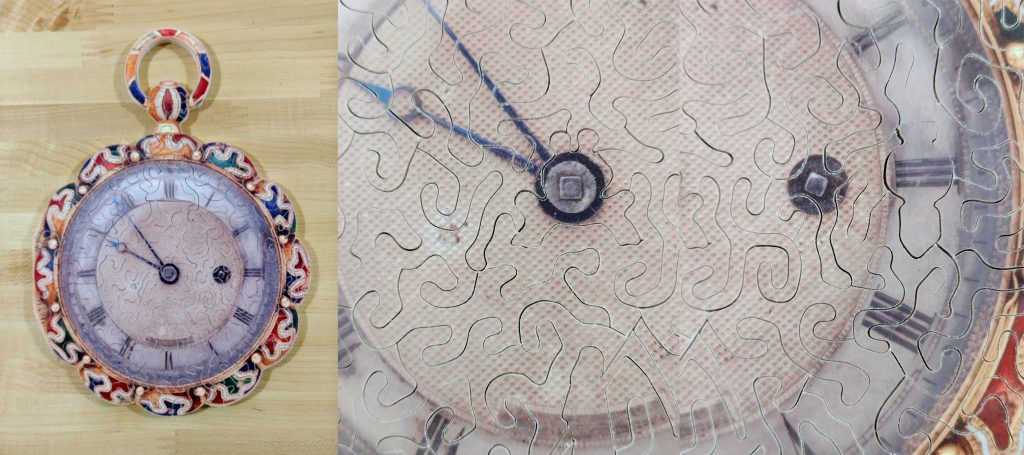
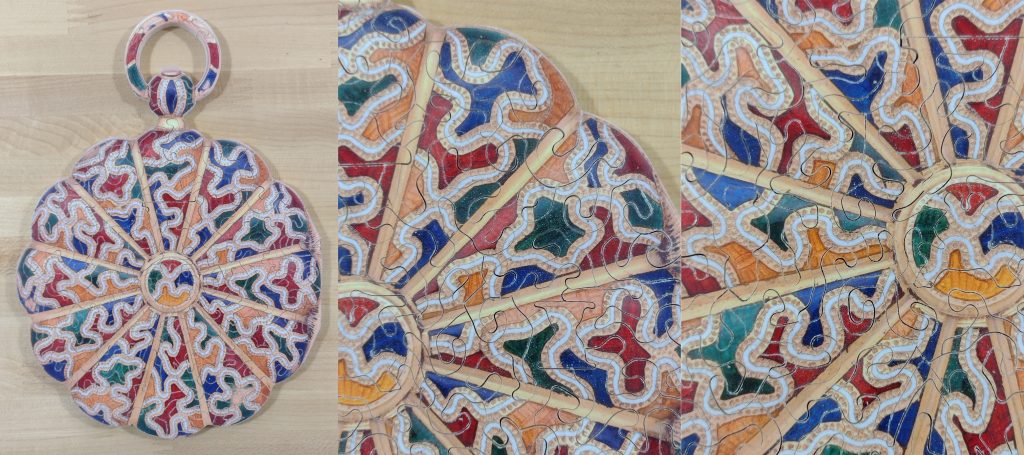
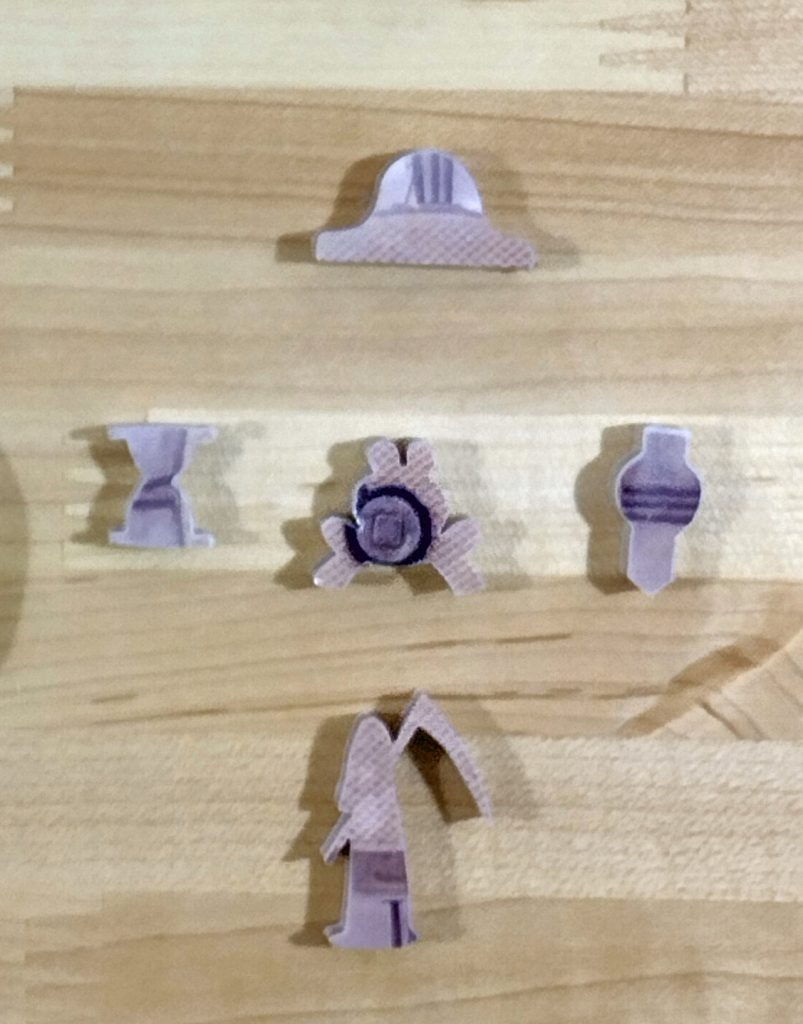
Each puzzle had five figurals. In the center was a reduced size frog signature piece. At the three o’clock position was a wristwatch. 12 o’clock was a mantel clock. 9 o’clock was an hourglass. 6 o’clock was meant to be Old Man Time but ended up being the grim reaper.
I cut a total of 18 of these puzzles. The last 13 cut were used in the puzzle exchange for the 2024 Puzzle Parley. Of the first five cut, two were sold as “seconds” at the table sales during the Parley. Three remain with me as of this writing. I will not be listing them on my Etsy store, as I consider them to be seconds. If anyone is interested in obtaining one, contact me and we can work something out.
I also had 8 of the puzzles that resulted from the backing boards. Two of these were painted as examples of what could be done with them. Six were left bare as “Bare Naked Wood Puzzles”. All of them were taken to the Parley as well, and five were sold. The remaining ones are available for sale by contacting me direct.
I did some other experiments while cutting these as well. Not part of the challenge per se, nor part of this write up, but I experimented with using 5 different types of wood, several types of different papers including two metallic papers, and different finishes to protect the paper.
Happy Puzzling!
Bob

