My next two puzzles are going to be large ones once again. I have posted several articles about joining prints end to end to make larger puzzles than my printer or saw can handle. These have been done using 13″ x 19″ prints joined along the 13″ edge. These next two puzzles are going to be joined along the 19″ edge.
The second puzzle of the two is going to be four 13″ x 19″ prints joined along the 19″ long edges to make a puzzle that is about 40″ long and 19″ tall. This puzzle is a commissioned piece, and I want it to be cut right. So, the first puzzle is actually an exercise of techniques. Practice makes perfect, right? I do intend to sell it when I am done cutting it.
If I have cut puzzles with joined images before, why do I need to “exercise” my techniques? Well, primarily because of the length of cut. In the past, I have started by cutting the puzzle board in half along the 13″ width, leaving me with two boards that are roughly 13″ x 9.5″. These are easy to work with. But by joining the 19″ lengths, my usual saw will not work because there is not enough room to move the wood around. I will have to use my RBI Hawk G426, which has a 26″ throat depth. As discussed in the previous blog post, I had some concerns with cutting on the Hawk. These have been addressed, so I am ready to roll.
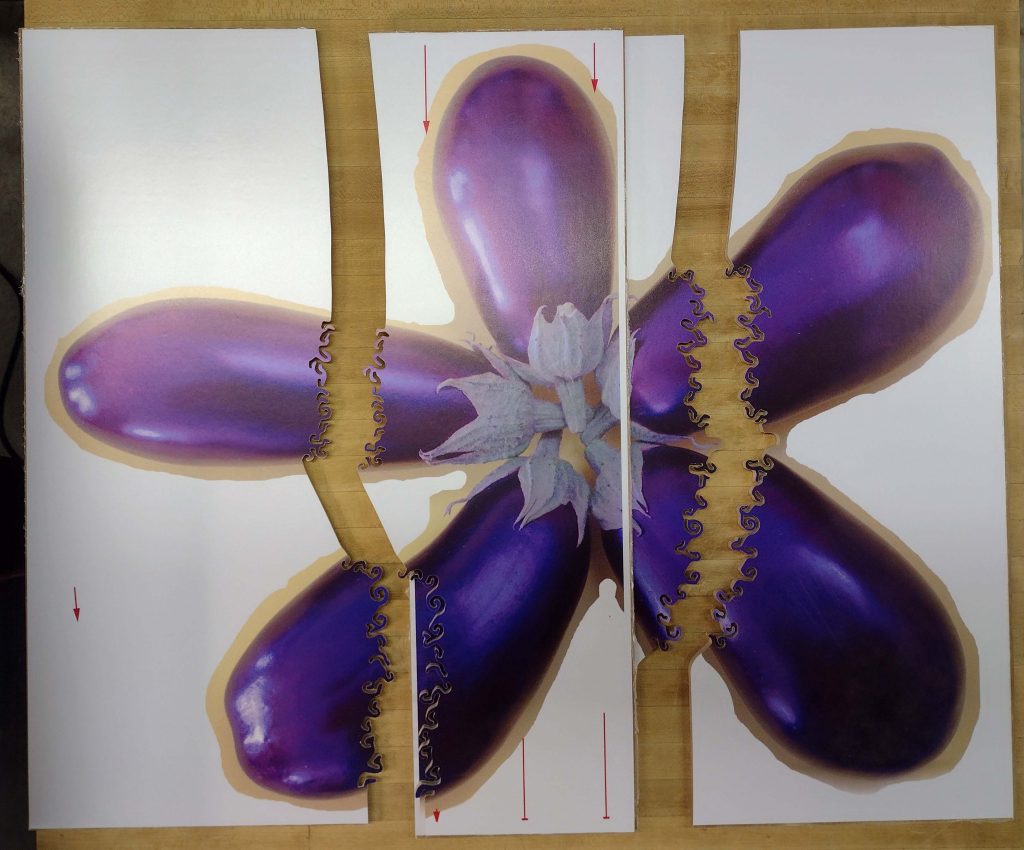
This first puzzle is going to be one of my popular eggplant flower puzzles. I have made these in the past using prints on 8.5″ x 11″ and on 13″ x 19″ paper. The smaller ones of these have about 30 square inches, and the bigger ones have about 92 square inches. I am going to make one from two 13″ x 19″ prints joined together, which should have about 200 square inches when done.
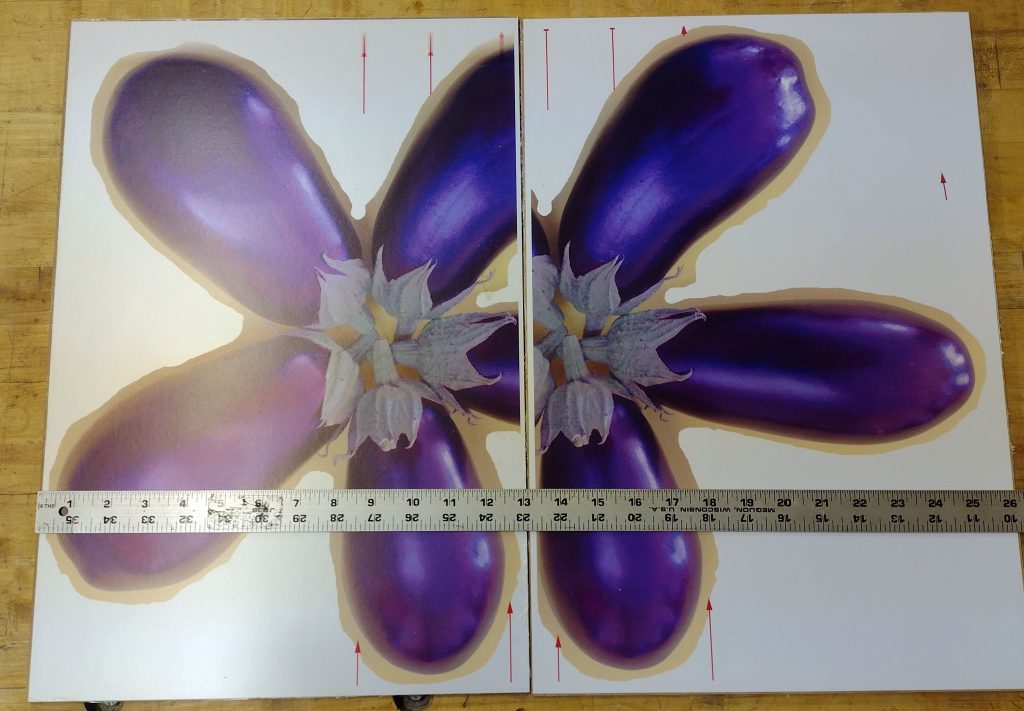
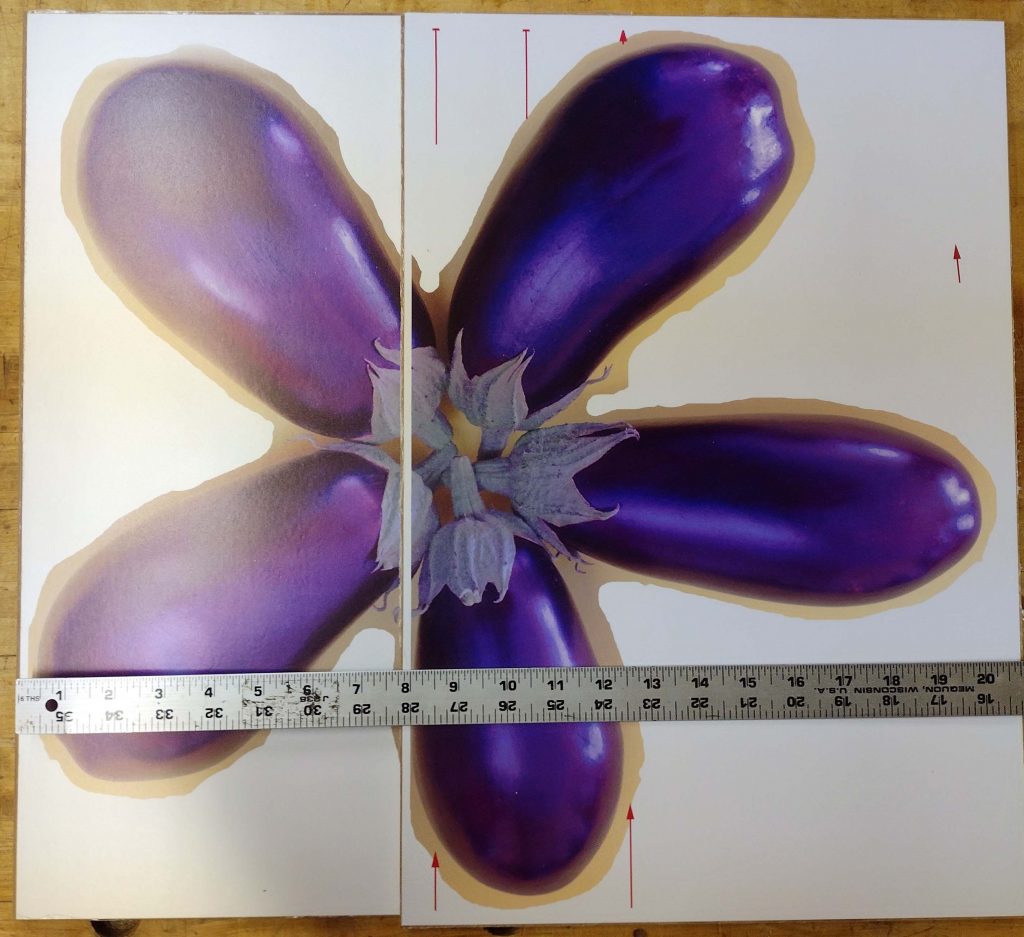
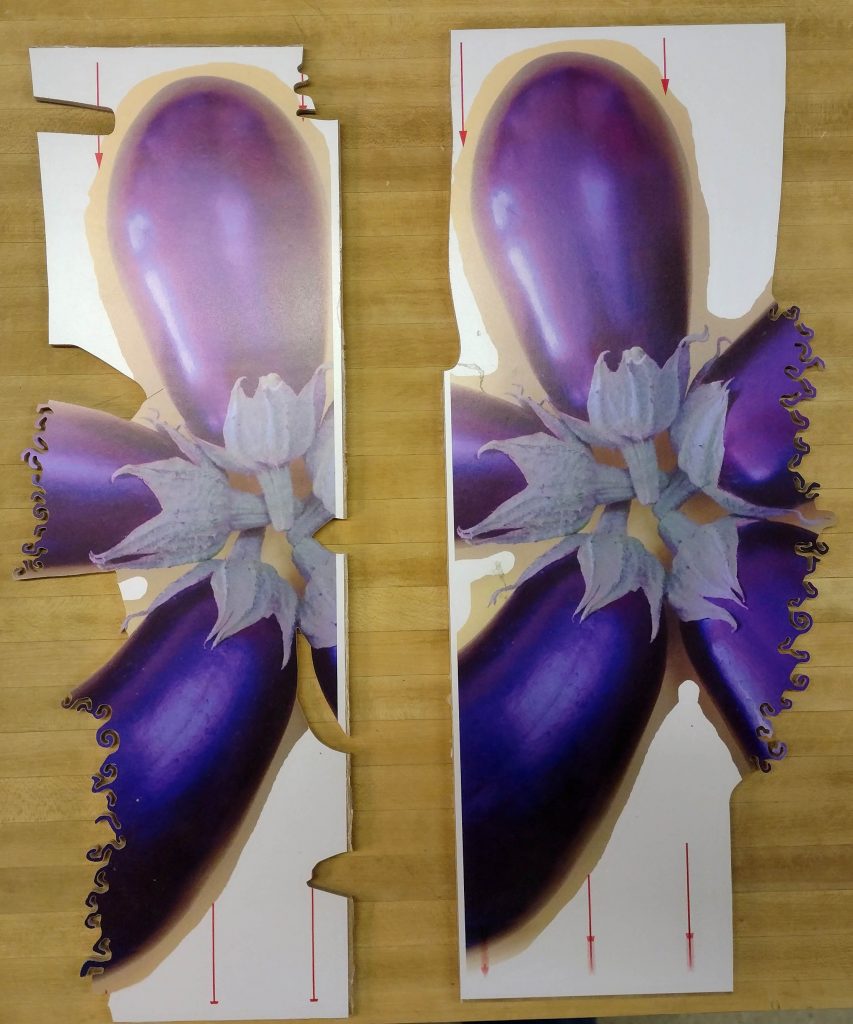
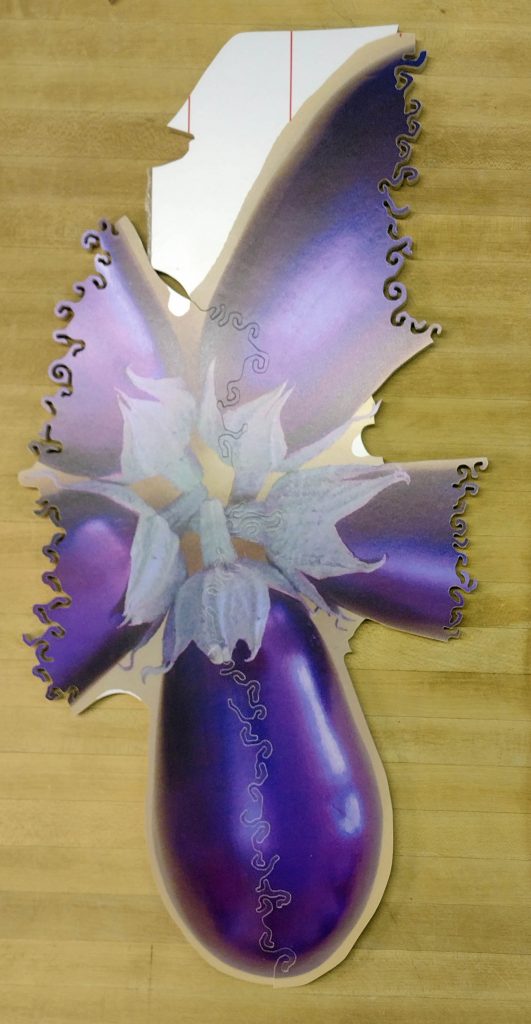
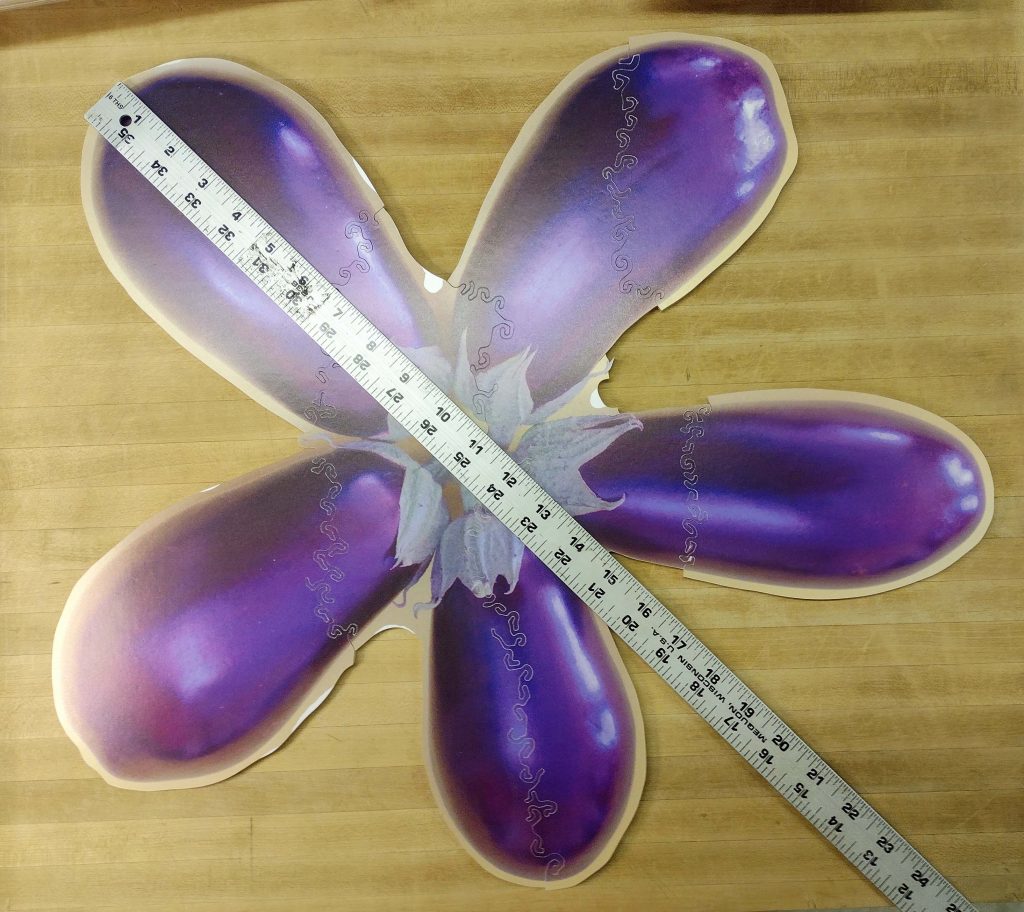
Here are some pictures of the two prints. You can see the red lines and arrow heads I printed in waste areas of the images to help with alignment while stack cutting.
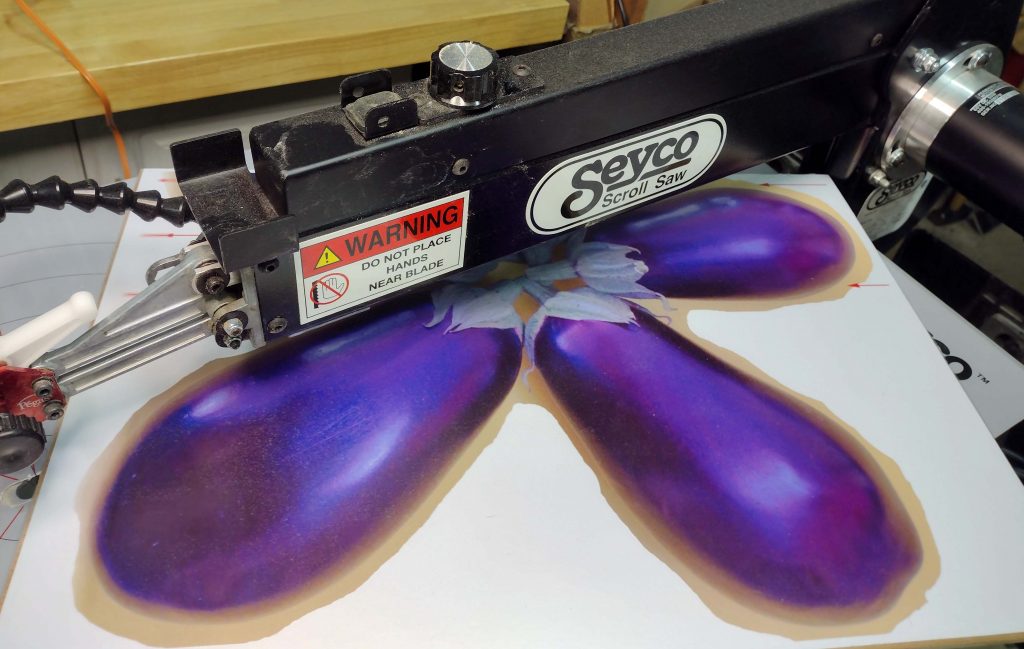
The first steps are to cut each print in half the long ways to make it easier to handle the pieces. The difficulty with this is that the saw I normally use does not have a large enough depth of cut. The Seyco has a 21″ throat on it. My old DeWalt had a 20″ throat. If you take a 13 x 19 rectangle, the hypotenuse is 23″. It just will not fit.
Now, you can argue that if you cut the board in half right in the middle down the 19″ length, the hypotenuse is just over 20″ and therefore I could do it on the Seyco. That really does not leave any room for comfort, though.
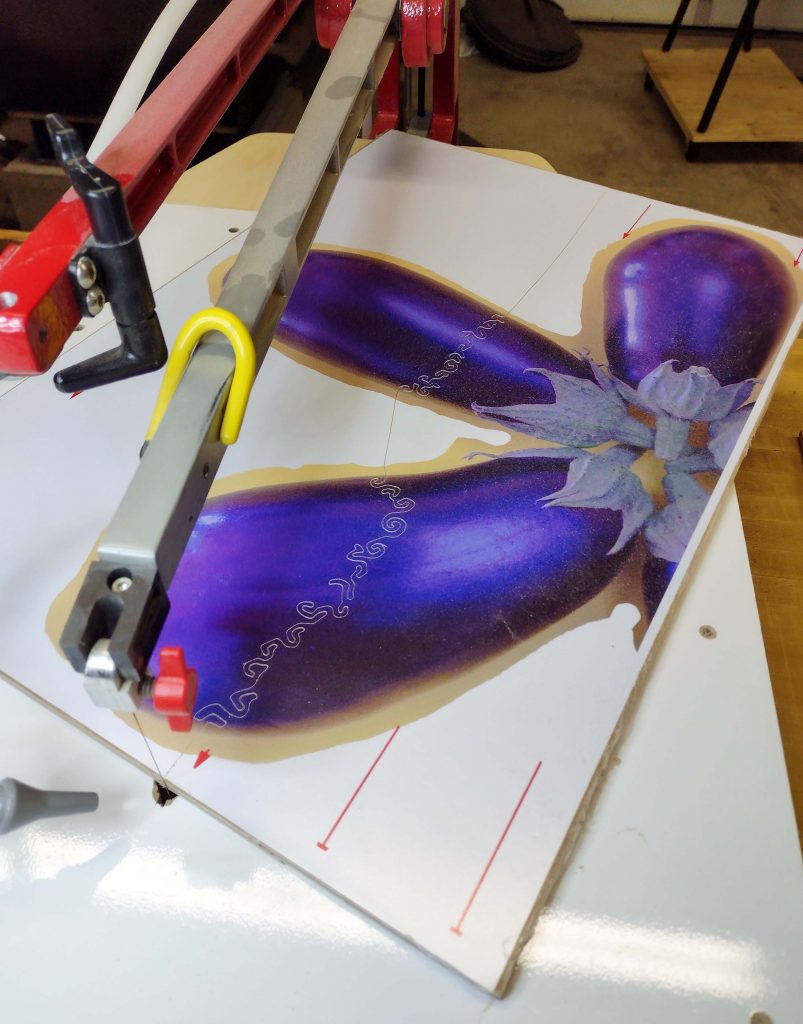
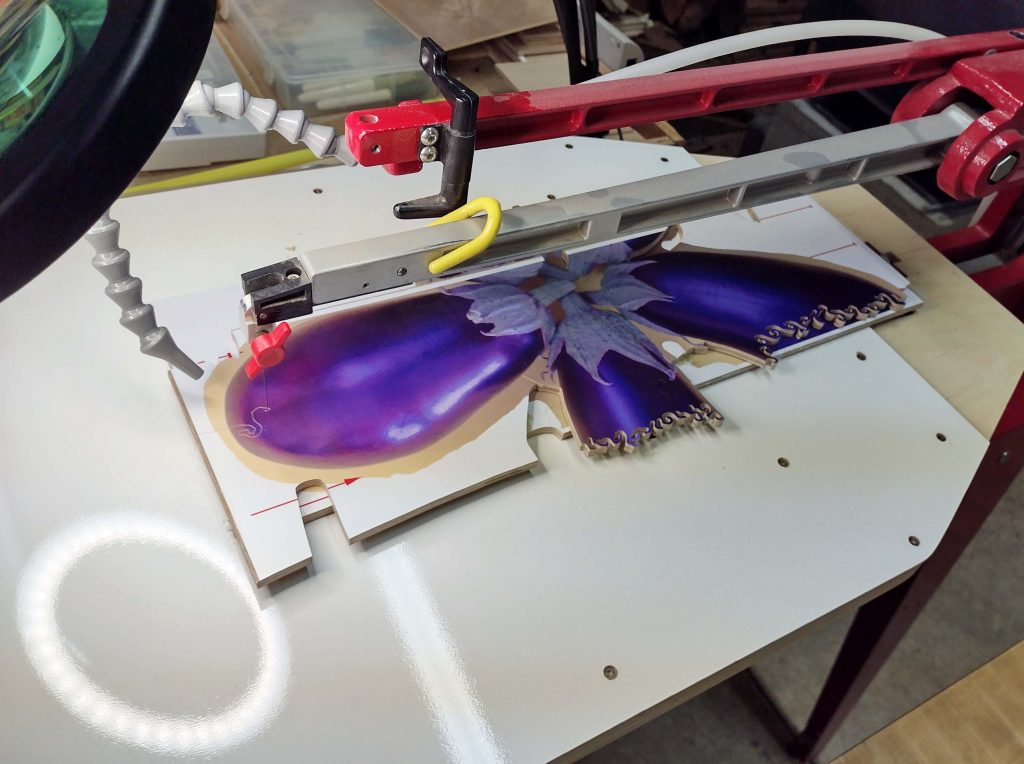
Here is the first board being cut in half on the Hawk. It is done. There is plenty of room at the back of the saw for swinging the board around.
Here are both boards cut in half.
Next is to line up the middle two pieces, glue them together and stack cut them.
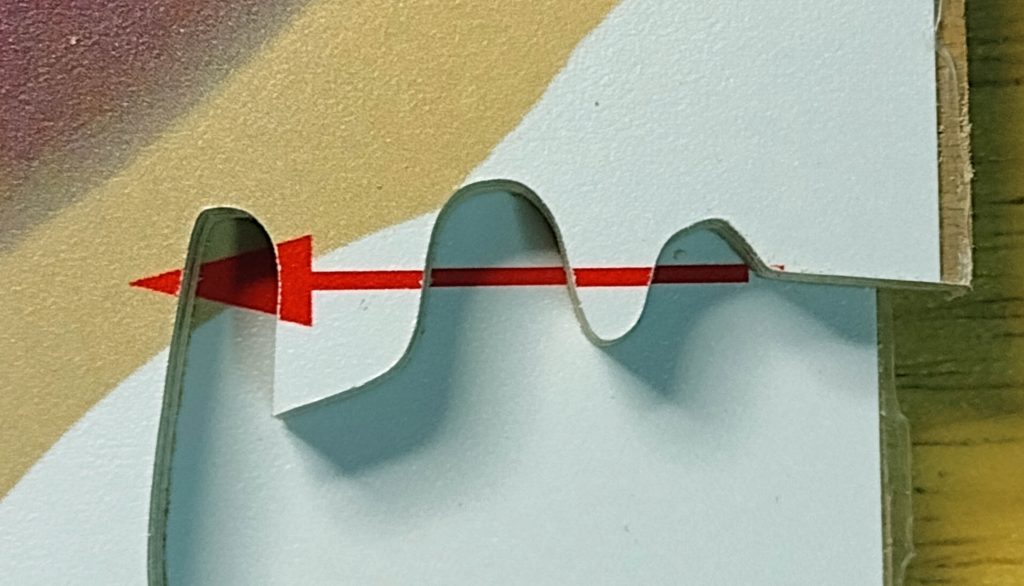
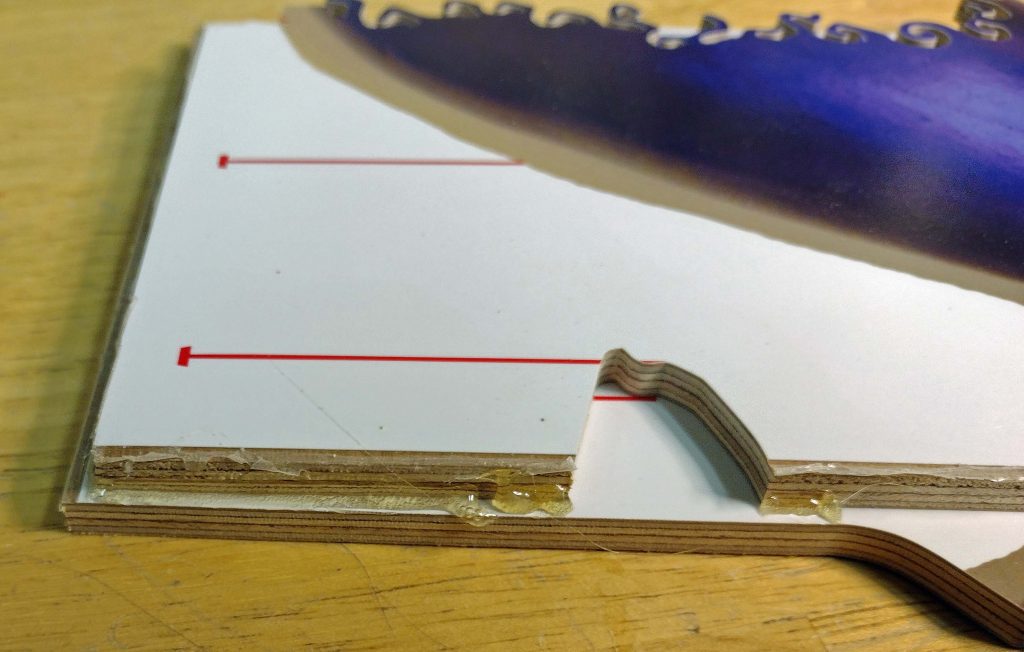
Notches are cut in the one board to allow for alignment to the other board.
Example of alignment
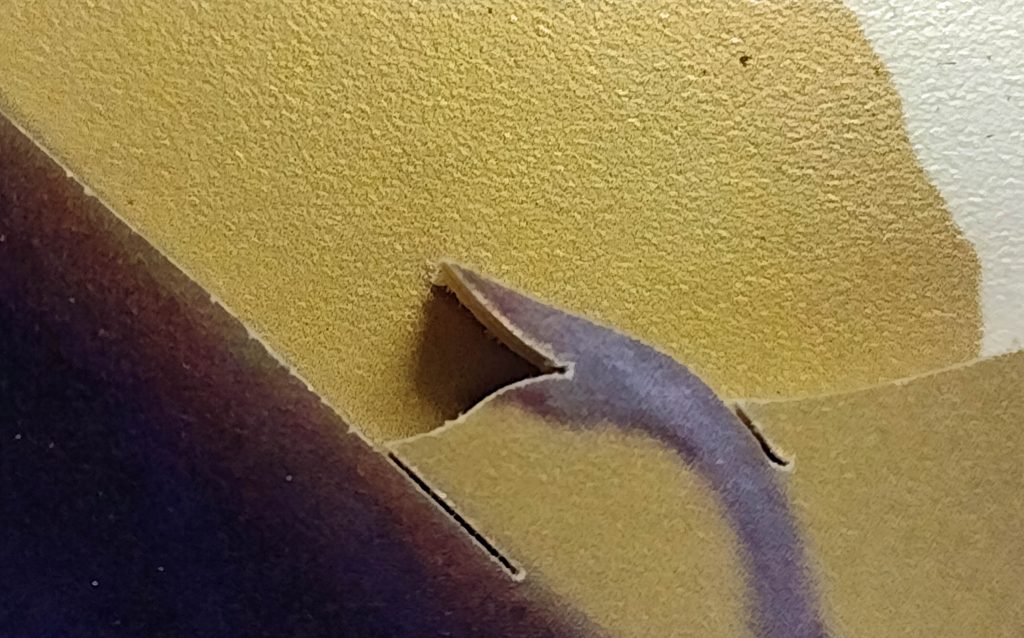
More alignment
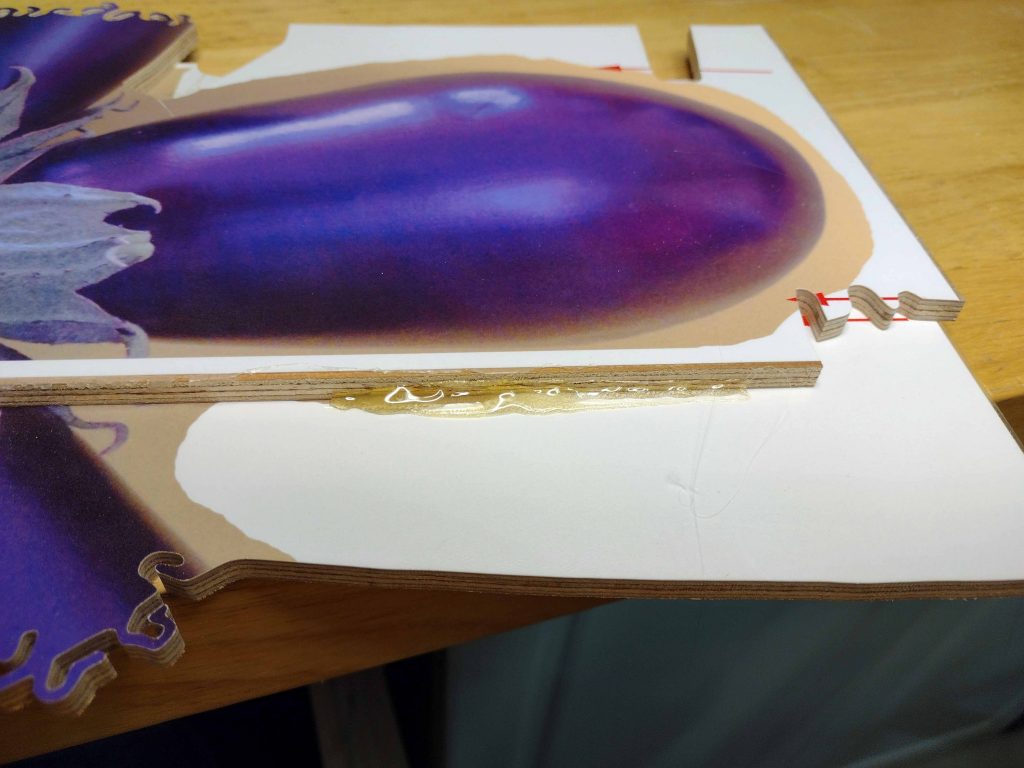
Once the panels are perfectly aligned, glue them together with hot melt glue in a waste area that can be cut off later.
More glue
Start the double stack cut
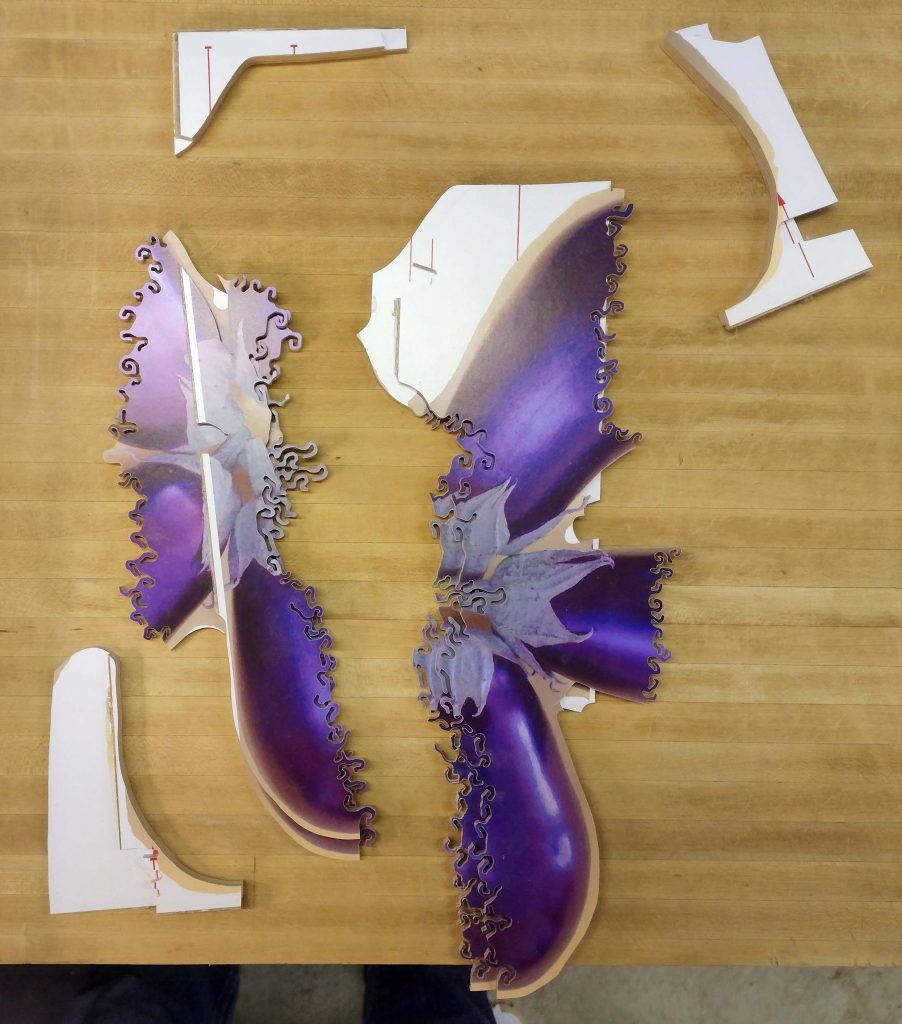
Double stack cut complete
Cut off the waste areas where it was glued.
Now put the two different prints together.
Cut off the excess waste around the other fruits and put the fruits together.
Five petaled eggplant “flower”, ready to be cut into however many pieces. Some of the waste material remains around the fruits to allow for more hot melt glue in the event I decide to double stack again to make trick pieces.
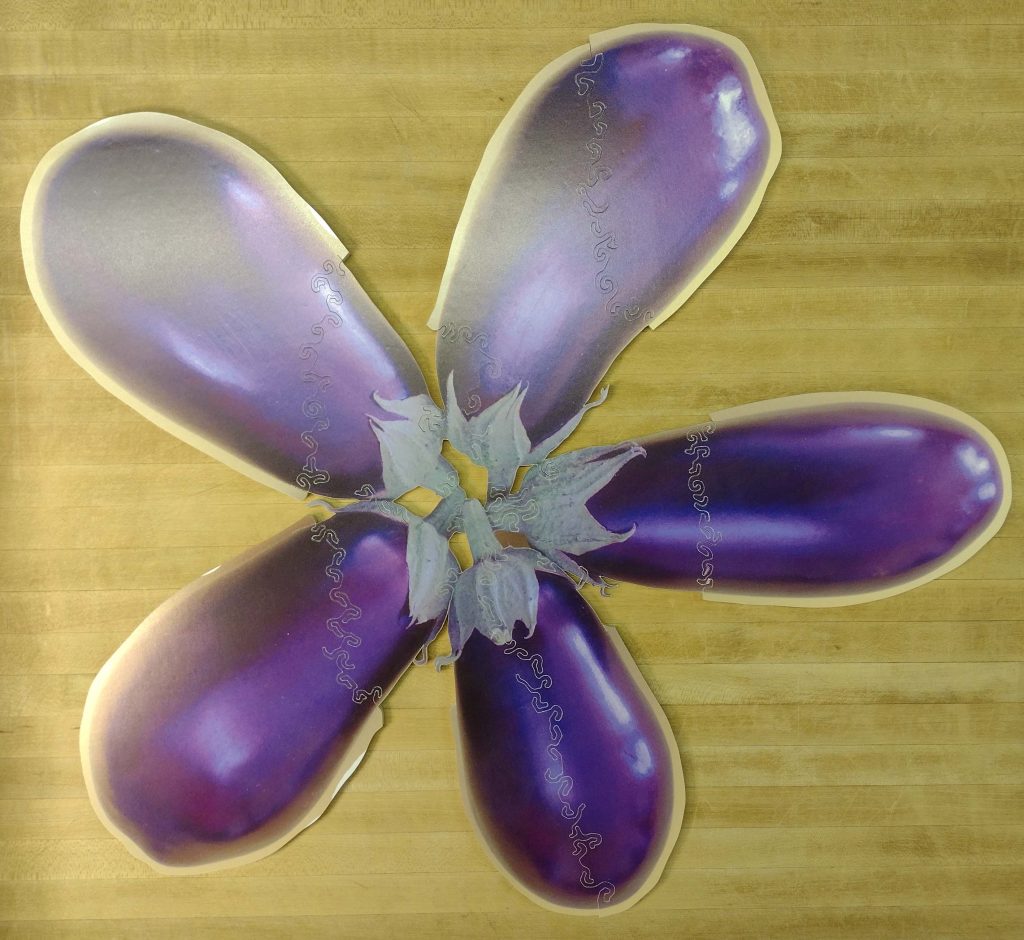
This will be put aside to finish another day. Commissioned puzzles await and take priority. This one will be finished when they are all done. It will eventually be listed at my Etsy store.
Happy Puzzling!
Bob

