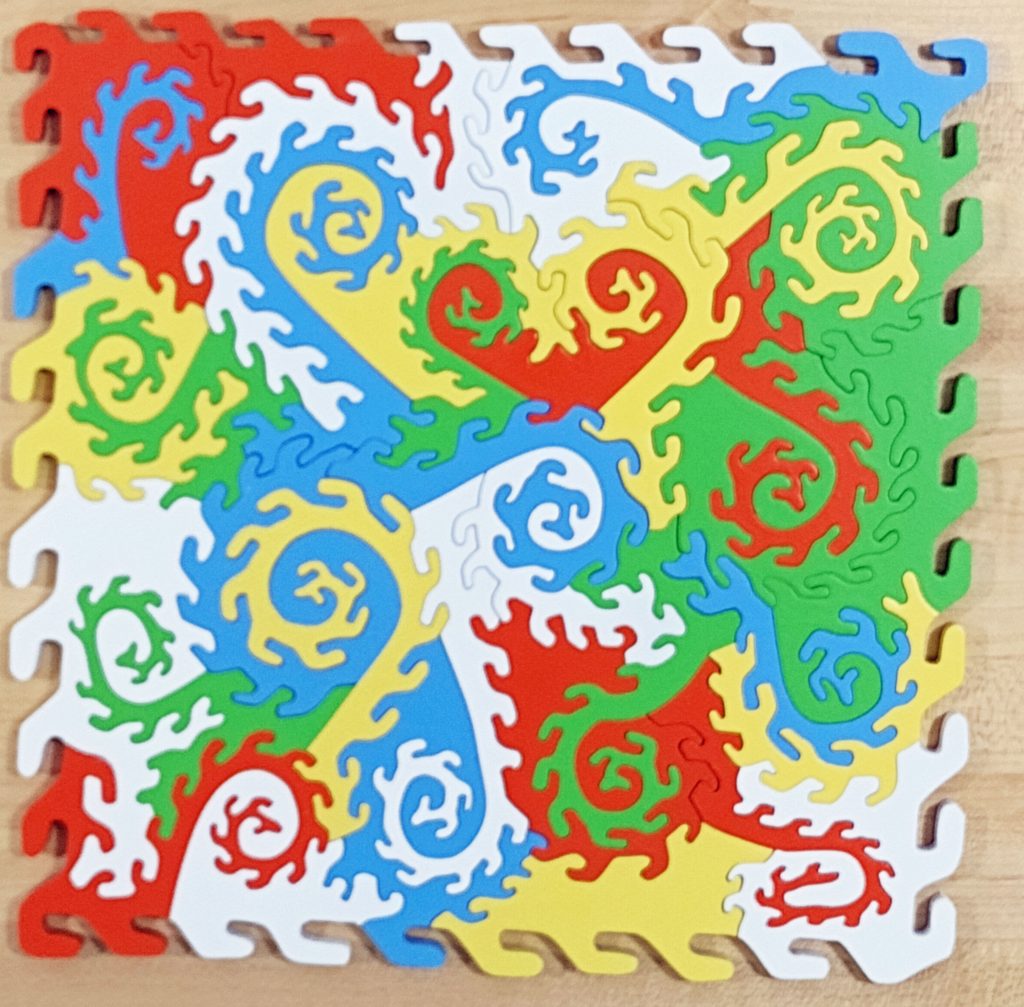
Over a year ago, I started a project to run comparison tests of various wooden materials available for puzzle creation. Three blog posts resulted: the first talked generalities about plywood types, the second talked about the specific types of plywood I would be testing, and the third presented results from cutting ten of those specific types. The first article explaining plywood types and terminology was posted on November 10, 2023. The third blog entry with the first set of results and observations was posted on December 13th, 2023. Now that it is December 2024, I should probably catch up with the rest of the samples and finish this.
Just as a reminder, I was cutting the same size puzzle with the same size and brand of blades for all of these. I was cutting them with a John Stokes inspired piece style that my wife named “Dragon Tails”. The only difference was to the different types of wood used. I cut these remaining samples primarily in February and March of 2024. However, my Dewalt scroll saw was taken out of service in December 2023 and replaced with a new Seyco saw. That really should not make a difference as far as this comparison goes, but it is a difference.
1/4″ Maple Cabinet Grade Plywood
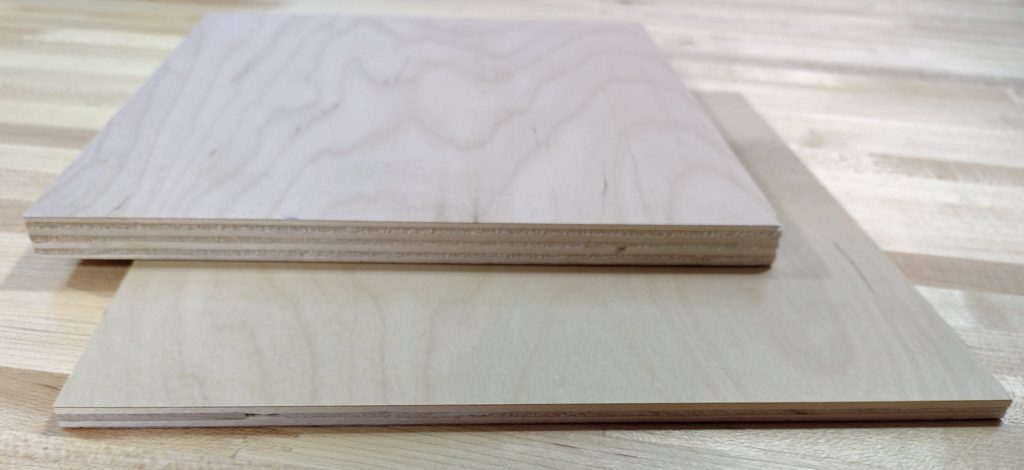
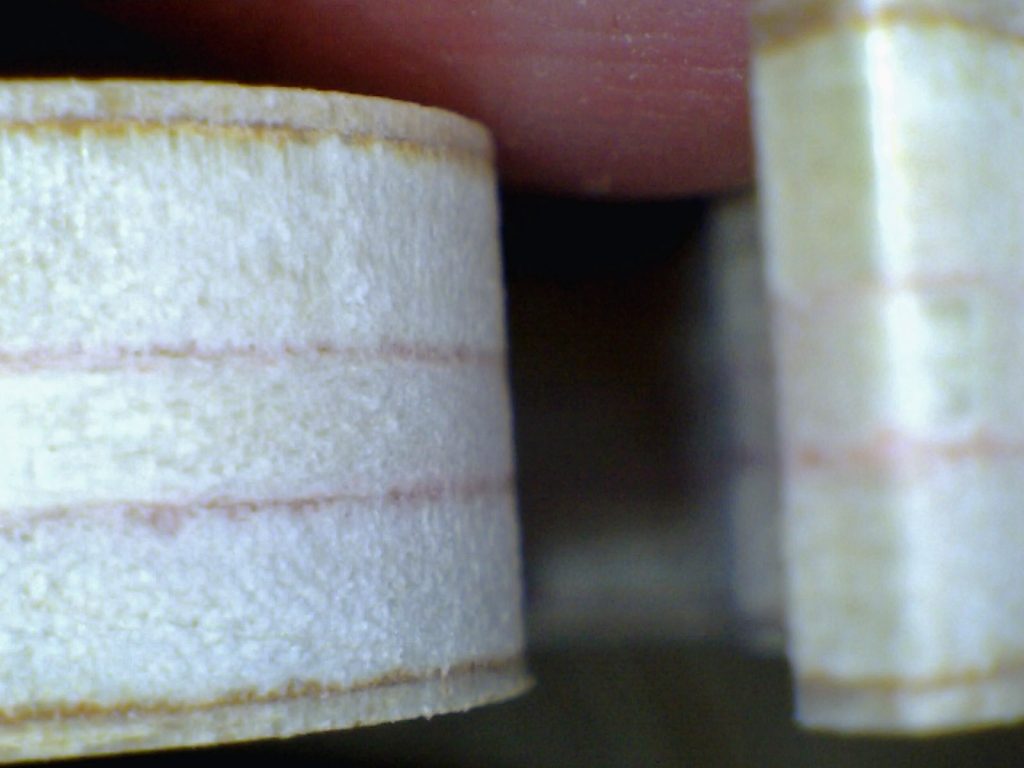
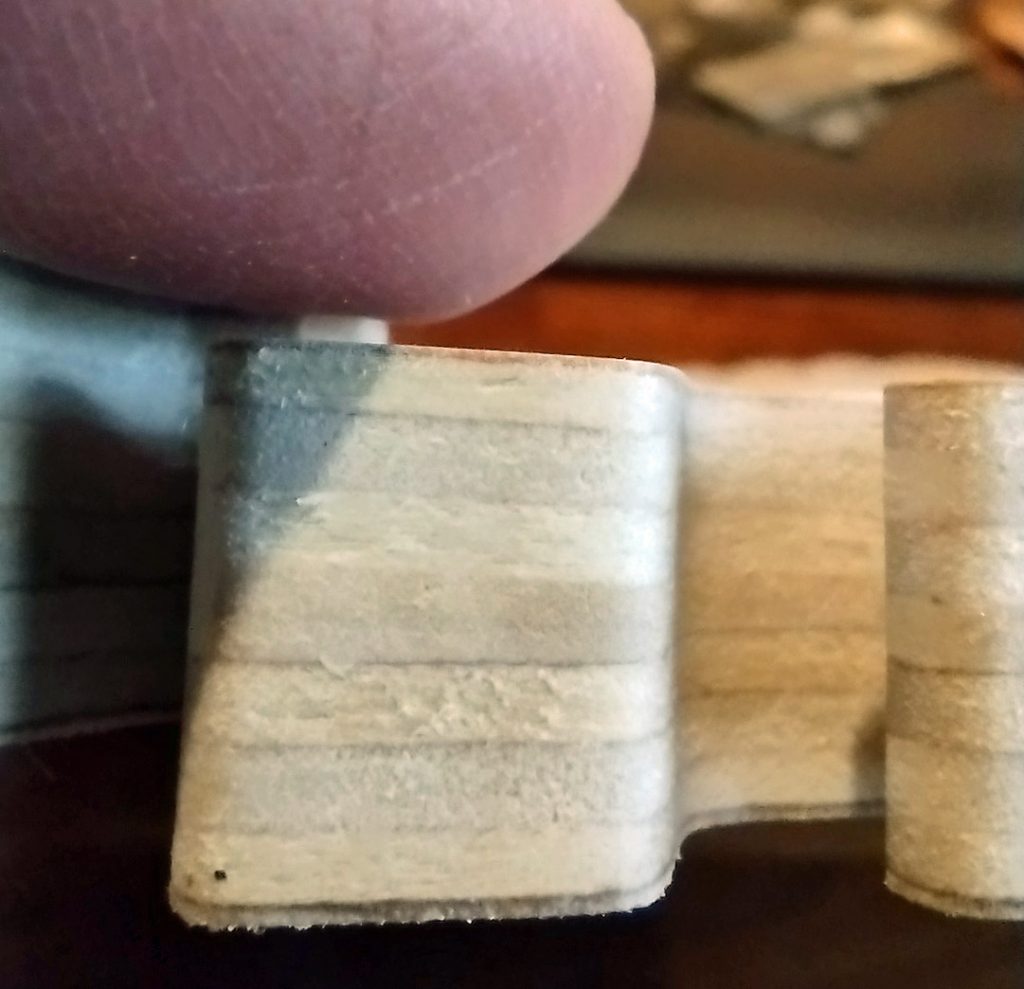
You may remember that cabinet grade plywood is a step up from construction grade plywood. It has more layers or plies made from a higher quality of wood, often a hard wood. At least one outer layer is aesthetically pleasing. It is not necessarily void free, however. Here is a side view of two pieces of different thickness cabinet grade plywood.
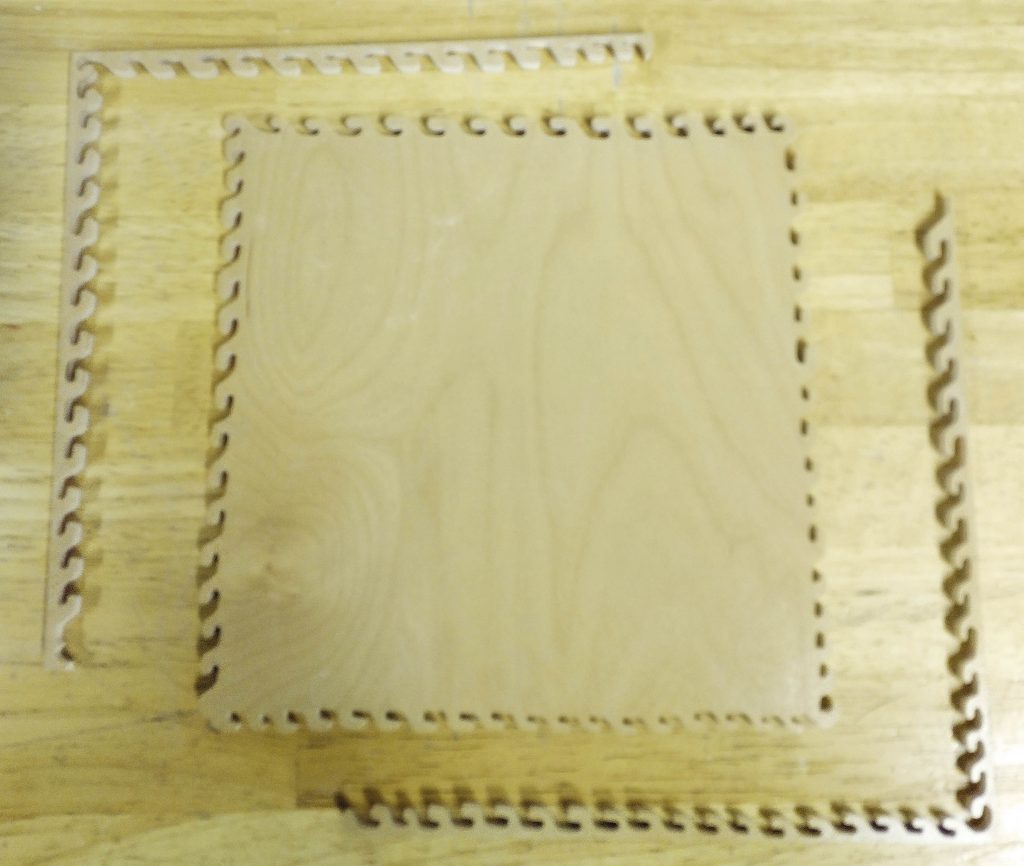
You can see the 1/4″ one above has a void clearly visible in the edge view. This piece of plywood is the test subject here. Because these are cutoffs from a local cabinet shop, the pretty side has a clear finish on it. I cut this with the finish side up. As with the previous puzzles, I started by cutting the decorative edge.
As before, I tested the cut off pieces to see how strong they are. They did not seem to be unusually weak, but definitely not as strong as a multiply such as Baltic Birch or Appleply.
This stuff cut relatively easily. Part of it may be because it has less layers of glue, which is hard to cut. The top side with the finish cut beautifully and basically splinter free.
It left a highly polished cut on the internals.
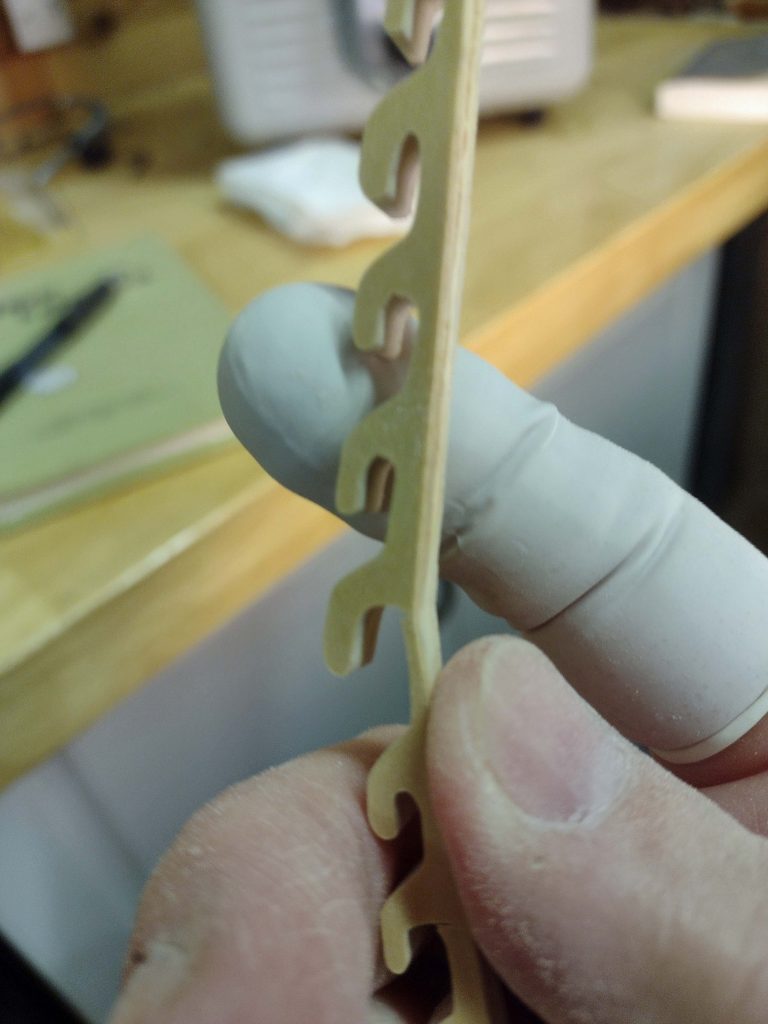
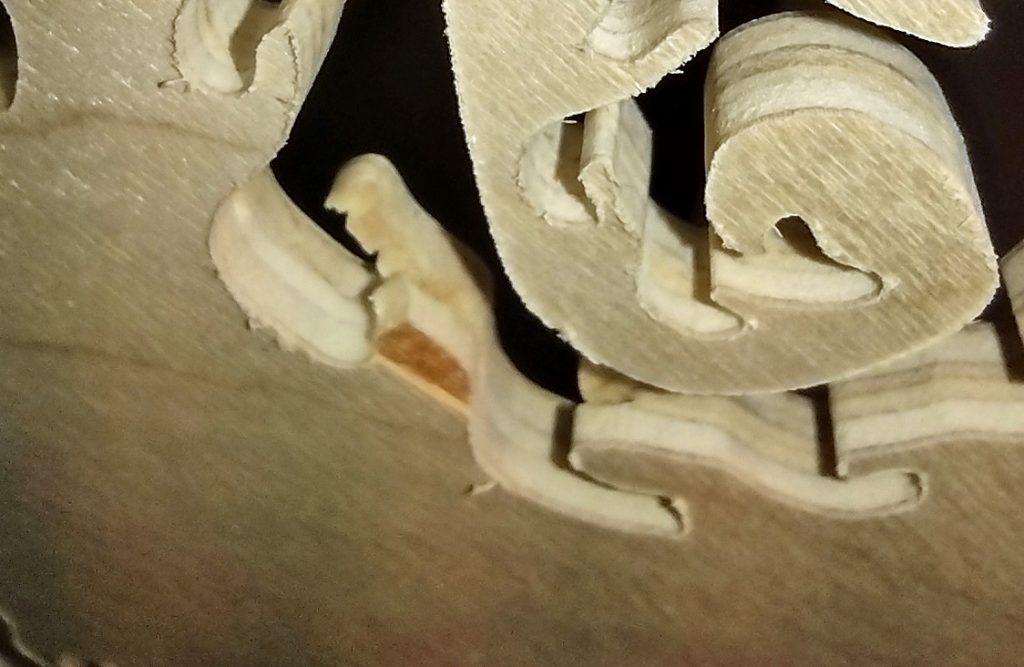
The backside was a different story. Plenty of splinters and even pieces of outer ply coming free.
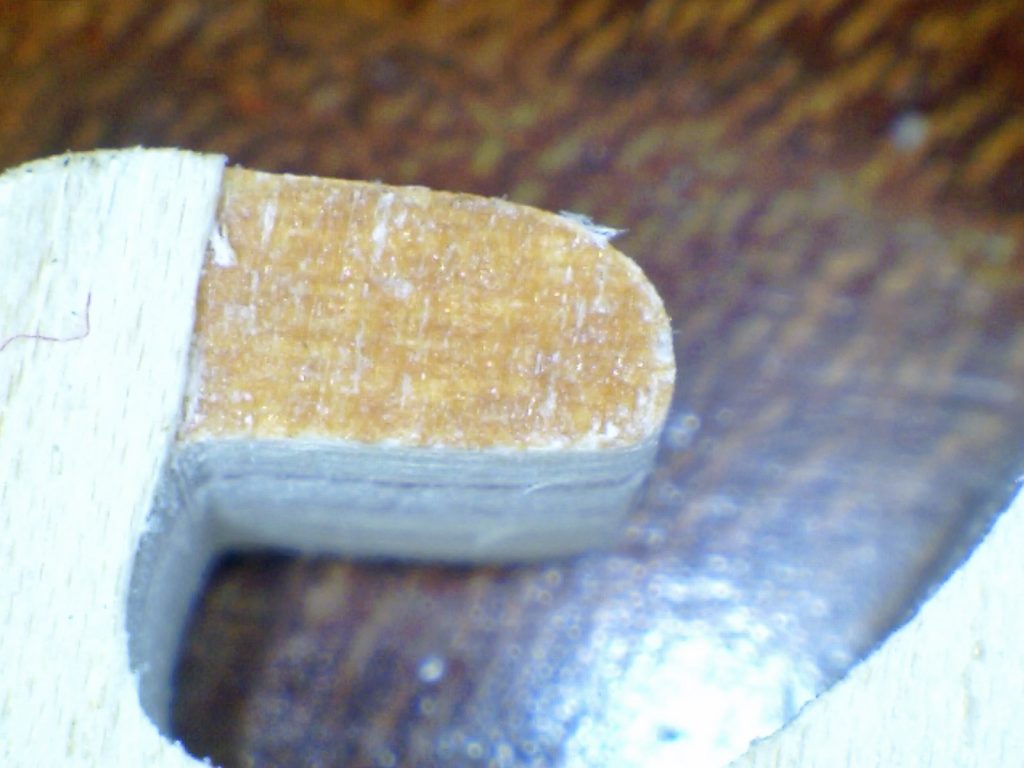
Here is a shot of an internal void with other damage.
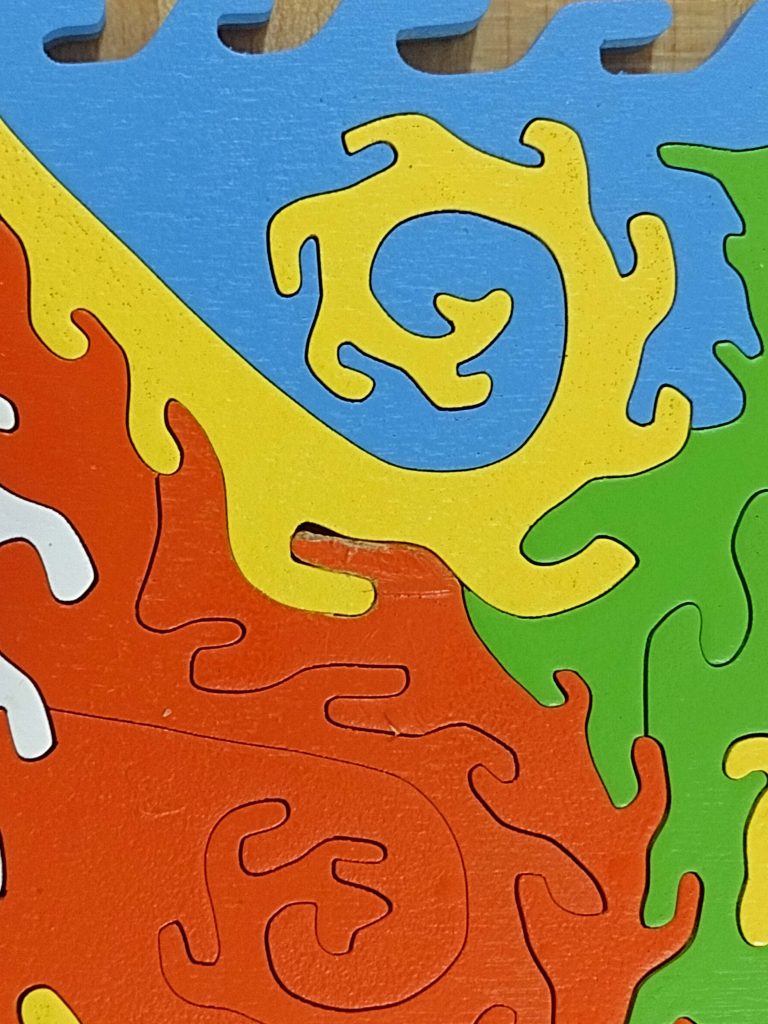
In finishing the puzzle, I was able to repair or minimize all of the issues with the exception of the one in the above picture. For that one, I was able to salvage the missing material and glue it to the piece, but a close examination of the completed puzzle shows the flaw.
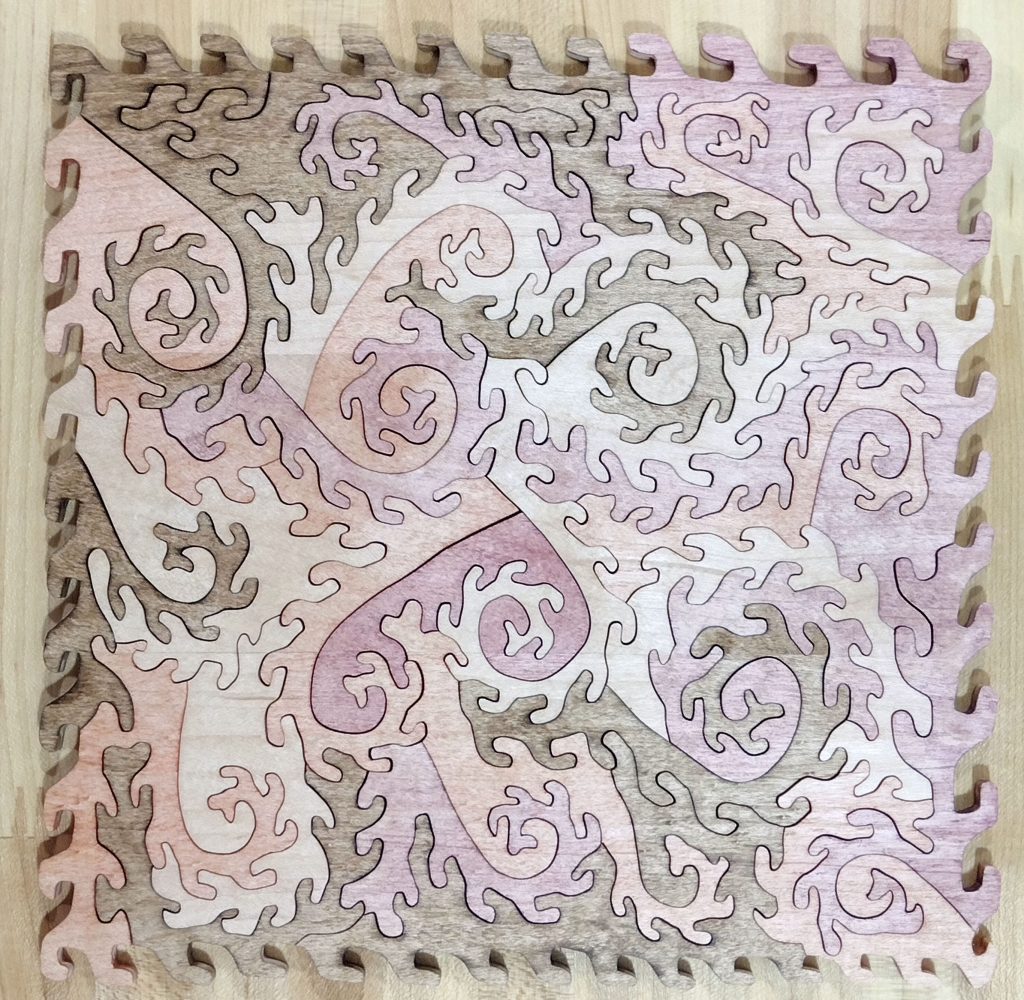
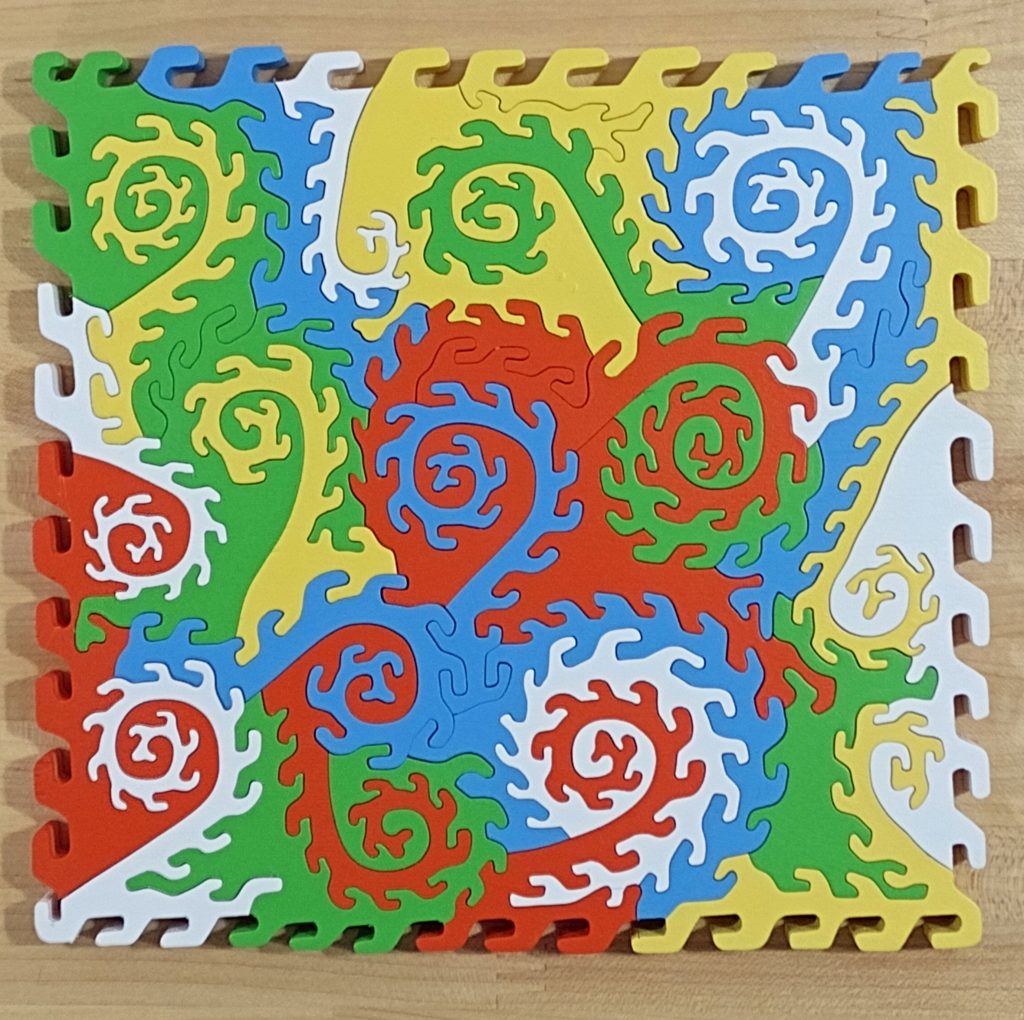
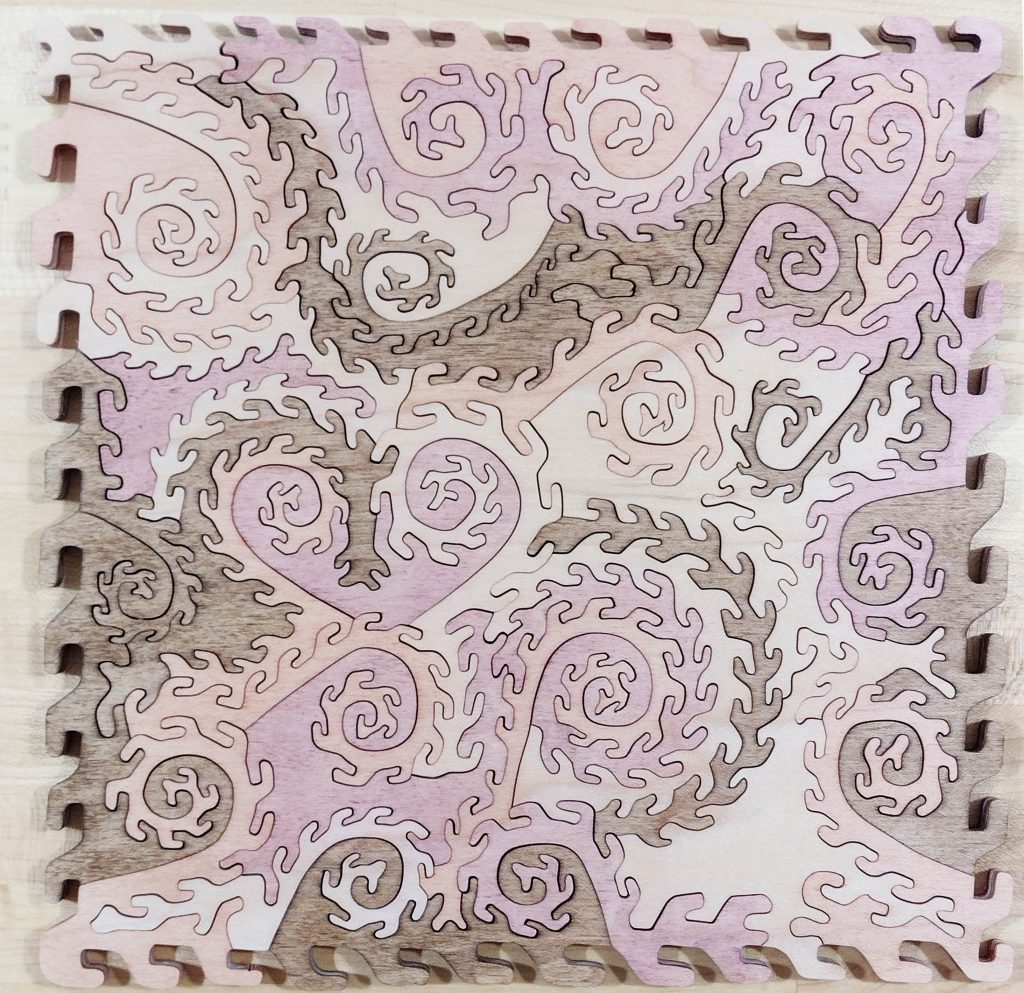
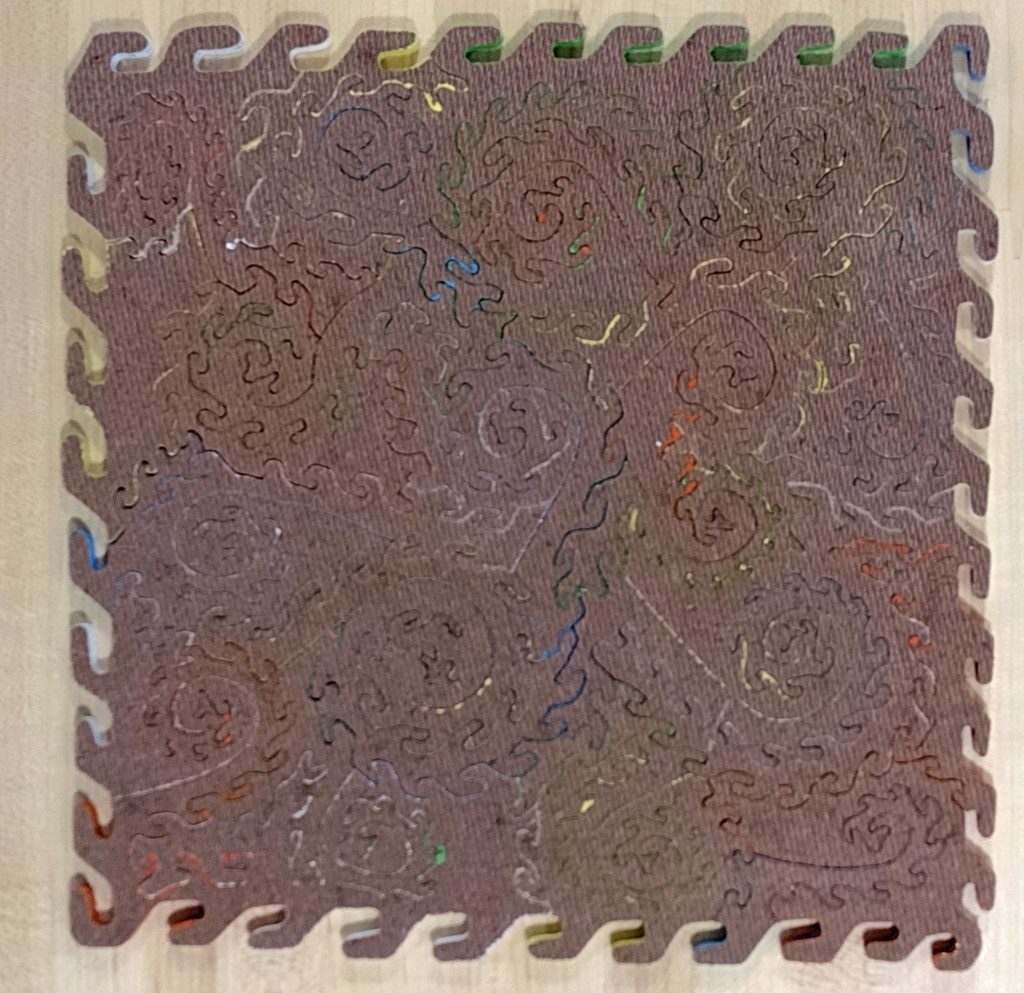
Since this piece had a clear hard finish on one side, I made it the back of the puzzle. I painted the unfinished side with acrylic spray paints and made it the front. This is a fun puzzle to assemble. It is easier than one that is painted on both sides, as it is clear which side is up, and which side is down. Here is the painted front of the puzzle. It has been 9 months since I cut and finished this puzzle, but I can quickly observe four flaws in the veneer. Can you? Three of them are on the edge and really do not make a difference. The fourth one is the one pointed out above.
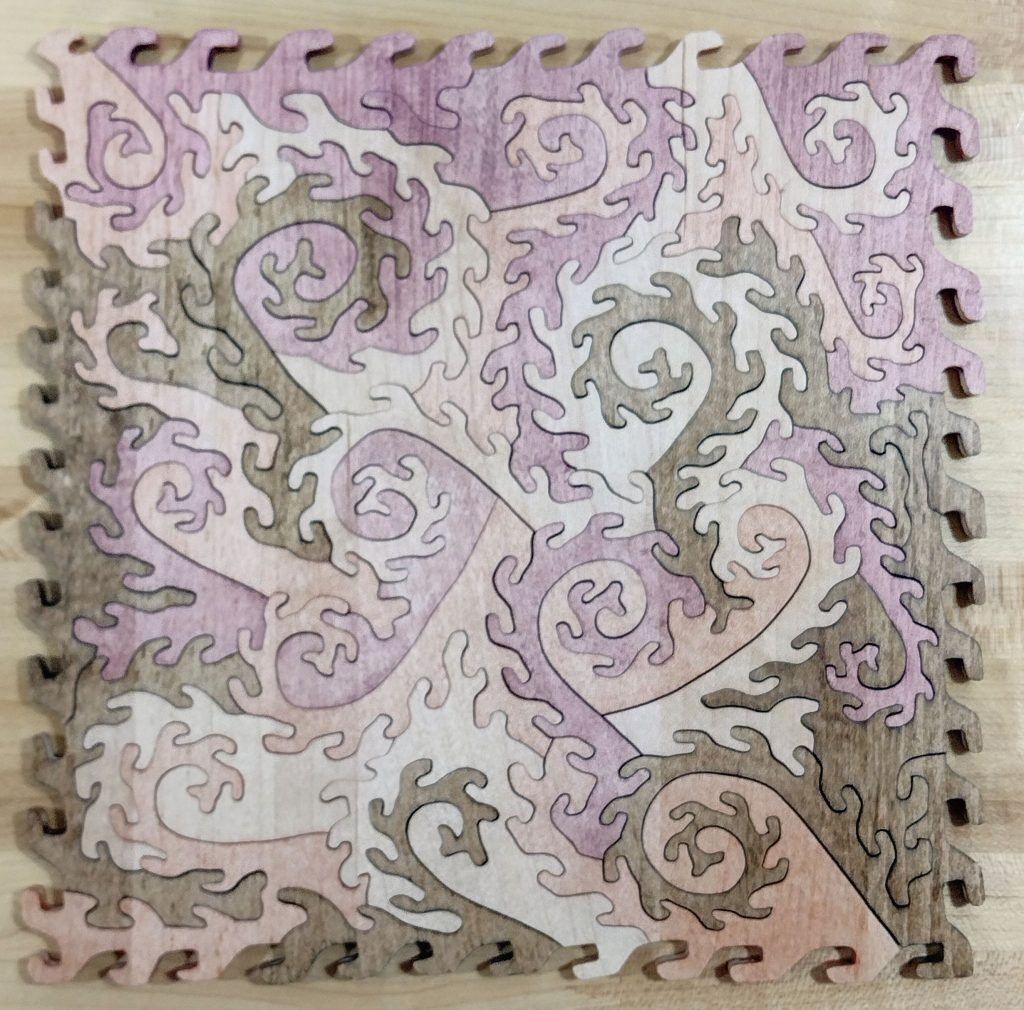
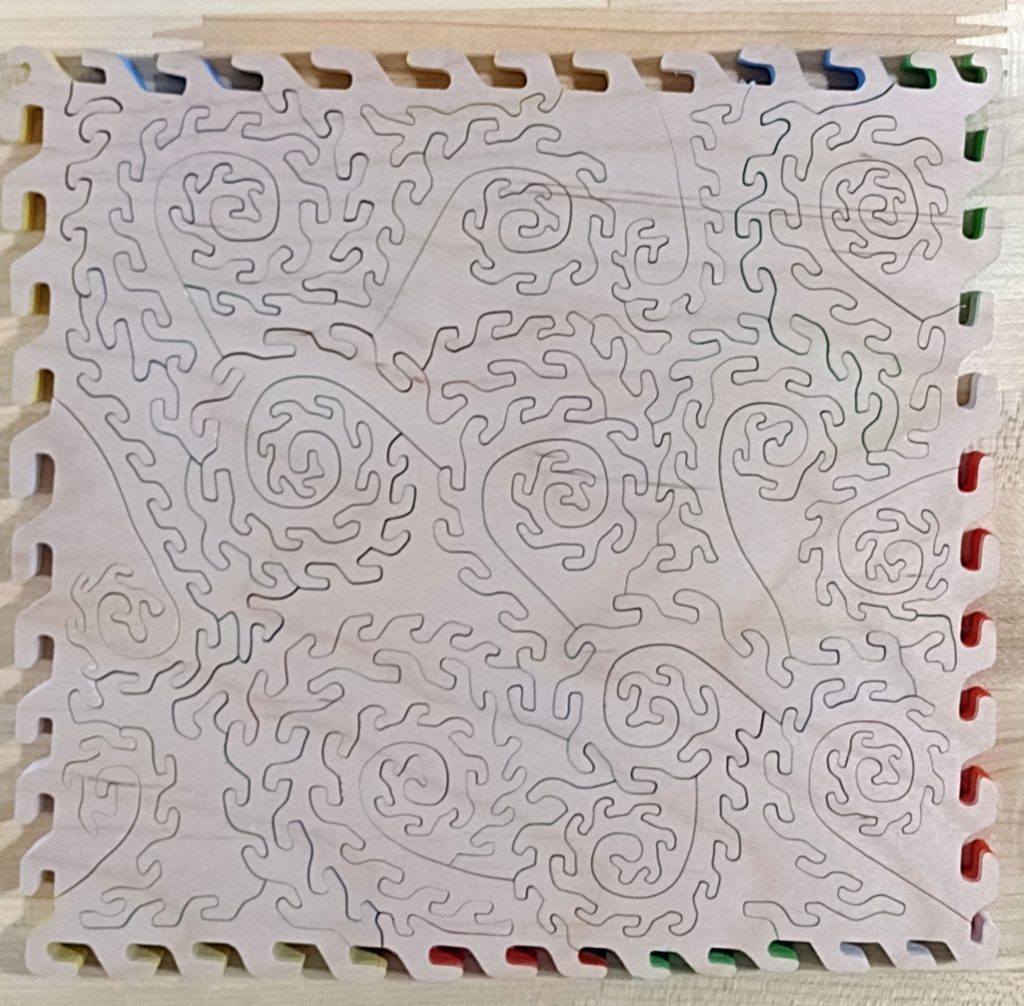
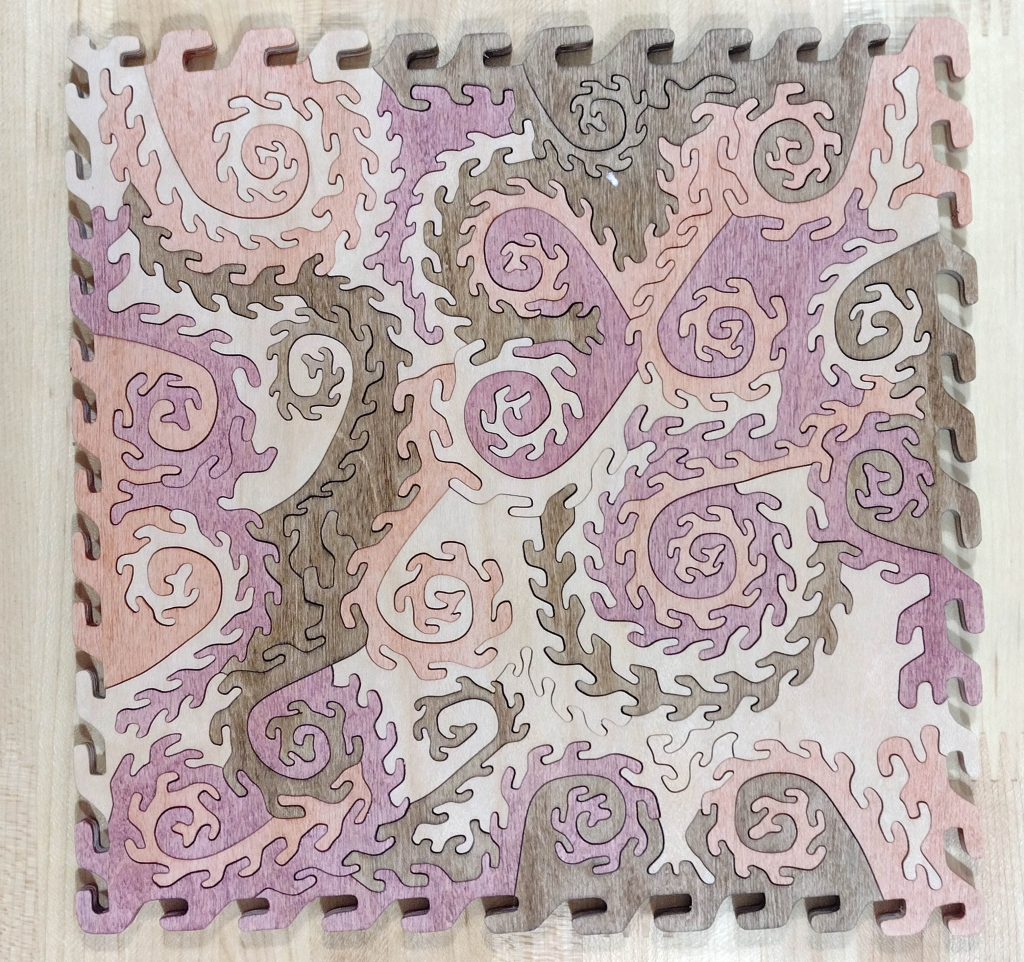
Here is the backside with the clear finish.
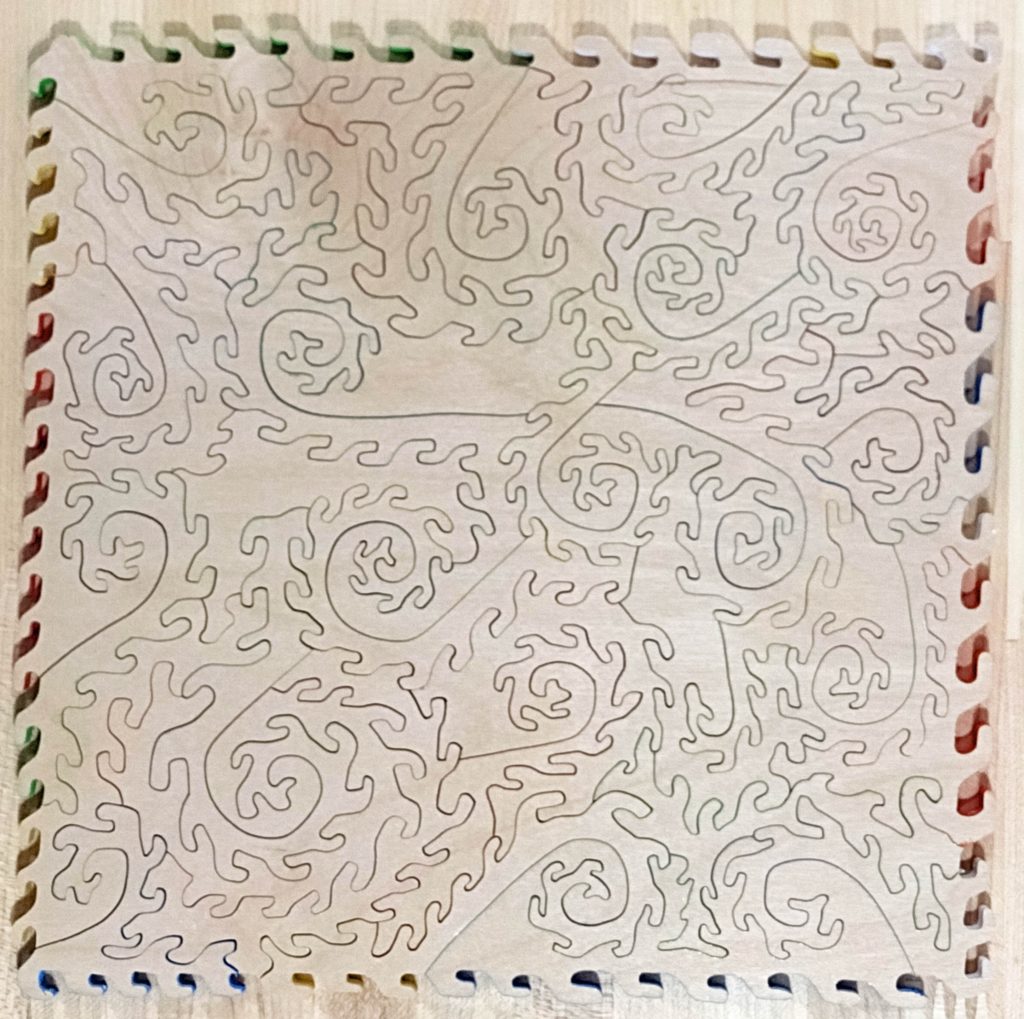
Solid maple
Moving on, the next puzzle was cut from solid maple. No plies here!
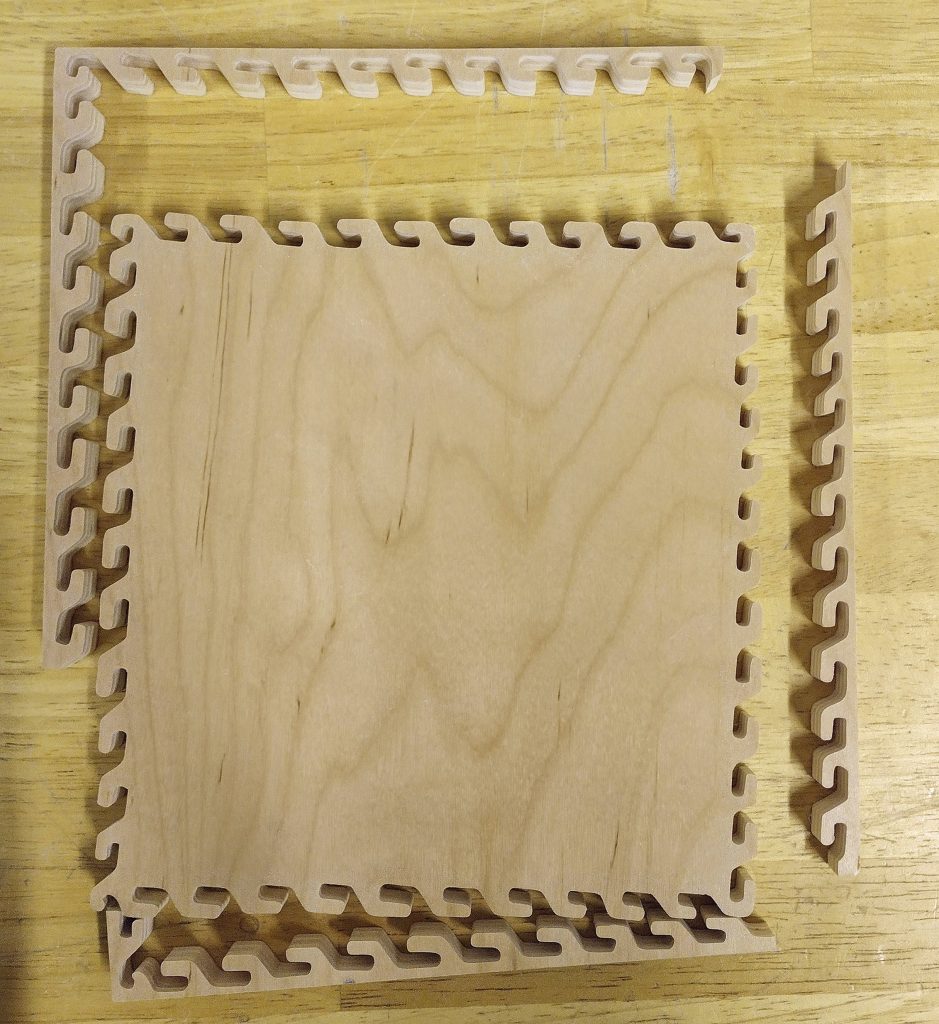
First was to cut the decorative outside edge.
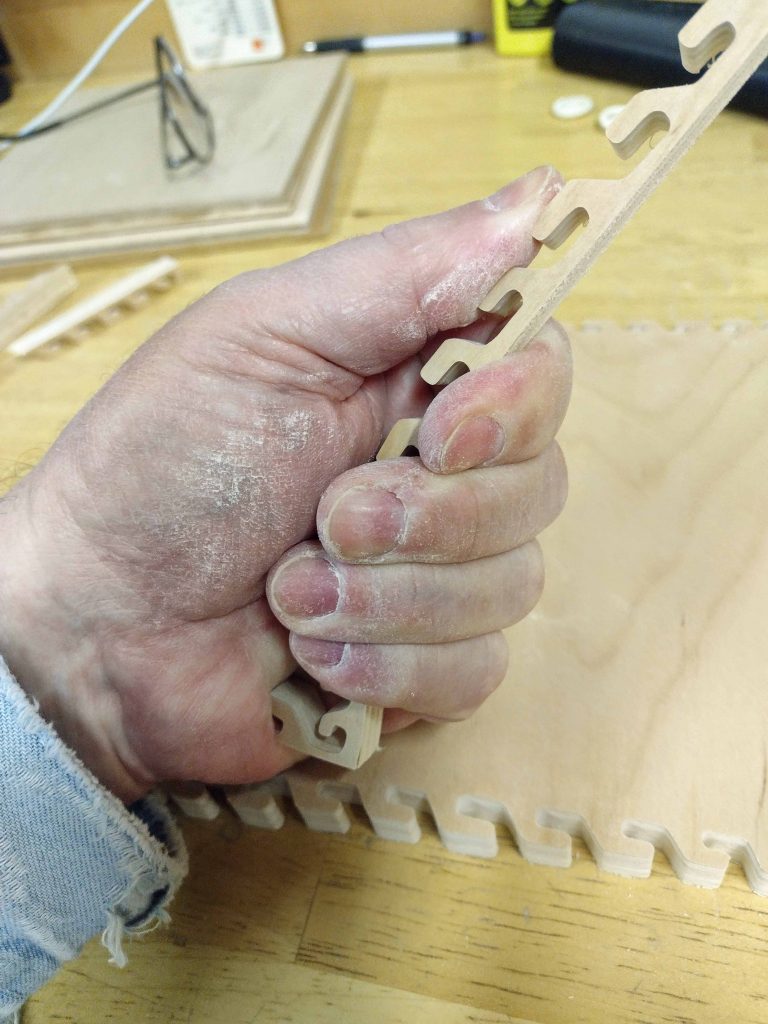
Next was to test the relative strength of the edges. Since this is not plywood, grain makes a difference. For the part with the grain running longitudinally, this was the strongest wood tested. It held up very well.
For the section with the grain running the other way, however, it was a different story. This is the hazard with narrow pieces of solid wood. It broke very easily. Having said that, after cutting the puzzle I wiggled some of the pieces that looked like they may be vulnerable. Given that the tabs are relatively short, they seem to be fairly strong, and I did not break any of them.
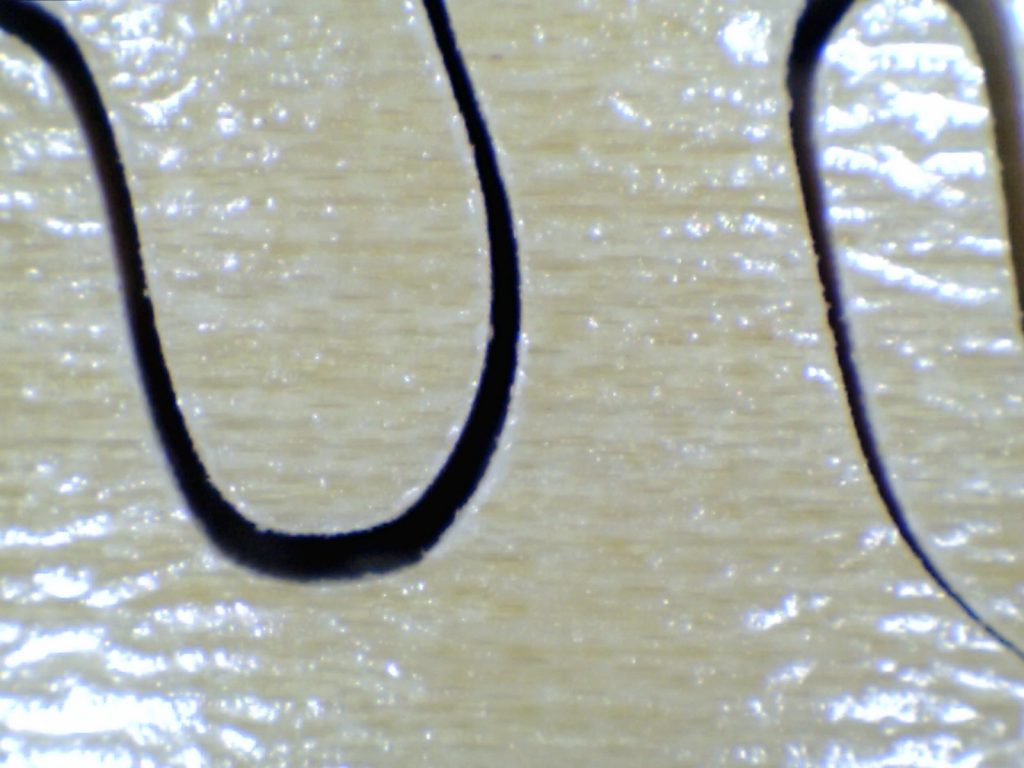
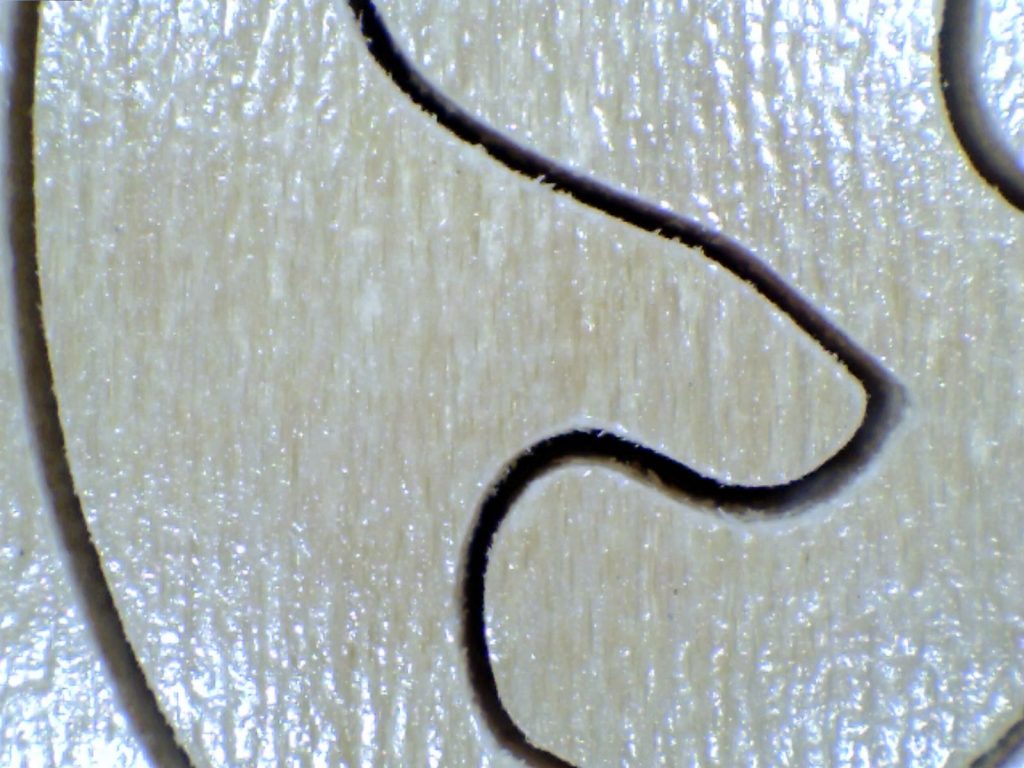
There was really no splintering that occurred while the cutting was going on. That is the advantage of a solid hardwood. Here is a close up with the zOrb magnifier of the front.
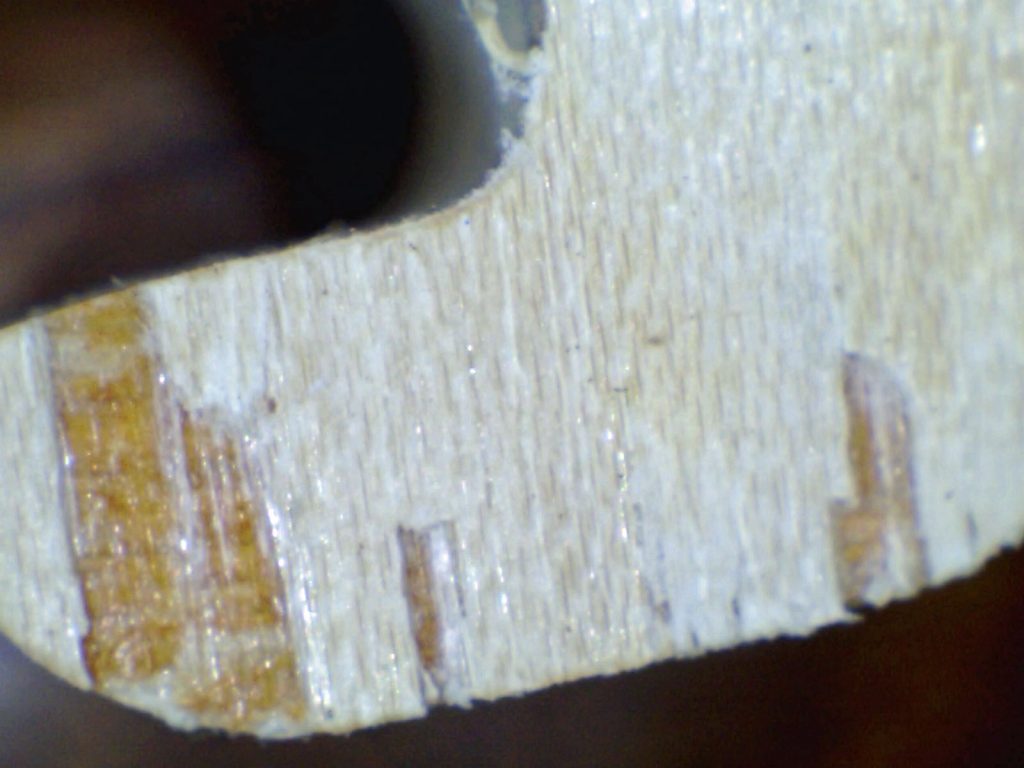
Here is a shot of the fuzz on the back that is easily removed by light sanding. There is no splintering, just “fuzz” from the saw blade passing through.
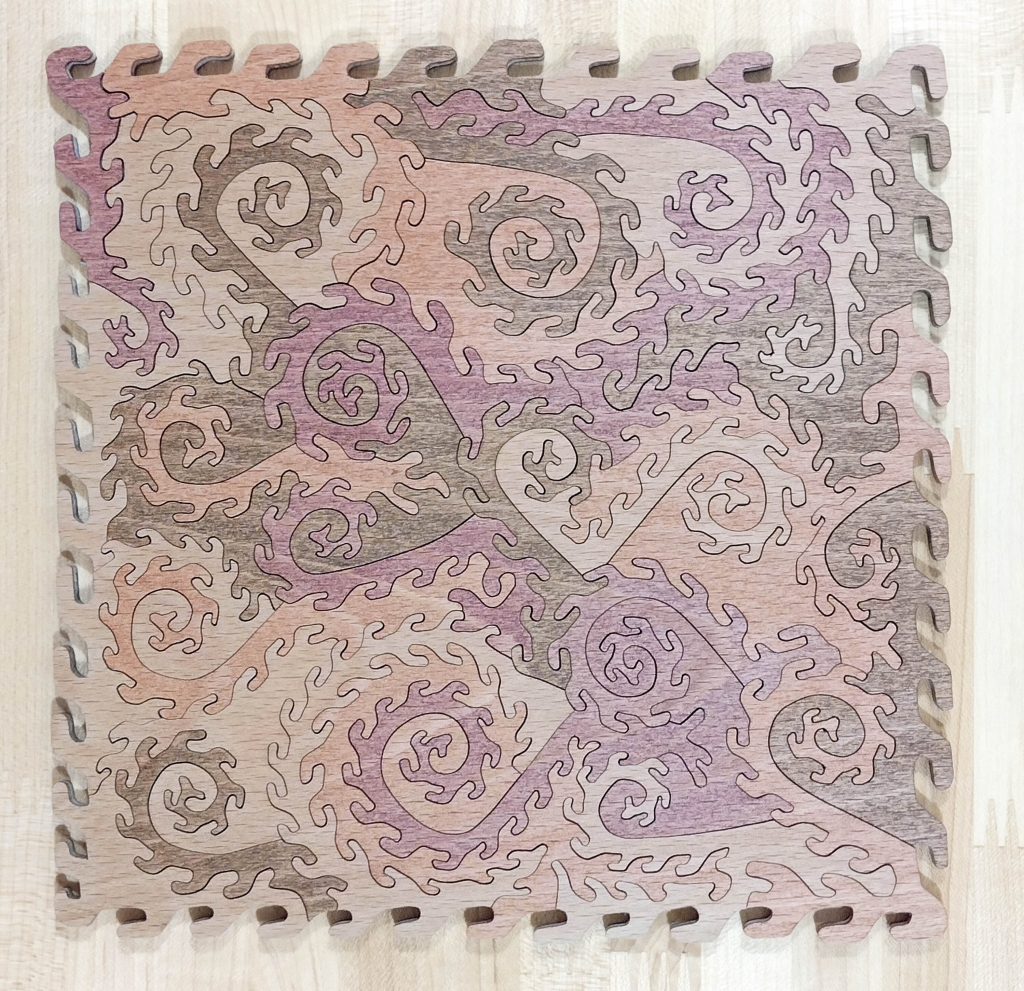
Being solid wood, I opted to finish this front and back with different shades of Danish oil finish.
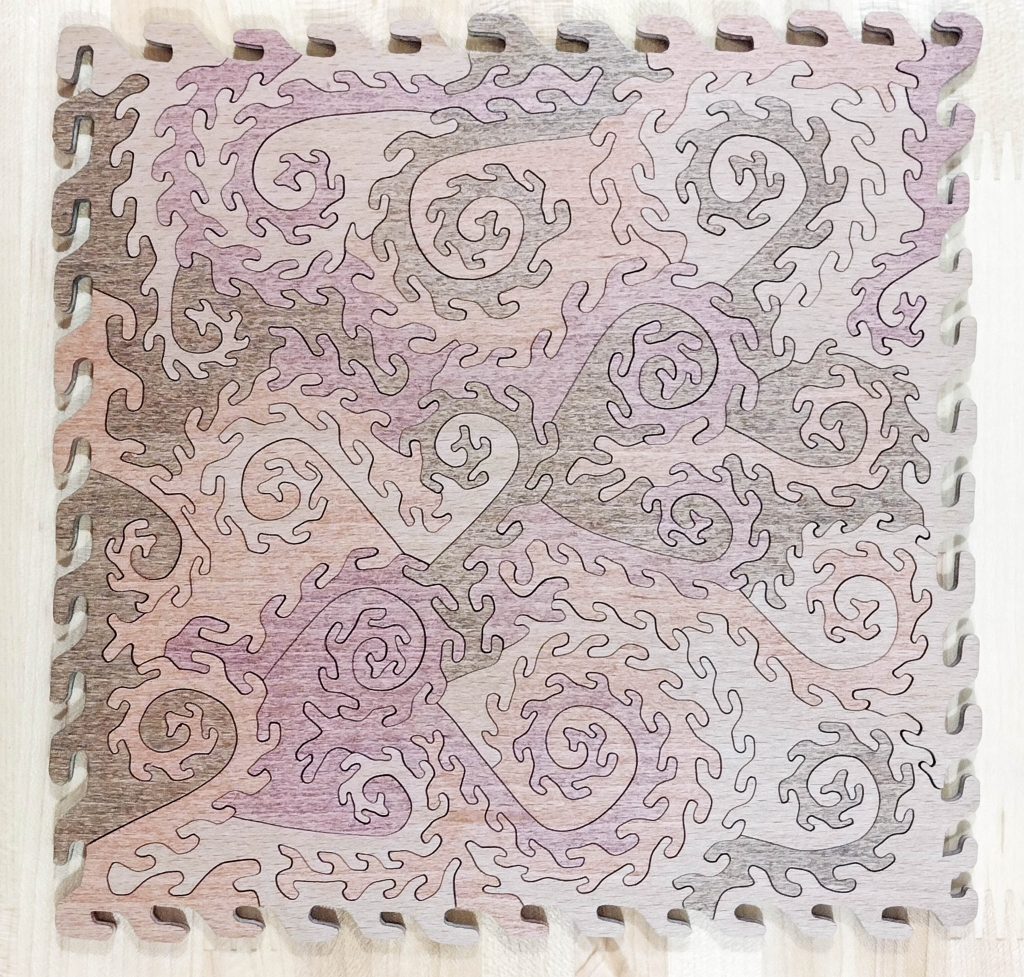
And the back.
1/2″ Maple cabinet grade plywood
This one is an outlier because it is cut from nominal 1/2″ plywood instead of 1/4″. I reassembled these puzzles to jog my memory as I was writing this blog entry. I have to say this one may be my favorite out of all of them. The 1/2″ thick wood just feels different. It was very satisfying to assemble.
As usual with this puzzle piece style, start with cutting the decorative edge and testing the relative strength of the edge off cuts. The strength test was actually meaningless, since the wood is twice as thick. Comparing it to the 1/4″ material is not a fair comparison.
As with the 1/4″ thick cabinet grade material, I cut it with the finished side up. There was no significant splintering that occurred on the topside.
And, as with the 1/4″ material, there were some outer ply issues on the bottom side of the cuts.
And, as with the 1/4″ material, most of these were covered by the spray paint and do not really affect the completed puzzle appearance. I left the side with the “factory” clear finish as the bottom of the puzzle, and spray painted the unfinished side to make the top of the puzzle.
A note on cutting. A very small and thin blade is used to cut jigsaw puzzles. As the blade dulls, you have to push harder to get it to cut. As you push harder, the blade tends to bow in the direction of pressure. With this thicker wood, that bow in the blade can make it so the wood kerf kind of bends as you make sharp turns. Consequently, you can end up with pieces that do not smoothly fit with each other. For me, I end up replacing blades more often than I do with the thinner woods. Another option is to move up a blade size or two when cutting the thicker woods.
1/4″ Alder with MDF core
In my previous article, I had cut a piece of 1/4″ Maple MDF core. This was pretty similar. The alder outer plies held up while and did not splinter. I am not going to take up a lot of space with pictures on this one. I finished it front and back with Danish oil finish.
1/4″ Maple Appleply
Once again, this is a repeat of a prior puzzle with a different wood flavor on the outside. That puzzle was cherry Appleply. I really like the Appleply product. It stands up fairly well. I know another puzzle cutter has complained about hitting some voids, but I have not run into that problem with this product. I really have nothing new to write on this material that I did not write about for the cherry Appleply. The only real difference is that the lighter wood takes the stain colors differently from the cherry wood.
1/4″ Hardboard
Like the MDF core products, this is another one that blew away some of my prejudices. I kind of thought this would disintegrate into splinters and scraps. Originally, I could not find my hardboard and joked about cutting one using some scrap pegboard. However, I did find my piece of hardboard and hacked off a puzzle blank. A quick measurement shows that 1/4″ is really about 3/16″. So, it is thinner than most nominal 1/4″ material.
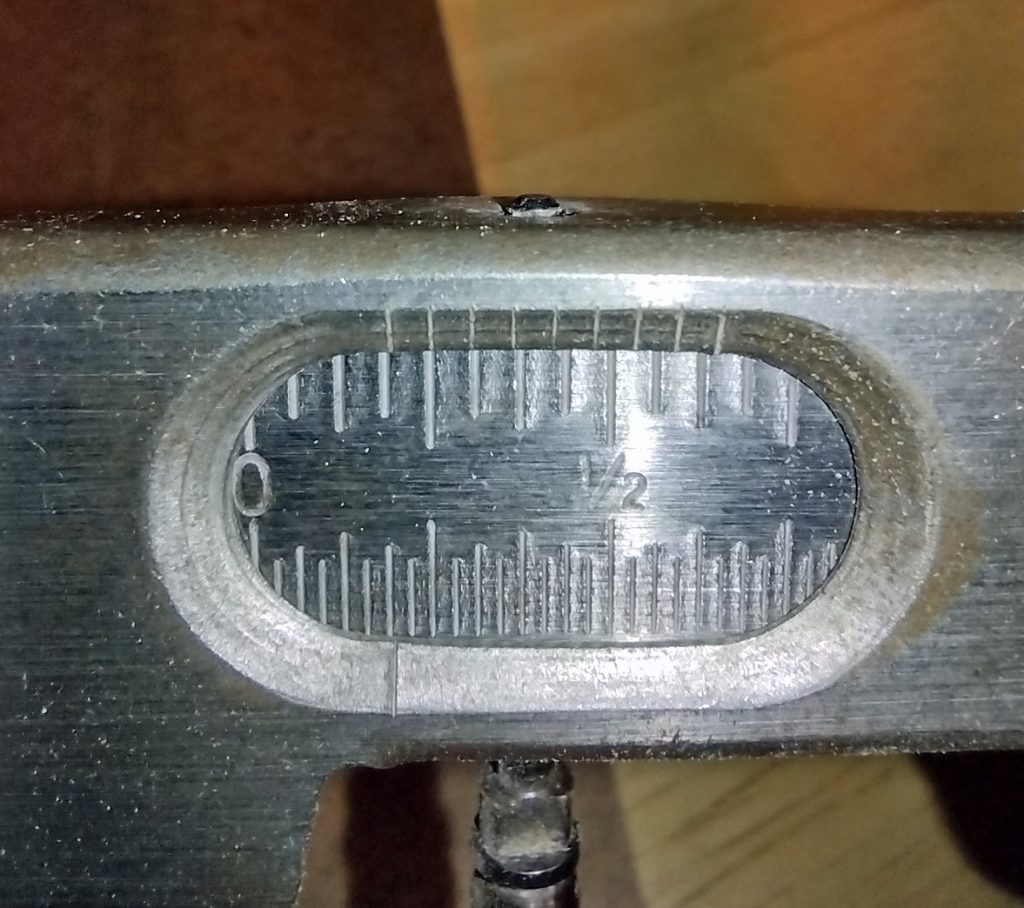
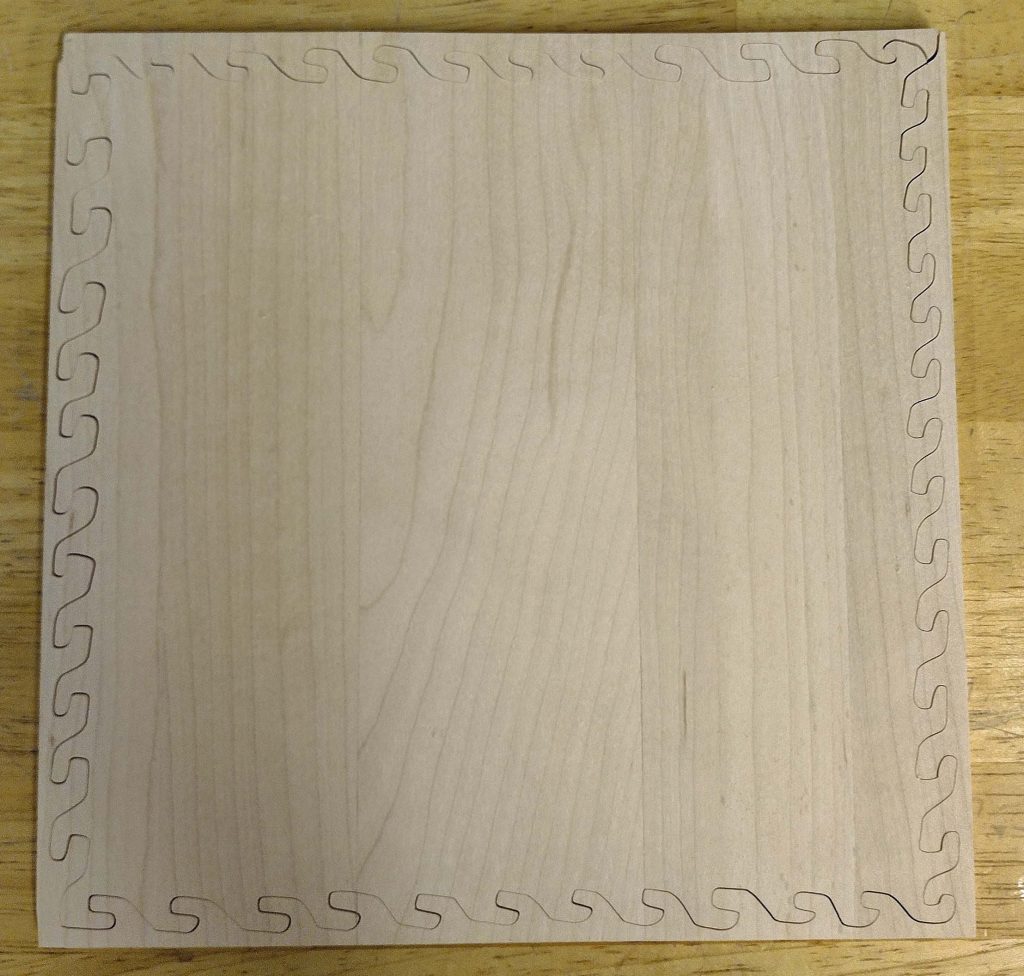
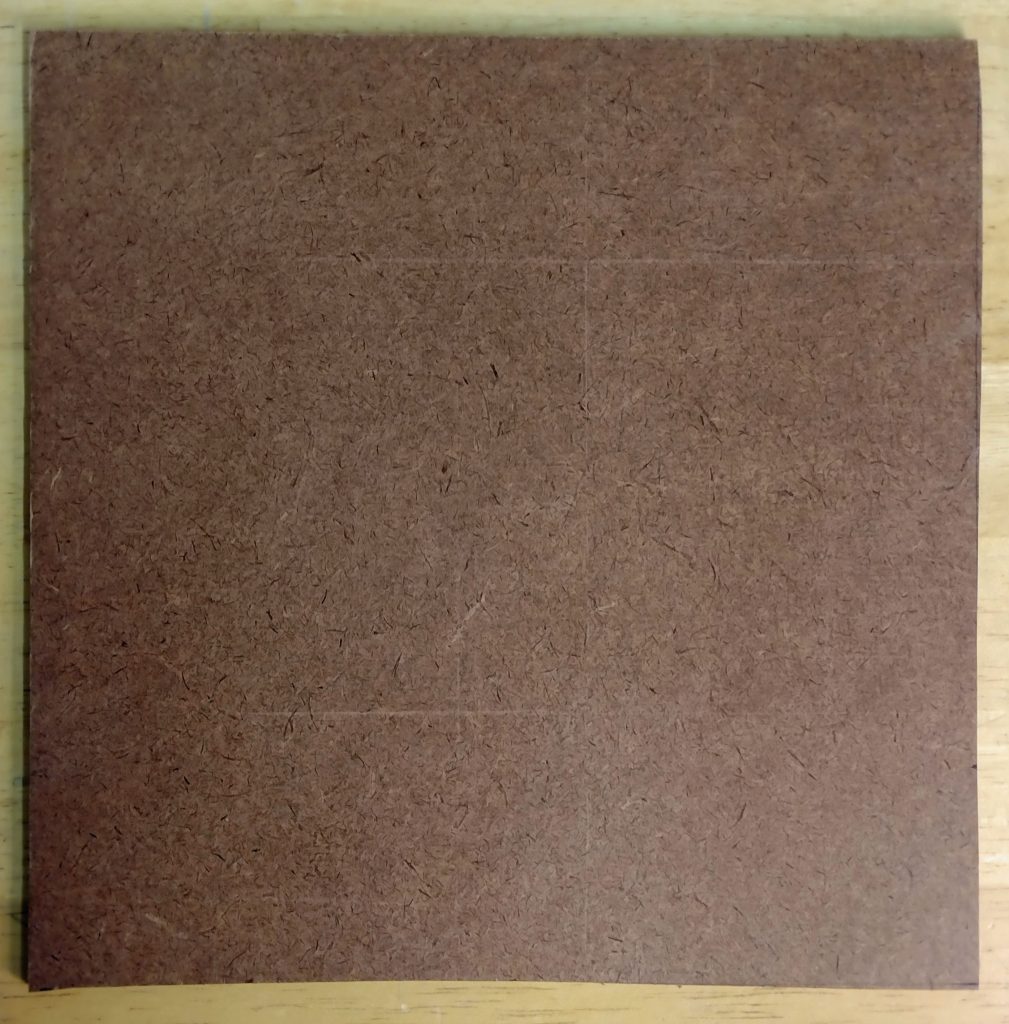
This product is so different from what I use that I need to include a few photos here. This is the top of the uncut product. It does have a few scratches on it, but they will not impact the final product.
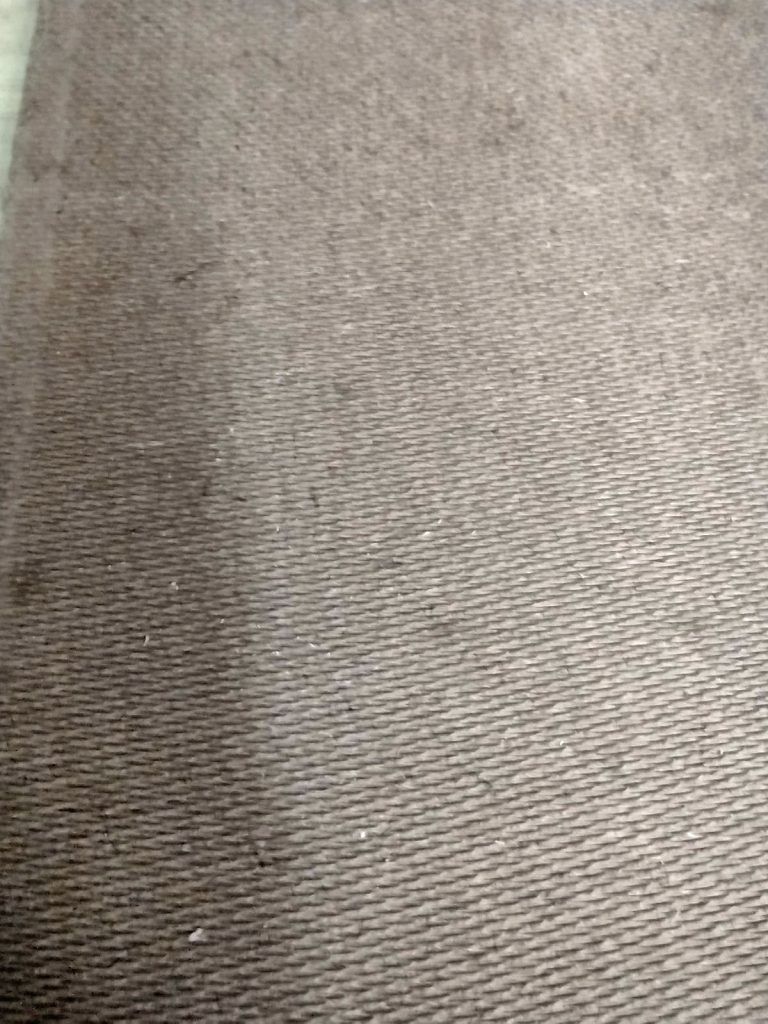
This is the backside. It is a rough surface, so is useless for bonding images to. You can see it has a repeating pattern pressed into it. I assume other options are available. This stuff really looks like the material my Wentworth laser cut puzzles are made from, other than the rough backside.
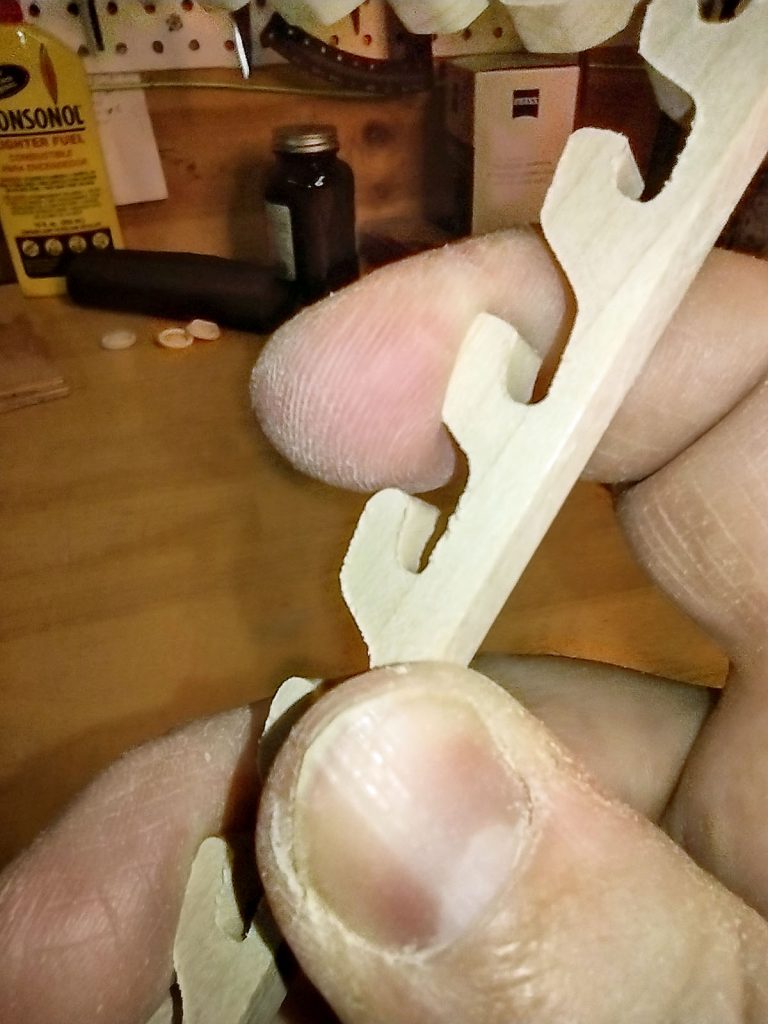
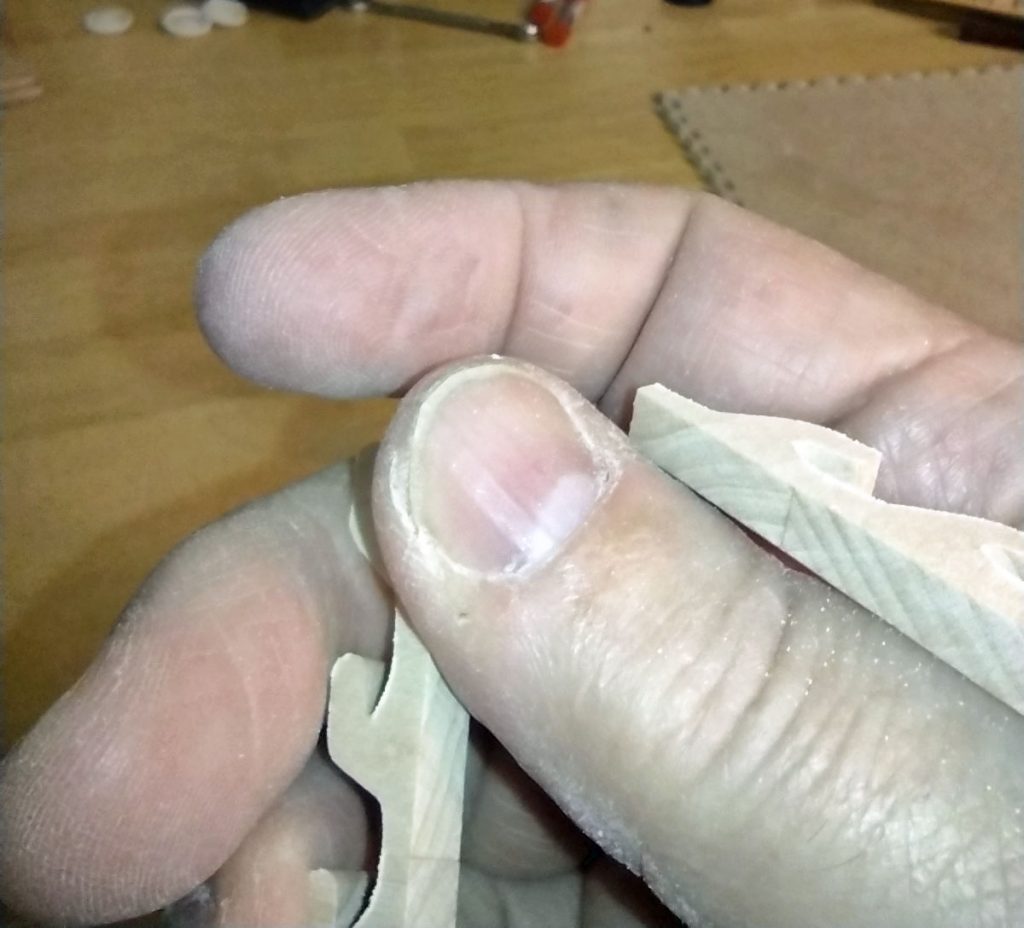
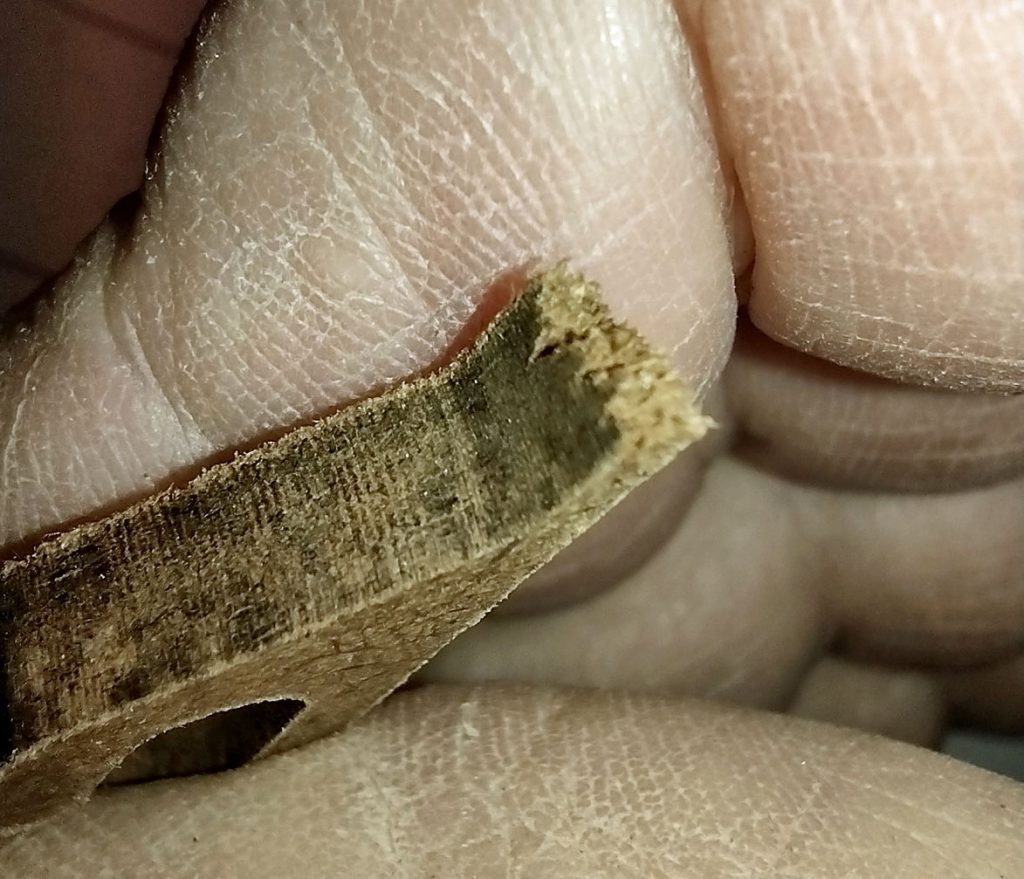
I cut the decorative edge and tested the strength of the edge cut offs. As expected, it is a little weaker than most of the plywoods, but not terribly so. The area of the break looks a little different from what plywood looks like.
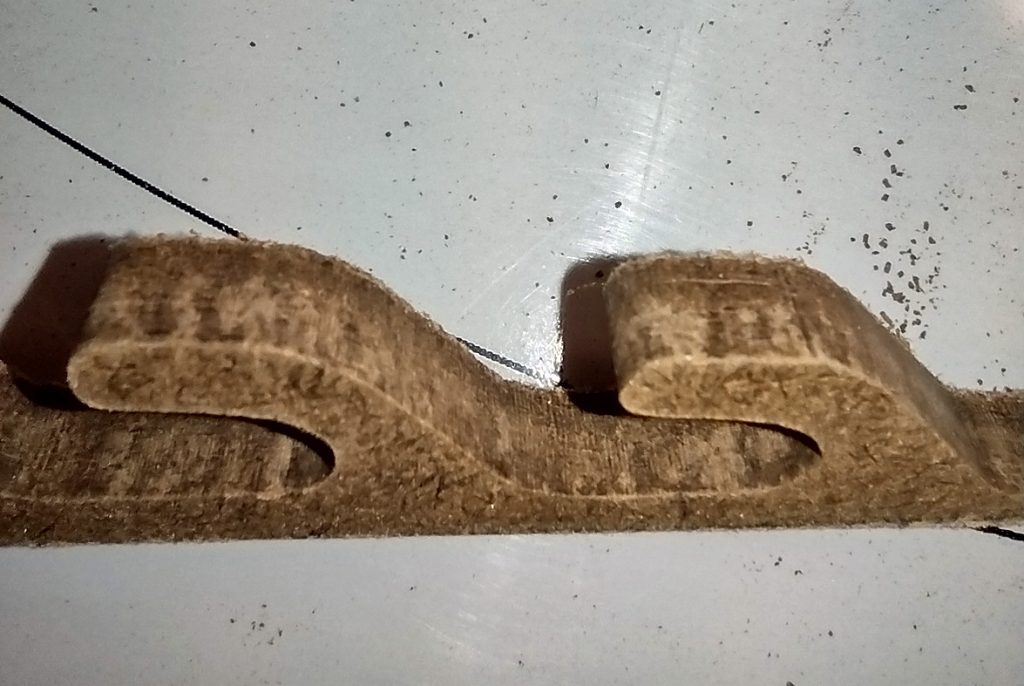
It cut very cleanly with minimal fuzz and zero splintering.
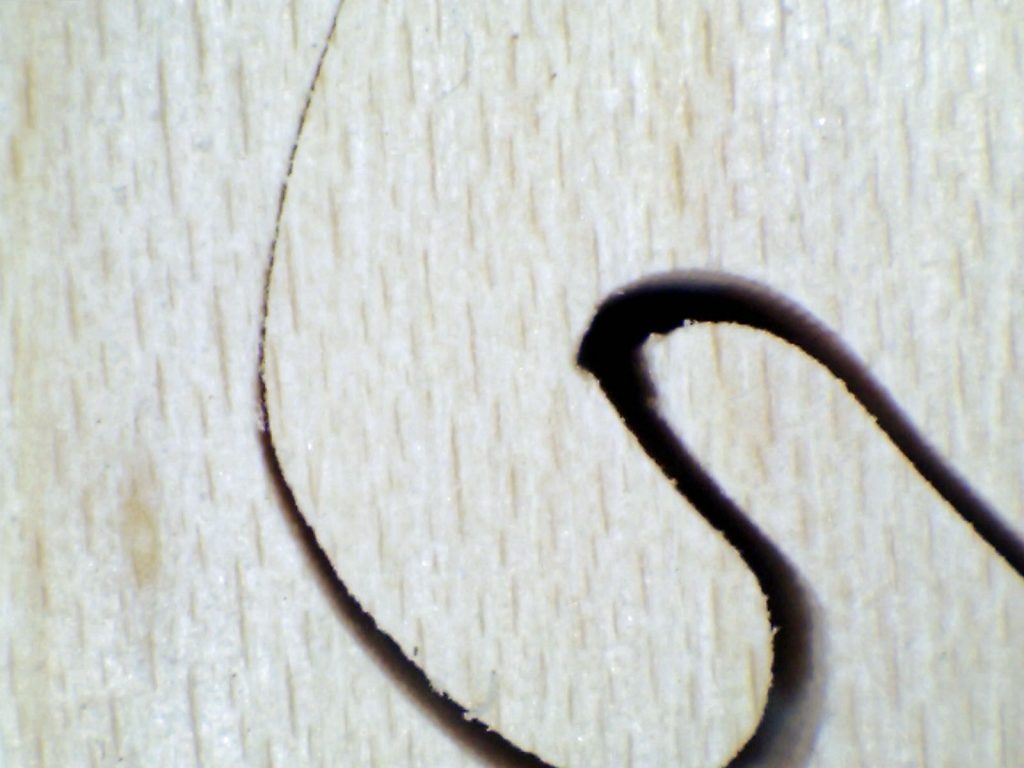
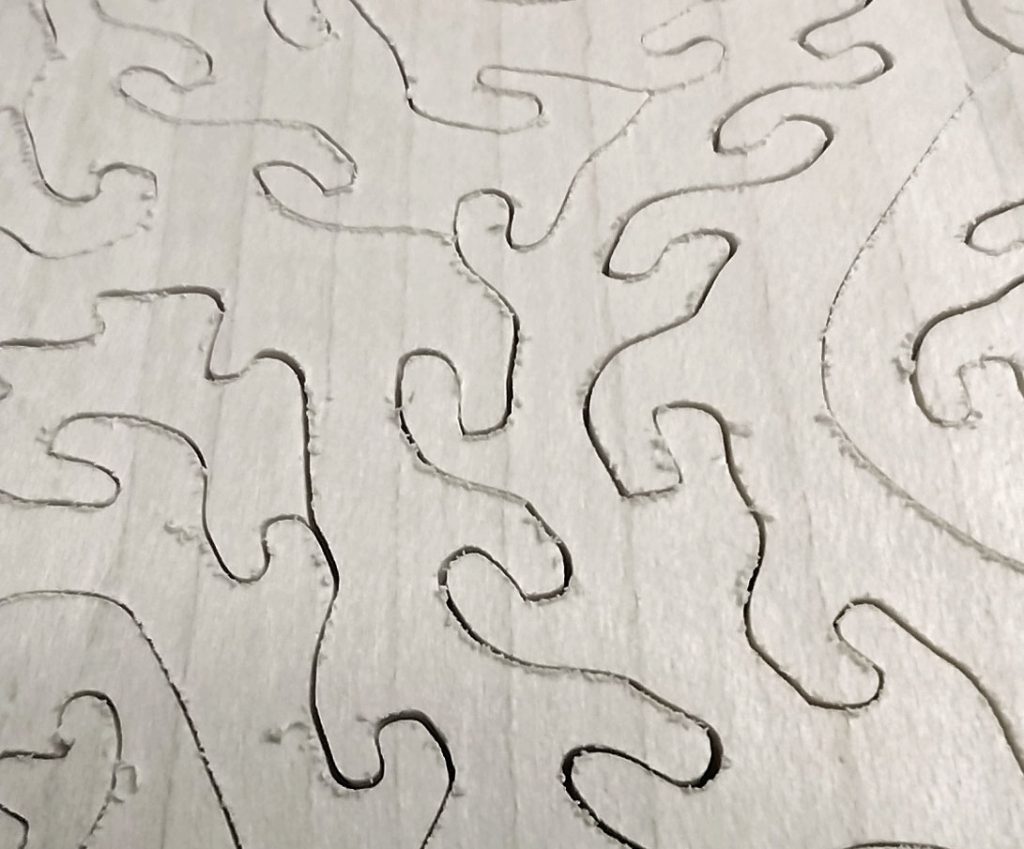
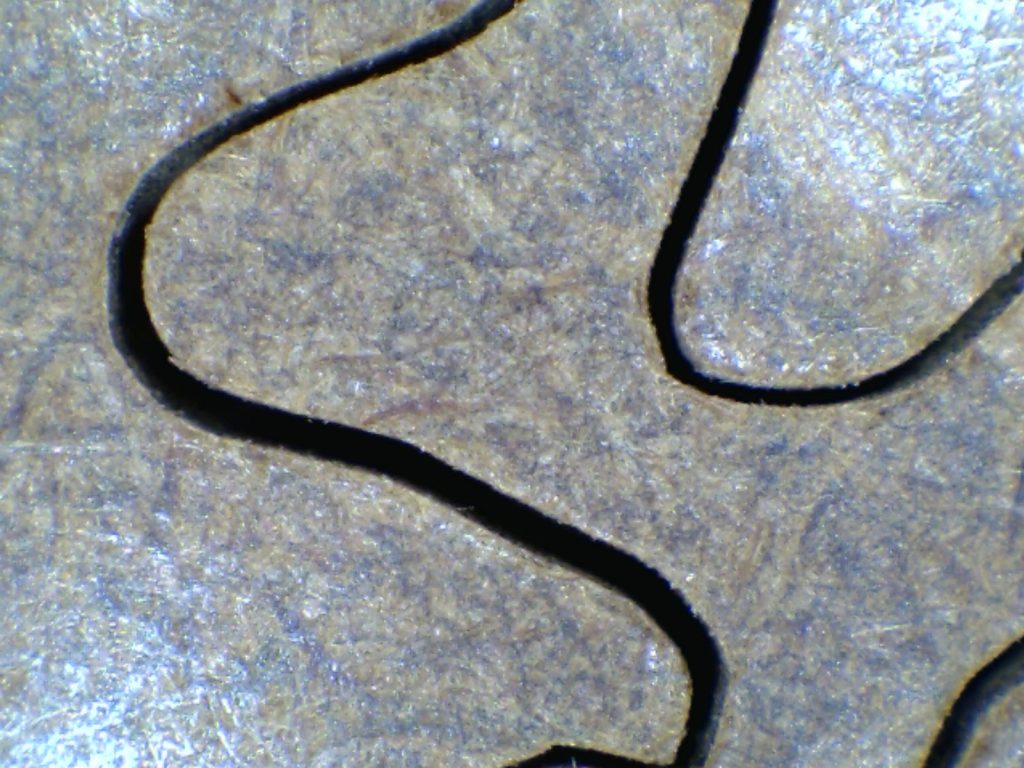
Here is a close up of the top cuts. It is the cleanest of any of them.
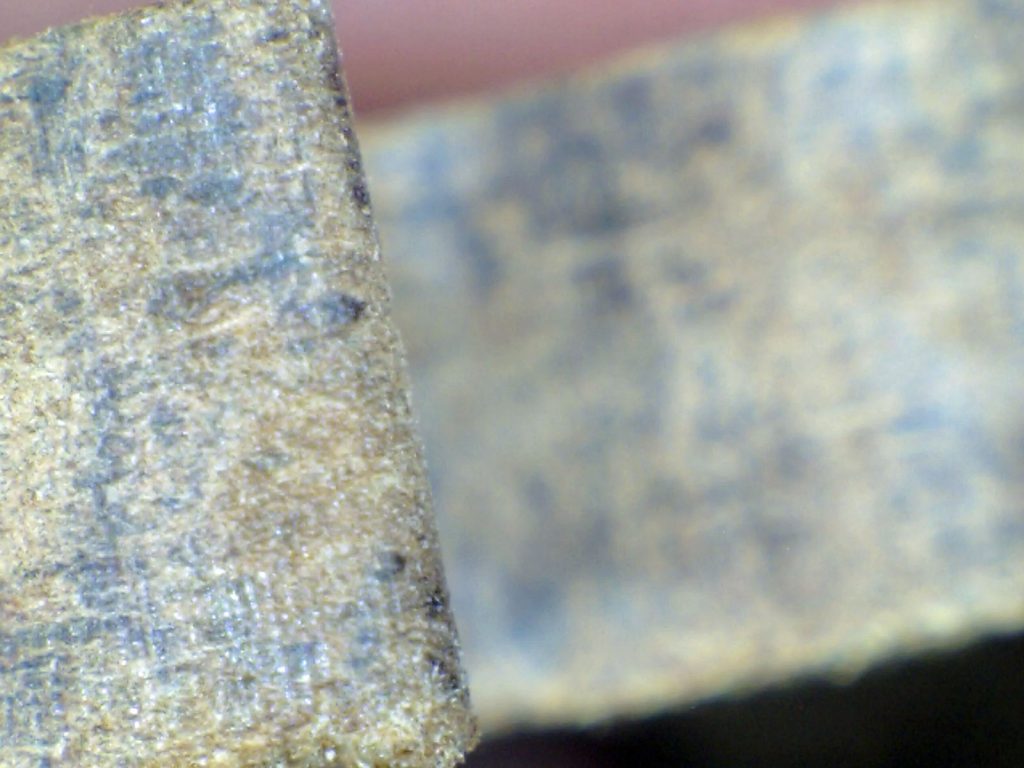
Here is a close up the sides of the cuts.
Given the texture of the back side, my only option was to paint the top with the acrylic spray paint and leave the back unfinished. From the top, it looks like any of the rest of them.
The backside presented a difficulty for me. Because the paint bleeds down the side, it can actually wrap around and suck onto the bottom of the piece being sprayed. If both sides are being painted, this is not a problem, as that side will be painted anyway. In the case of the cabinet plywood above, the backside already had a clear finish on it. This made it easy to remove any errant paint. Not the case for this though.
If this puzzle had an image on it and were cut out as normal, I would find this to be a very adequate puzzle material. Am I going to switch to using it? No. The puzzles I make are labor intensive and most of the price is from the labor time. Saving a few pennies to use this product would be very counterproductive for my customer base. Most of my customers want a nice-looking puzzle front with a nice smooth visibly appealing wooden back.
Other woods
There are a lot of other woods out there. In my original posts on this issue, I had mentioned making one of these puzzles from construction grade plywood. I am not going to waste my time on that. I would like to sell these puzzles, and I think that product would not make a good puzzle.
Additionally, I have since experimented with three other wood products while making the 2024 Pagey Elliot Puzzle Exchange puzzles. Solid basswood, basswood plywood, and Italian Poplar plywood. I used all of those materials up and do not have any left to make a Dragon Tails puzzle with. I would say all three of those products could be beneficial to a puzzle cutter. They are light weight and very easy cutting. In fact, they are worth considering due to the ease and speed of cutting. Time is money, and most of the cost of a hand cut puzzle is the puzzle cutters time. The downside is that all three of those woods are boring to look at. Just a plain drab white wood. One puzzle maker makes his puzzle wood from solid basswood and attaches his own outer veneer to make a pretty back. That has its own time factor.
Summary and conclusions
I started this looking for a replacement for Baltic Birch. It seems to me that the quality of Baltic Birch is declining, and it is a boring looking wood. The table below captures some of the data from cutting these puzzles. There are some inconsistencies that do not make sense in the numbers. For example, why did the MDO alder core take longer to cut than the MDO maple core when the alder product is thinner? It also took more blades for fewer pieces. The sample size is just too small to really be accurately meaningful.

However, some valid observations can be made. The hardboard used the most blades and took the longest to cut. This makes sense, as it is comprised of a lot of resins and glue, which are hard on blades and cut slower. The harder plywoods (Appleply, Baltic birch) took more blades and more time.
I had previously determined that the single ply cherry product from Boulter and the Meranti plywood were totally unacceptable for my use.
I would add the hardboard to this category. I think it would make a decent puzzle material for personal puzzles. It actually would make good puzzles period, but I think for a high-end customer it would not be desirable.
I was really surprised by the veneer peeling problem with the cabinet grade plywood. I have used the 1/2″ thick stuff for numerous puzzle projects over the years and not run into this. The difference is that I have mounted an image on the bare side and cut those puzzles with the finish side down.
From the rest, I pick Appleply as my first choice. It has some drawbacks in that it does take more blades and a little longer to cut.
Second choice would be if I could find some MDF core product with a nice outer ply that is thicker than the two samples I used. After sitting down to assemble a number of these in one sitting, the MDF core puzzles were noticeably thinner. The okoume and sapele would also be good choices. The MDF is very flat and easy to cut.
Baltic birch remains an easy backup. It has been easy to source locally.
I would still like to find some lightweight wood that has a nice outer veneer surface on it.
If I did this over, I would choose a different piece style. These dragon tail pieces individually take way too long to cut for a project like this. Additionally, I ended up cutting 18 of them, which is a bit of a sales problem. Due to the amount of time it takes to cut them, the price per piece is high. Although unique looking, they are admittedly spendy for what you get.
Some of these have been sold. Some are listed on my Etsy store if you are interested. https://www.etsy.com/shop/FiveFrogsWoodworking
Happy Puzzling!
Bob

