When I started this blog a year or so ago, I stated that one of the things I would be writing about is the process I use and why I use it. This entry is to explain the method I use for mounting the prints to the backing material. It is obviously not the only way to do it, but it is the way I have found that works for me.
When I first started making puzzles for my grandmother, I used spray glue in a can. I have used several varieties and they all seem to work about the same. That means that if you follow the directions and the timing exactly to the letter, it mostly works. But, I found that if you wait too long after spraying to affix the image, the glue had lost some of its tackiness and I would have problems with the print peeling from the wood after it was cut.
I experimented with spraying both the back of the image and the plywood, but experienced some problems with excess glue pockets. Feeling frustrated, I decided to actually go to the library and maybe learn something from the knowledge of others. What a concept, right?!?
I found an excellent book that was more directed towards picture framers and art museums. It had a lot of great information that directly applied to me, and a bunch of useful background. Some concepts that stuck with me:
- Surface preparation is key – the surface has to be smooth and void free
- Moisture is bad – if you try to glue two impermeable surfaces together, there is no where for moisture to go. The print is basically plastic, so any moisture has to go in the other direction towards the wood. If the wood has a finish on it, there is nowhere for the moisture to go and you have problems
- Ink jet prints can start to melt and the ink runs together if heated over about 220 degrees – high temperature processes will not work
- Dry mount presses are relatively easy to work with. Vacuum presses are awesome, but expensive.
I found a used dry mount press at a reasonable price on eBay, ordered some different types of adhesives from B&H Photo, and have not looked back. I am still learning, but I am having almost zero instances of the print peeling up from the backing material. The only time I currently have an issue is if I have a very sharp “tip” on the puzzle piece, like the very pointed end of a leaf for example.
Surface Preparation – This all begins with the wood. In my case, I am using primarily 1/4″ Baltic Birch plywood. It has five plies of wood which makes it strong enough to withstand the jigsaw cutting. There are other woods available in other geographic locations, but I have not found them where I am located. Shipping for some of the exotics would be expensive, so I am so far sticking with the Baltic Birch. I do have some 9 ply 1/2″ plywood in maple, but it is harder to work with. The 1/2″ thick plywood certainly provides a different feel to the puzzle pieces.
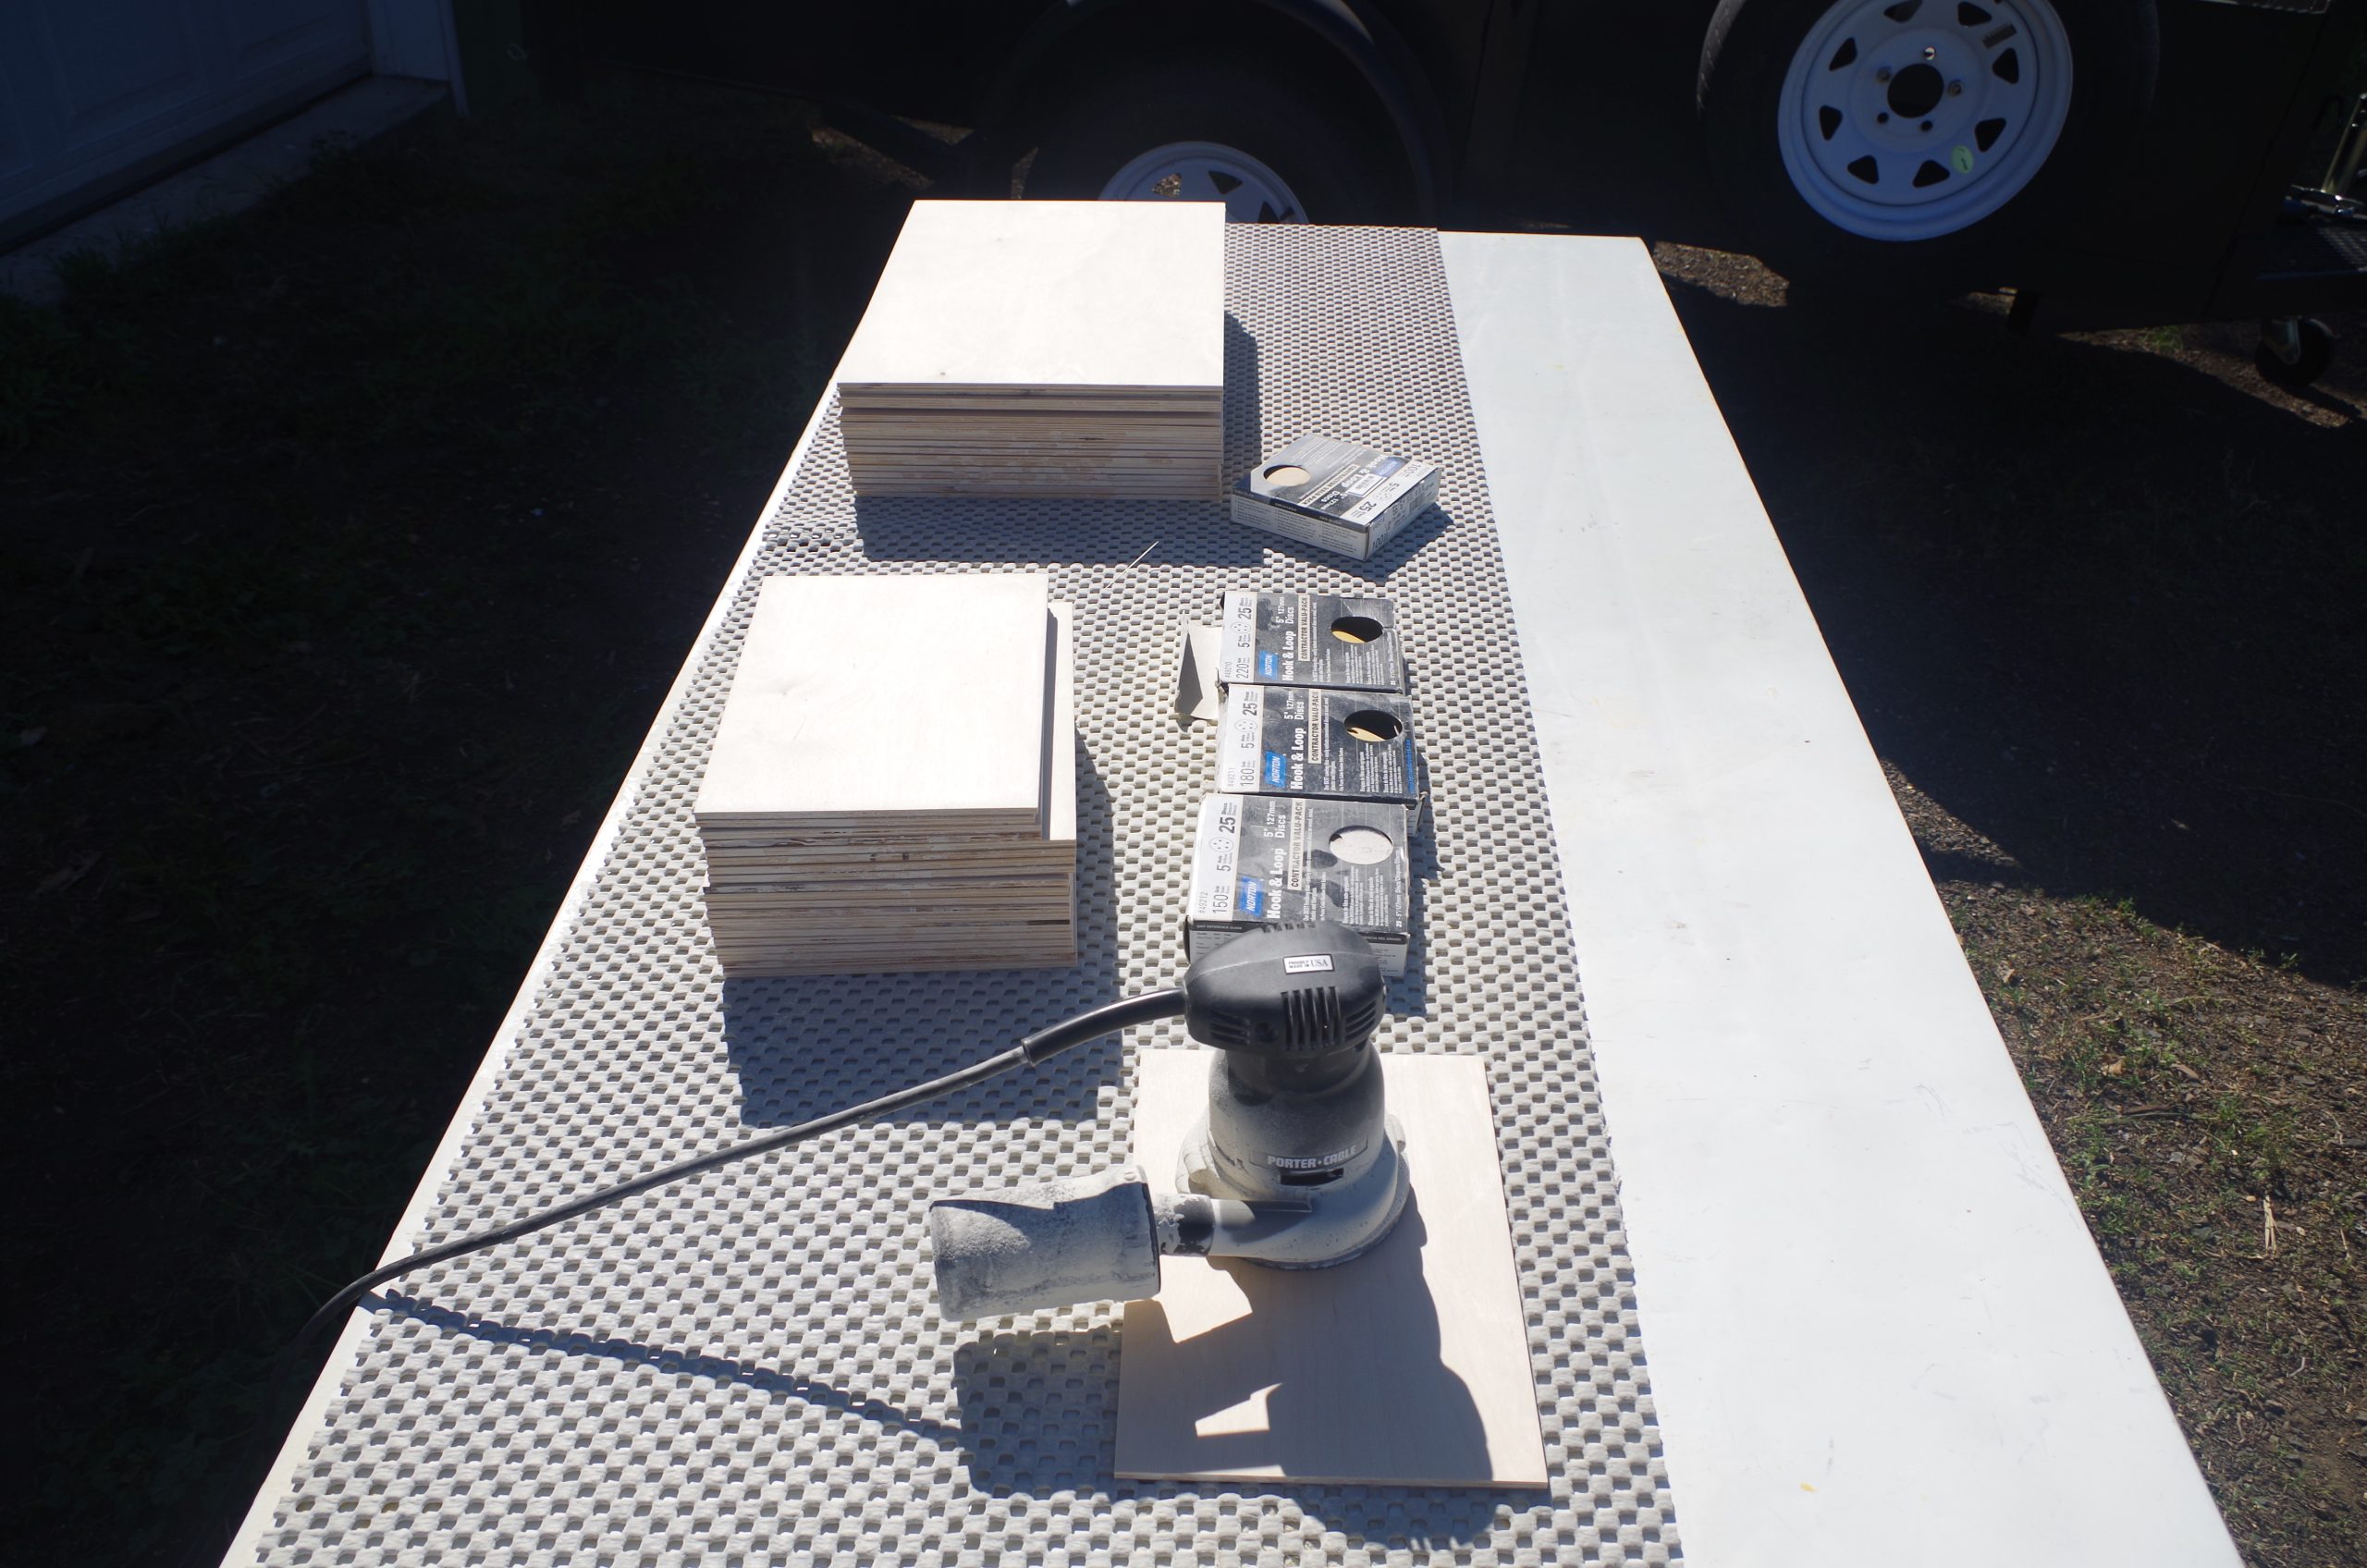
The Baltic Birch comes in sheets that are 5 feet by 5 feet. I cut those down to size using a table saw. I make them a little oversize for my prints, which are either 8 1/2″ x 11″ or 13″ x 19″. Once I have them cut to size, I dedicate an afternoon to sanding. I use a random orbital sander and work my way up through 22o grit. The last time I did this, I cut up two sheets into 39 puzzle blanks. It took me over 4 hours to sand both sides of all 39 blanks and I used 15 sanding discs.
So now you have a blank and a printed image. What next?
I use a Seal dry mount press to glue the image to the plywood blank. This is a mechanical press that uses a cam lock mechanism to provide clamping pressure at the same time it heats whatever is being pressed in it. You need to heat it up enough to cause the adhesive to activate, but not so hot that it melts the ink jet print. As I mentioned earlier, ink jet inks can melt and run together if you heat them over about 225 degrees. I have not experienced this problem, but read about it in the afore mentioned book.
The “glue” is an adhesive that is available in rolls or sheets. I have two types of adhesive. One is Dry Lam Colortac Dry Mounting Tissue. It is a tissue paper like material that has adhesive impregnated in the tissue. I thought this was going to be my adhesive of choice, because the minimum required temperature is only 165 degrees. I used it on one puzzle, and had many problems with the print peeling up. I have used it to mount some prints to foam board for framing, and it works great. It just did not stand up to being cut in funny little shapes. I plan to attempt another puzzle using this material but at a higher temperature to see if it works better. In the meantime, I have been using a different product that works great.
That second product I have is Fusion 4000 Dry Mount Adhesive. This is a roll of a thin film that is 100% acid free. The entire film melts in the heating process and bonds as it cools. This product works great for me. The temperature range called for is 170 – 180 degrees, but I have actually used 190 degrees on the last couple of puzzles with no problems. On the other hand, who knows how accurate the temperature gauge is on the press? Next time I will try to remember to stick a temperature probe in the press to see if the gauge is close.
Here is a picture of the dry mount press.

Dry Mount Press (closed)
The press is closed in this picture. The grey handle in front is lifted up and the entire top of the press opens up for access. On the black bar on top are two knurled adjusting knobs. These are used to adjust the clamping pressure and/or to accommodate different thickness of material. The white rocker switch is the on/off switch. In the center of the grey area is the temperature gauge and the temperature adjustment knob. This press is fairly heavy. When you open it up, you can see it has two steel plates with foam pads that the “sandwich” of material gets pressed between.
The other tools needed are a cutting mat, a ruler, a razor, and a tacking iron.

Tacking iron
The tacking iron is just a small, hand-held iron that is used to tack the adhesive to the print to keep it aligned while loading the dry mount press. Mine is not actually an official picture mounting tacking iron. This one is used for applying tissue material to model airplanes. The major difference is that this one has a flat bottom iron. Picture framing irons have a rounded bottom to minimize the amount of contact. This one was about half the price and works just as well.
I start by warming up the press and the tacking iron. Once the press is warmed up, I place the bare piece of wood in the press to preheat it while I prepare the sheet of adhesive. I place the wood into a brown paper grocery bag to do this. The brown paper grocery bag absorbs any moisture that is driven out of the wood. I have discovered this step is crucial to ensure good adhesion to the plywood. If I do not preheat the wood, I have problems with peeling. This is another reason I need to retry the dry mount tissue, as I did not preheat the wood the one time I used it.

Roll of adhesive and cutting mat
Now you cut a piece of adhesive to size. I “borrowed” a quilter’s cutting mat from my wife. It works great because you can see the dimensions through the film when you are cutting.

Tacking adhesive to the print
Place the print face down on a flat surface. Align the sheet of adhesive to the print. Now use the tacking iron just on the corner of the stack. A proper tacking iron with a rounded bottom would probably actually work better, but this one works fine. The piece of white paper in my hand is a silicone release paper that goes between the tacking iron and the adhesive. If you did not use it, the adhesive would immediately ball up on the iron and you would have a real mess.

Print placed on the plywood
Next, take the preheated plywood out of the press and the paper bag (close the press to keep it warm!). Align the print and adhesive on top of the wood. The corner I just tacked is in the upper left.

Tacking adhesive to plywood
Carefully roll back the edge of the print and tack the bottom right corner of the adhesive to the plywood.

Loading the press
Load the press! Five pieces of material go in. On the bottom is a large piece of silicon release paper. Next is the plywood, adhesive, and print. On top goes a second large sheet of silicon release paper. Close the press and clamp it down. Watch the clock for four minutes and remove the mounted print.

Cooling under weight
Place it face down on a clean flat surface, and load it up with books. Leave it over night, and you are done! It is ready to go to the shop.
So there you have it! My process for mounting prints to plywood. I am sure there are many other methods in use, but this is what I have developed and works for me.
